
An open window into the comings and goings of students and their trees attending our regular weekend and midweek bonsai classes under the ever watchful eyes of John Hanby.
Classroom Corner – Making progress – two air layers and a graft!
One of the good things about ongoing bonsai classes is that they enable you to progress and complete projects. Students attending regularly can monitor this progress, see the results and learn from first-hand experience.
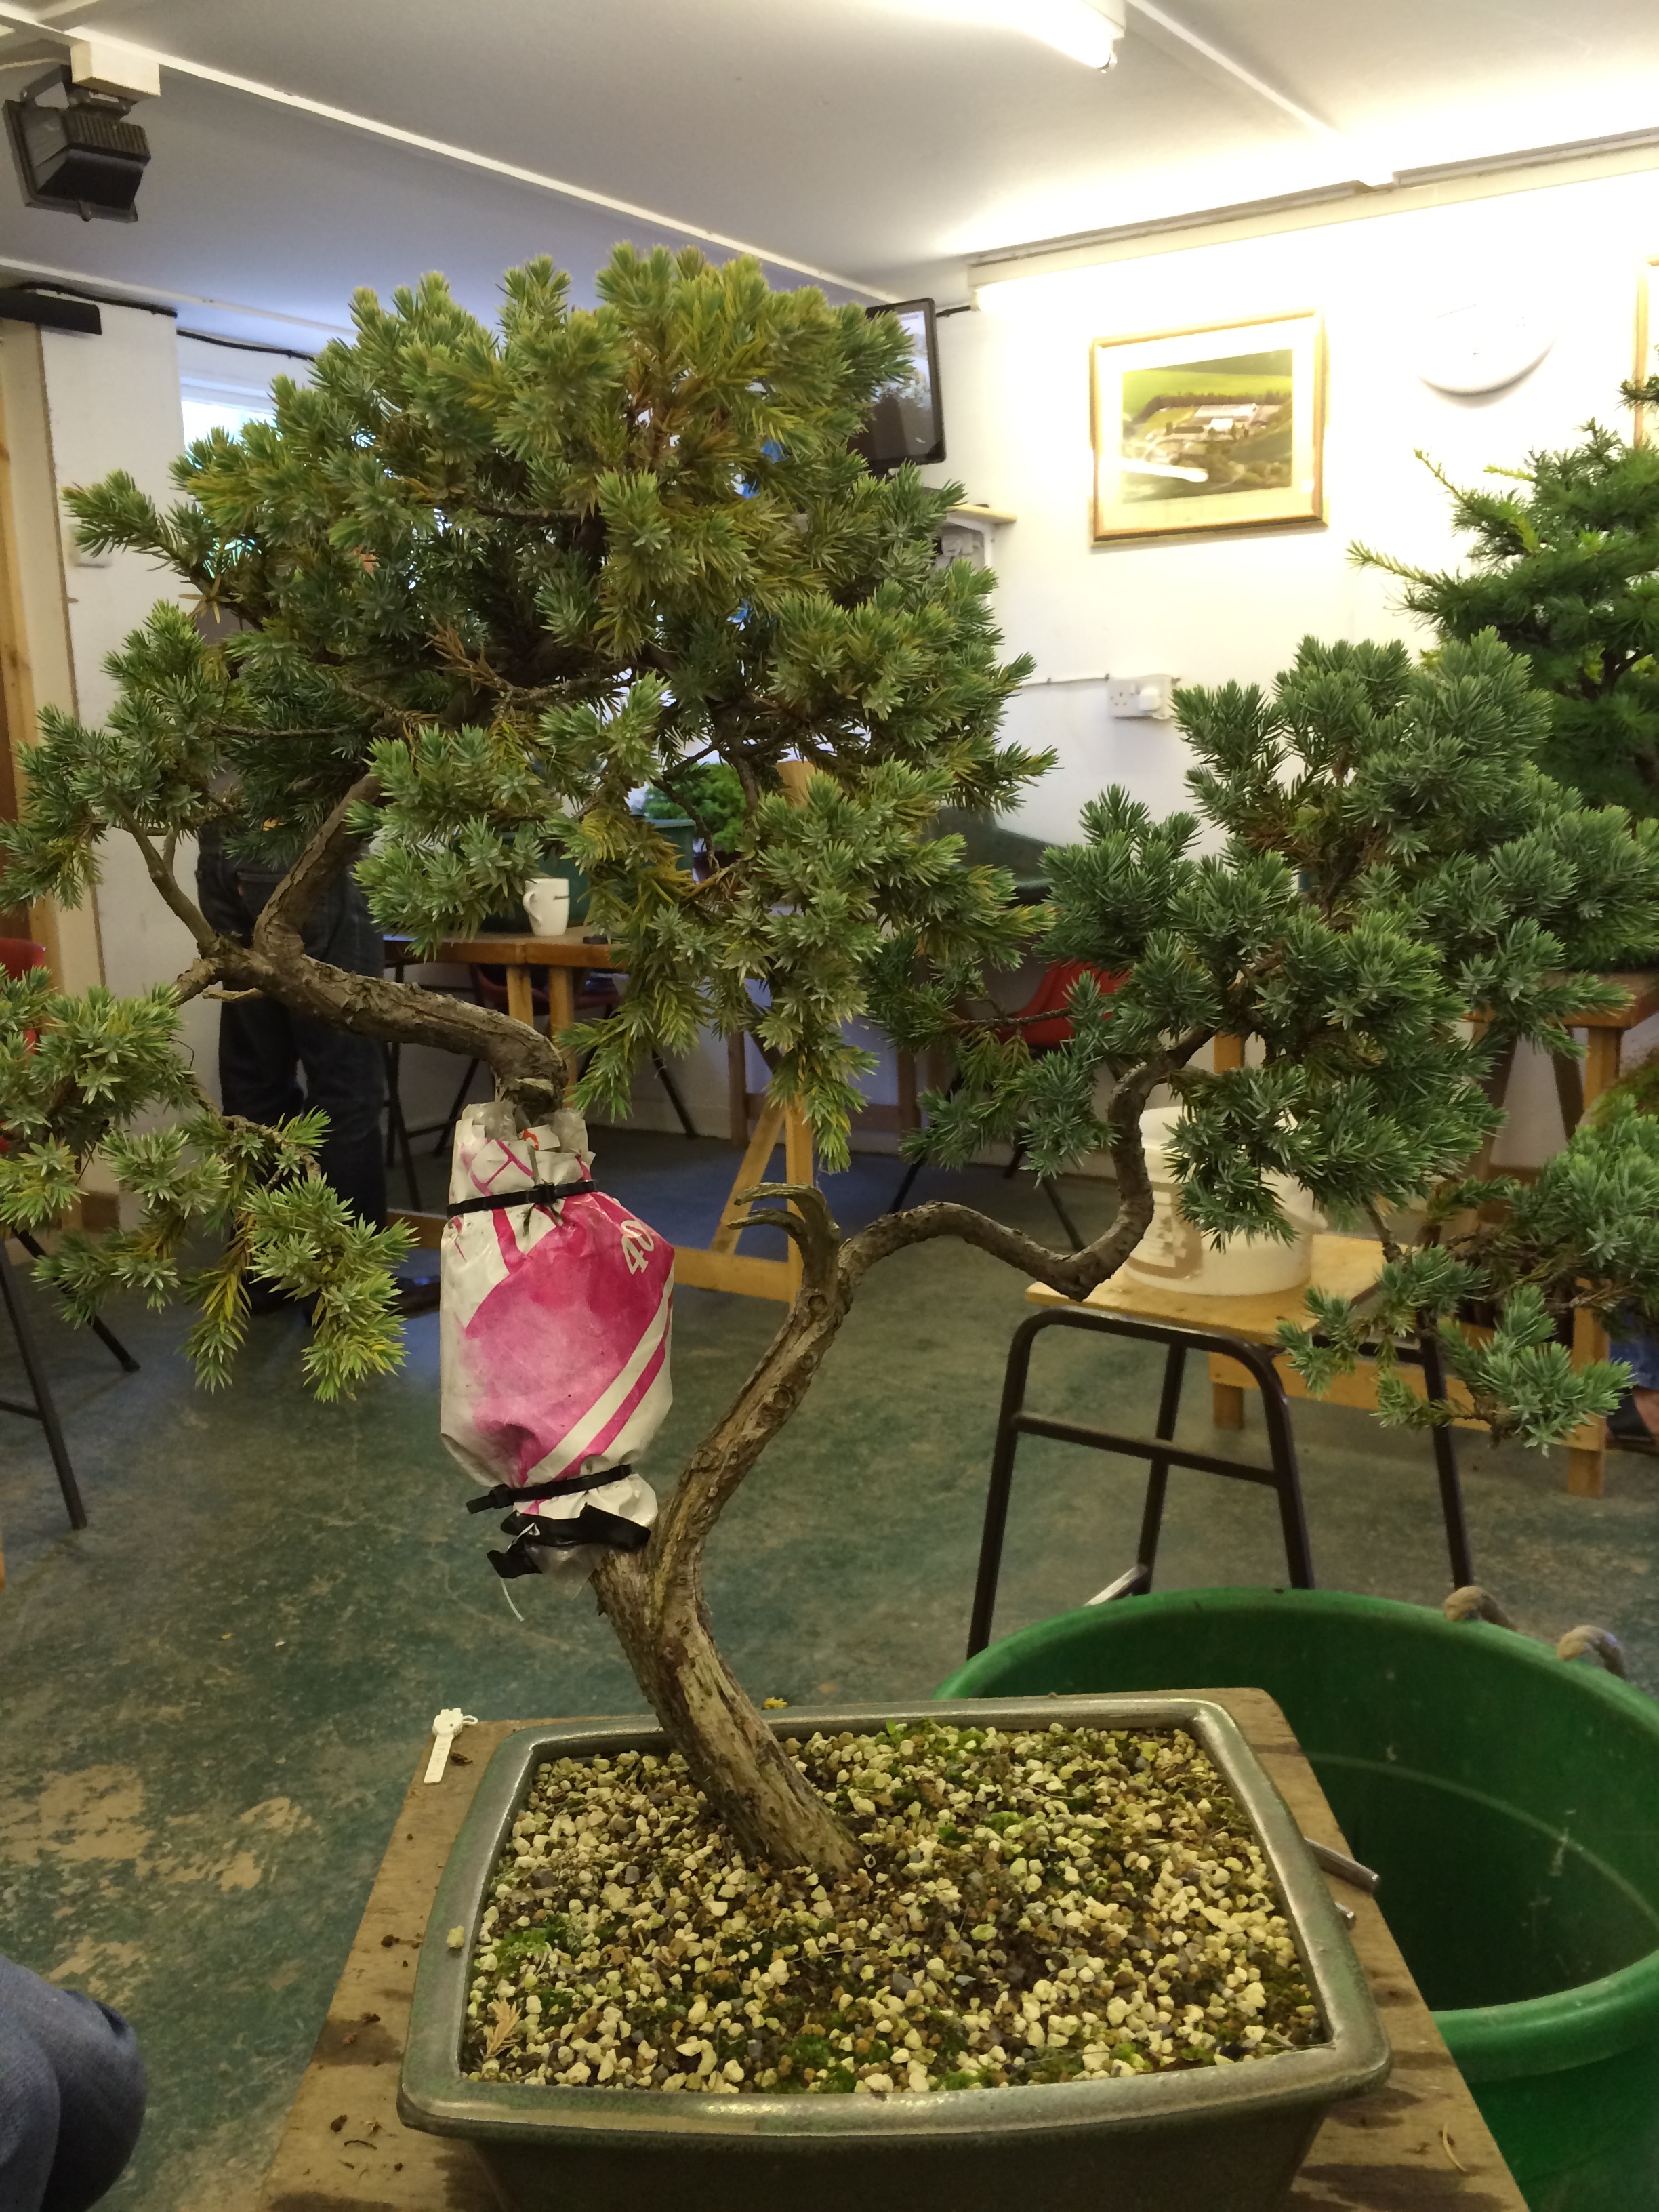
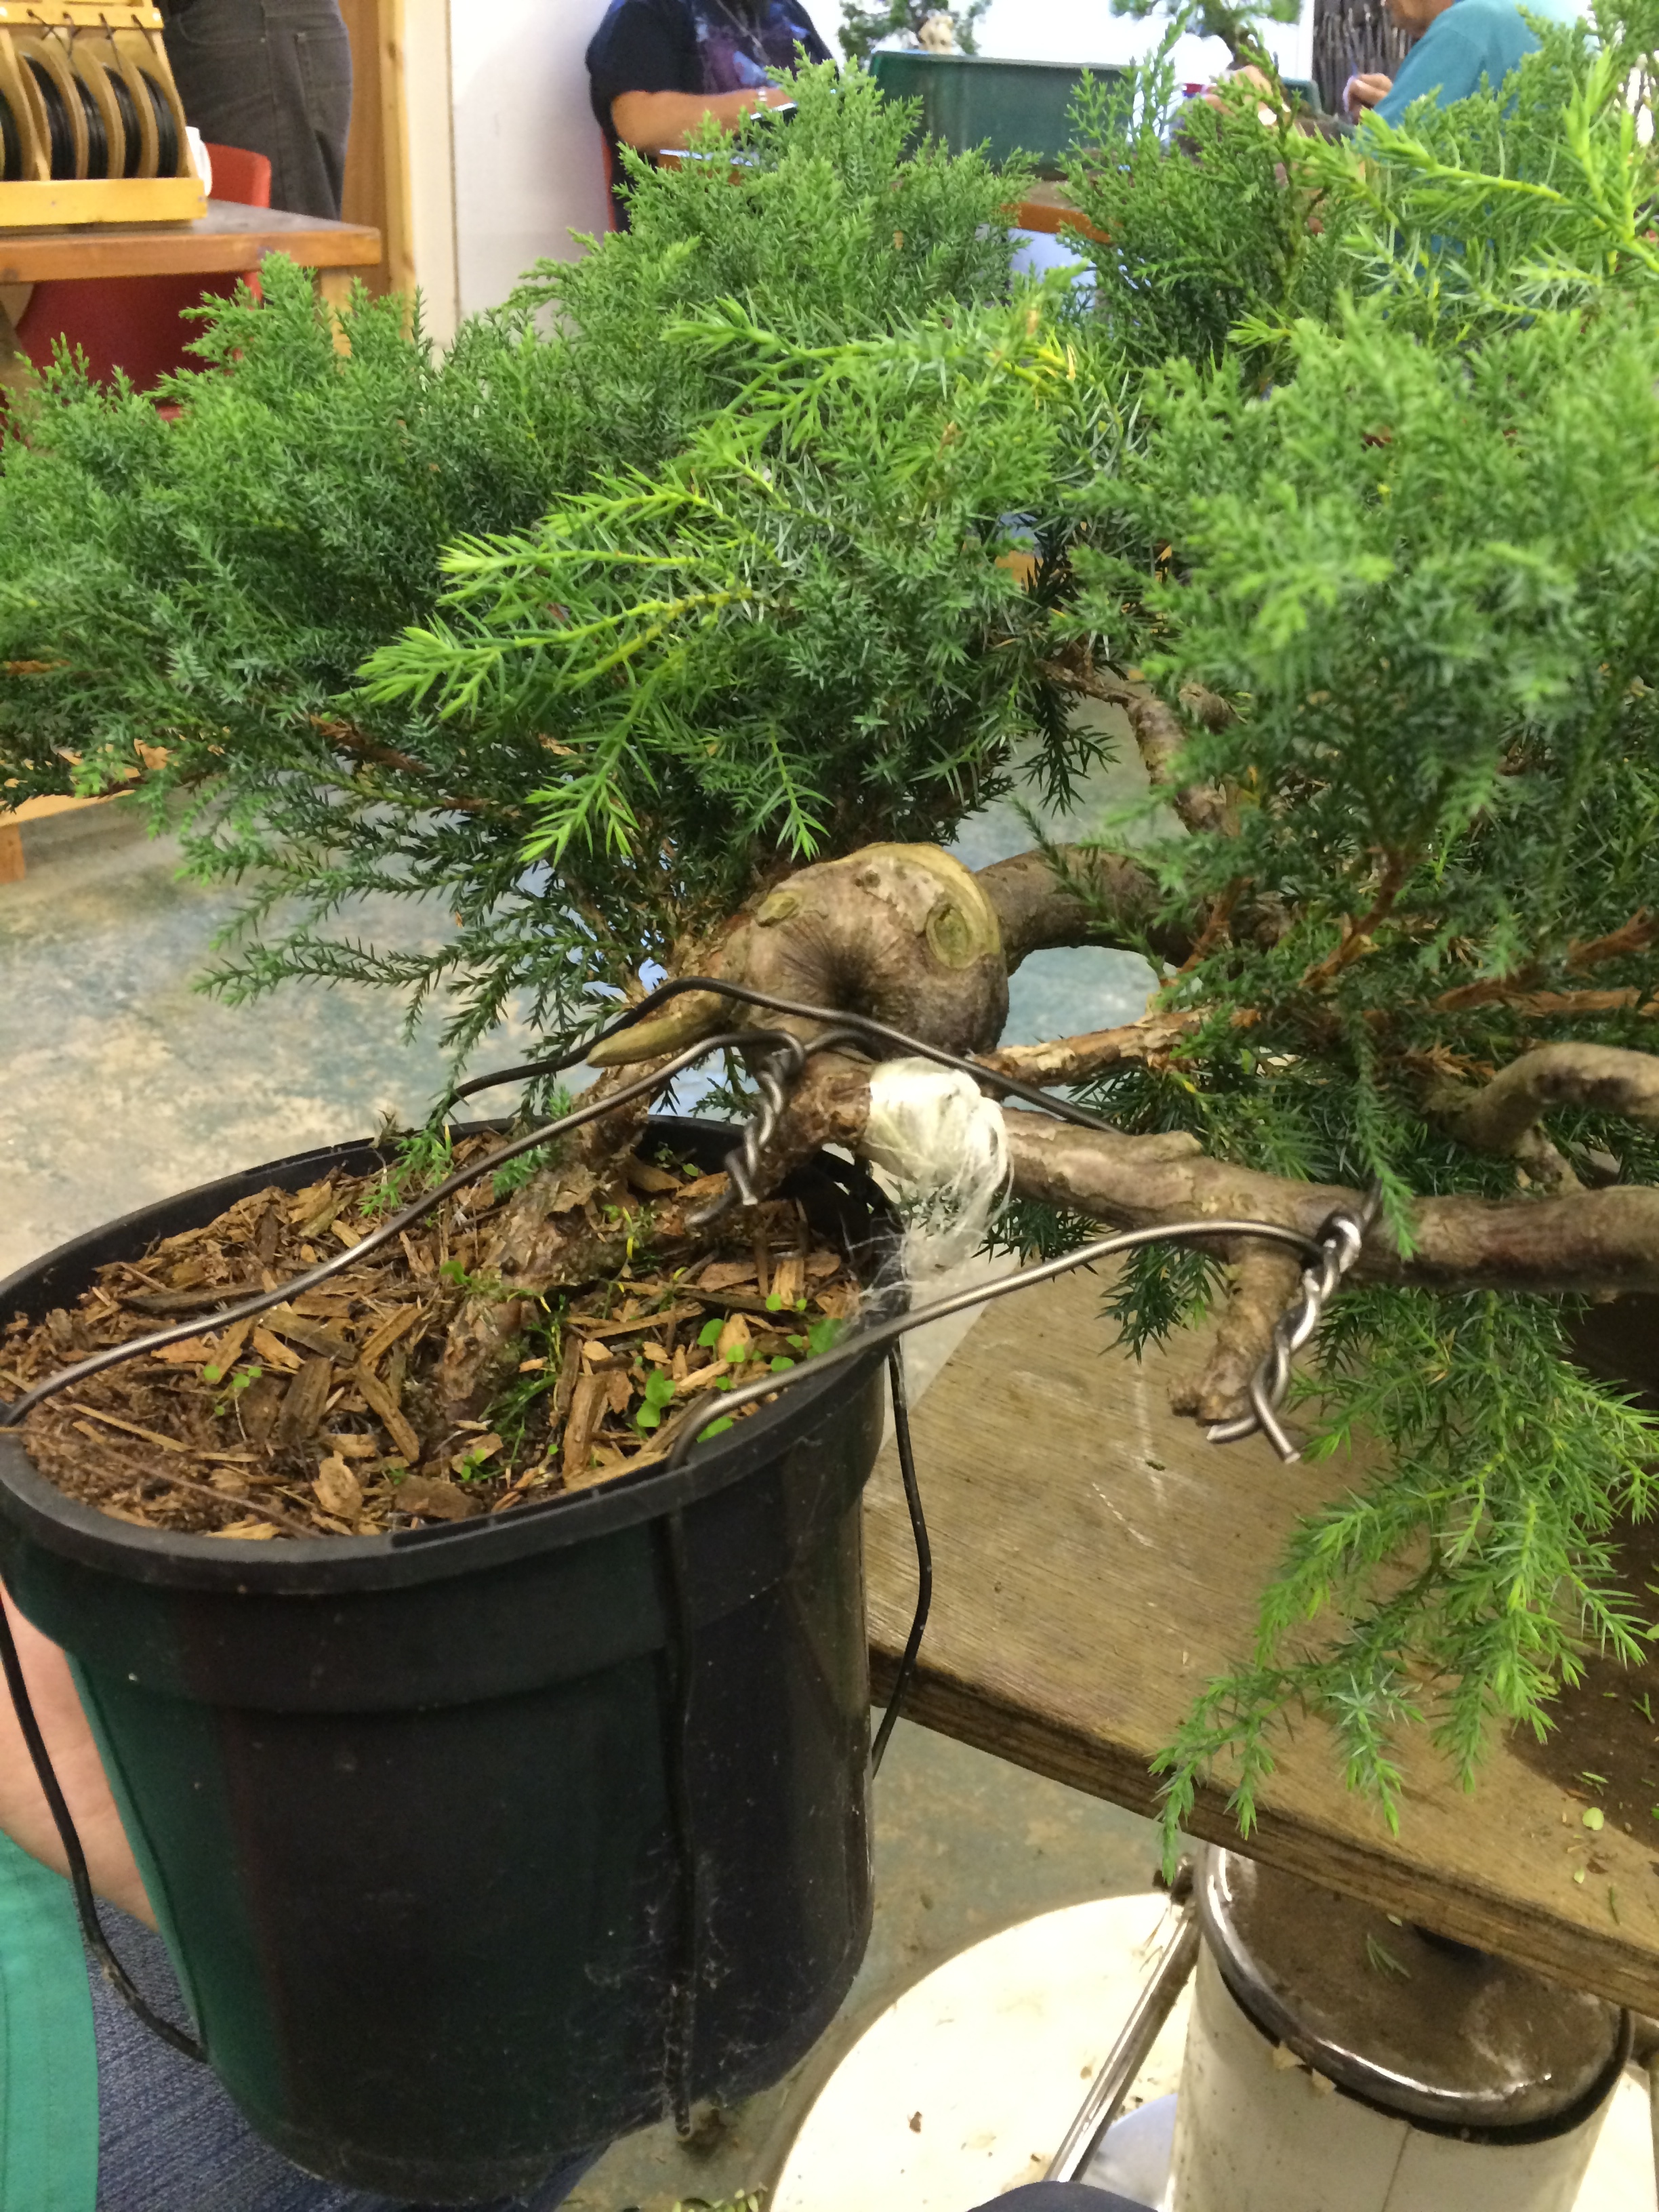
The story hear follows three such projects that were started earlier this year. The first air layer was on a “Juniper Blue Carpet”. Michelle liked her tree but the way the trunks split into two was a problem. Each trunk was a good tree in it’s own right but together the two just did not gel! It had seemed harsh to just cut one off…..at least without a sporting fight so we decided to try and grow extra roots by air layering and save both trunks. Deciding which one to air layer was itself a source of great deliberation. This was back in May.
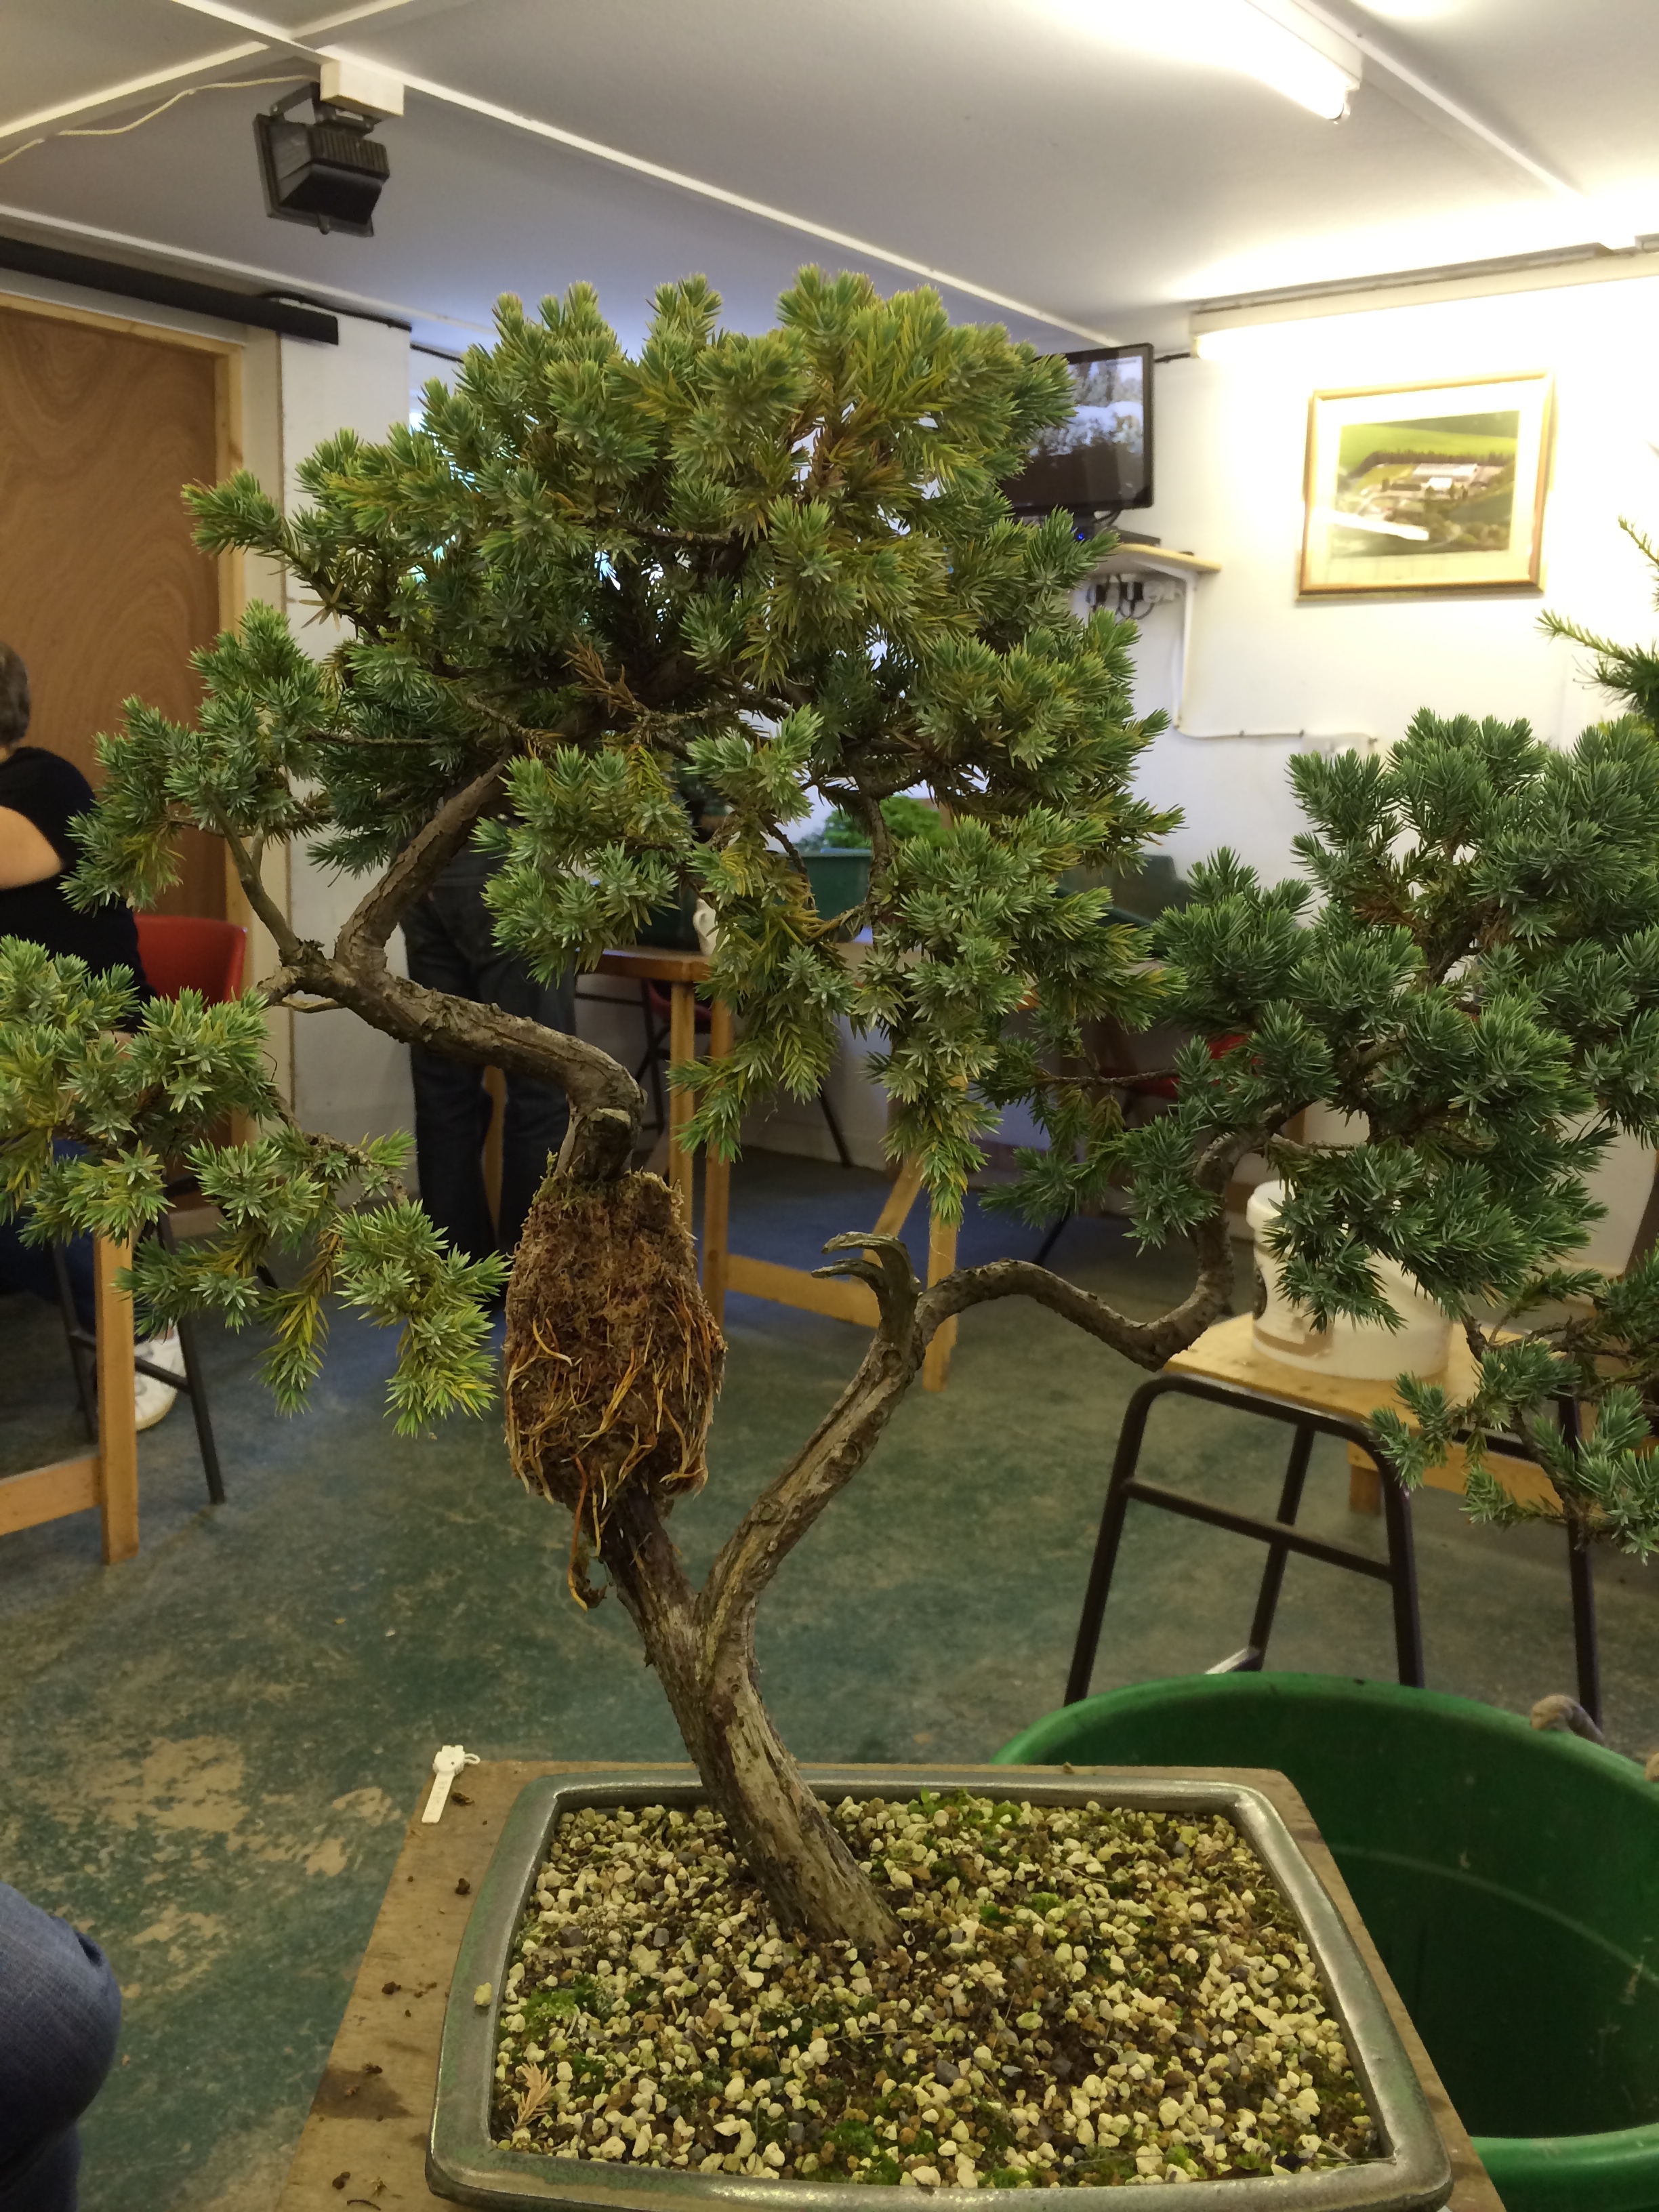
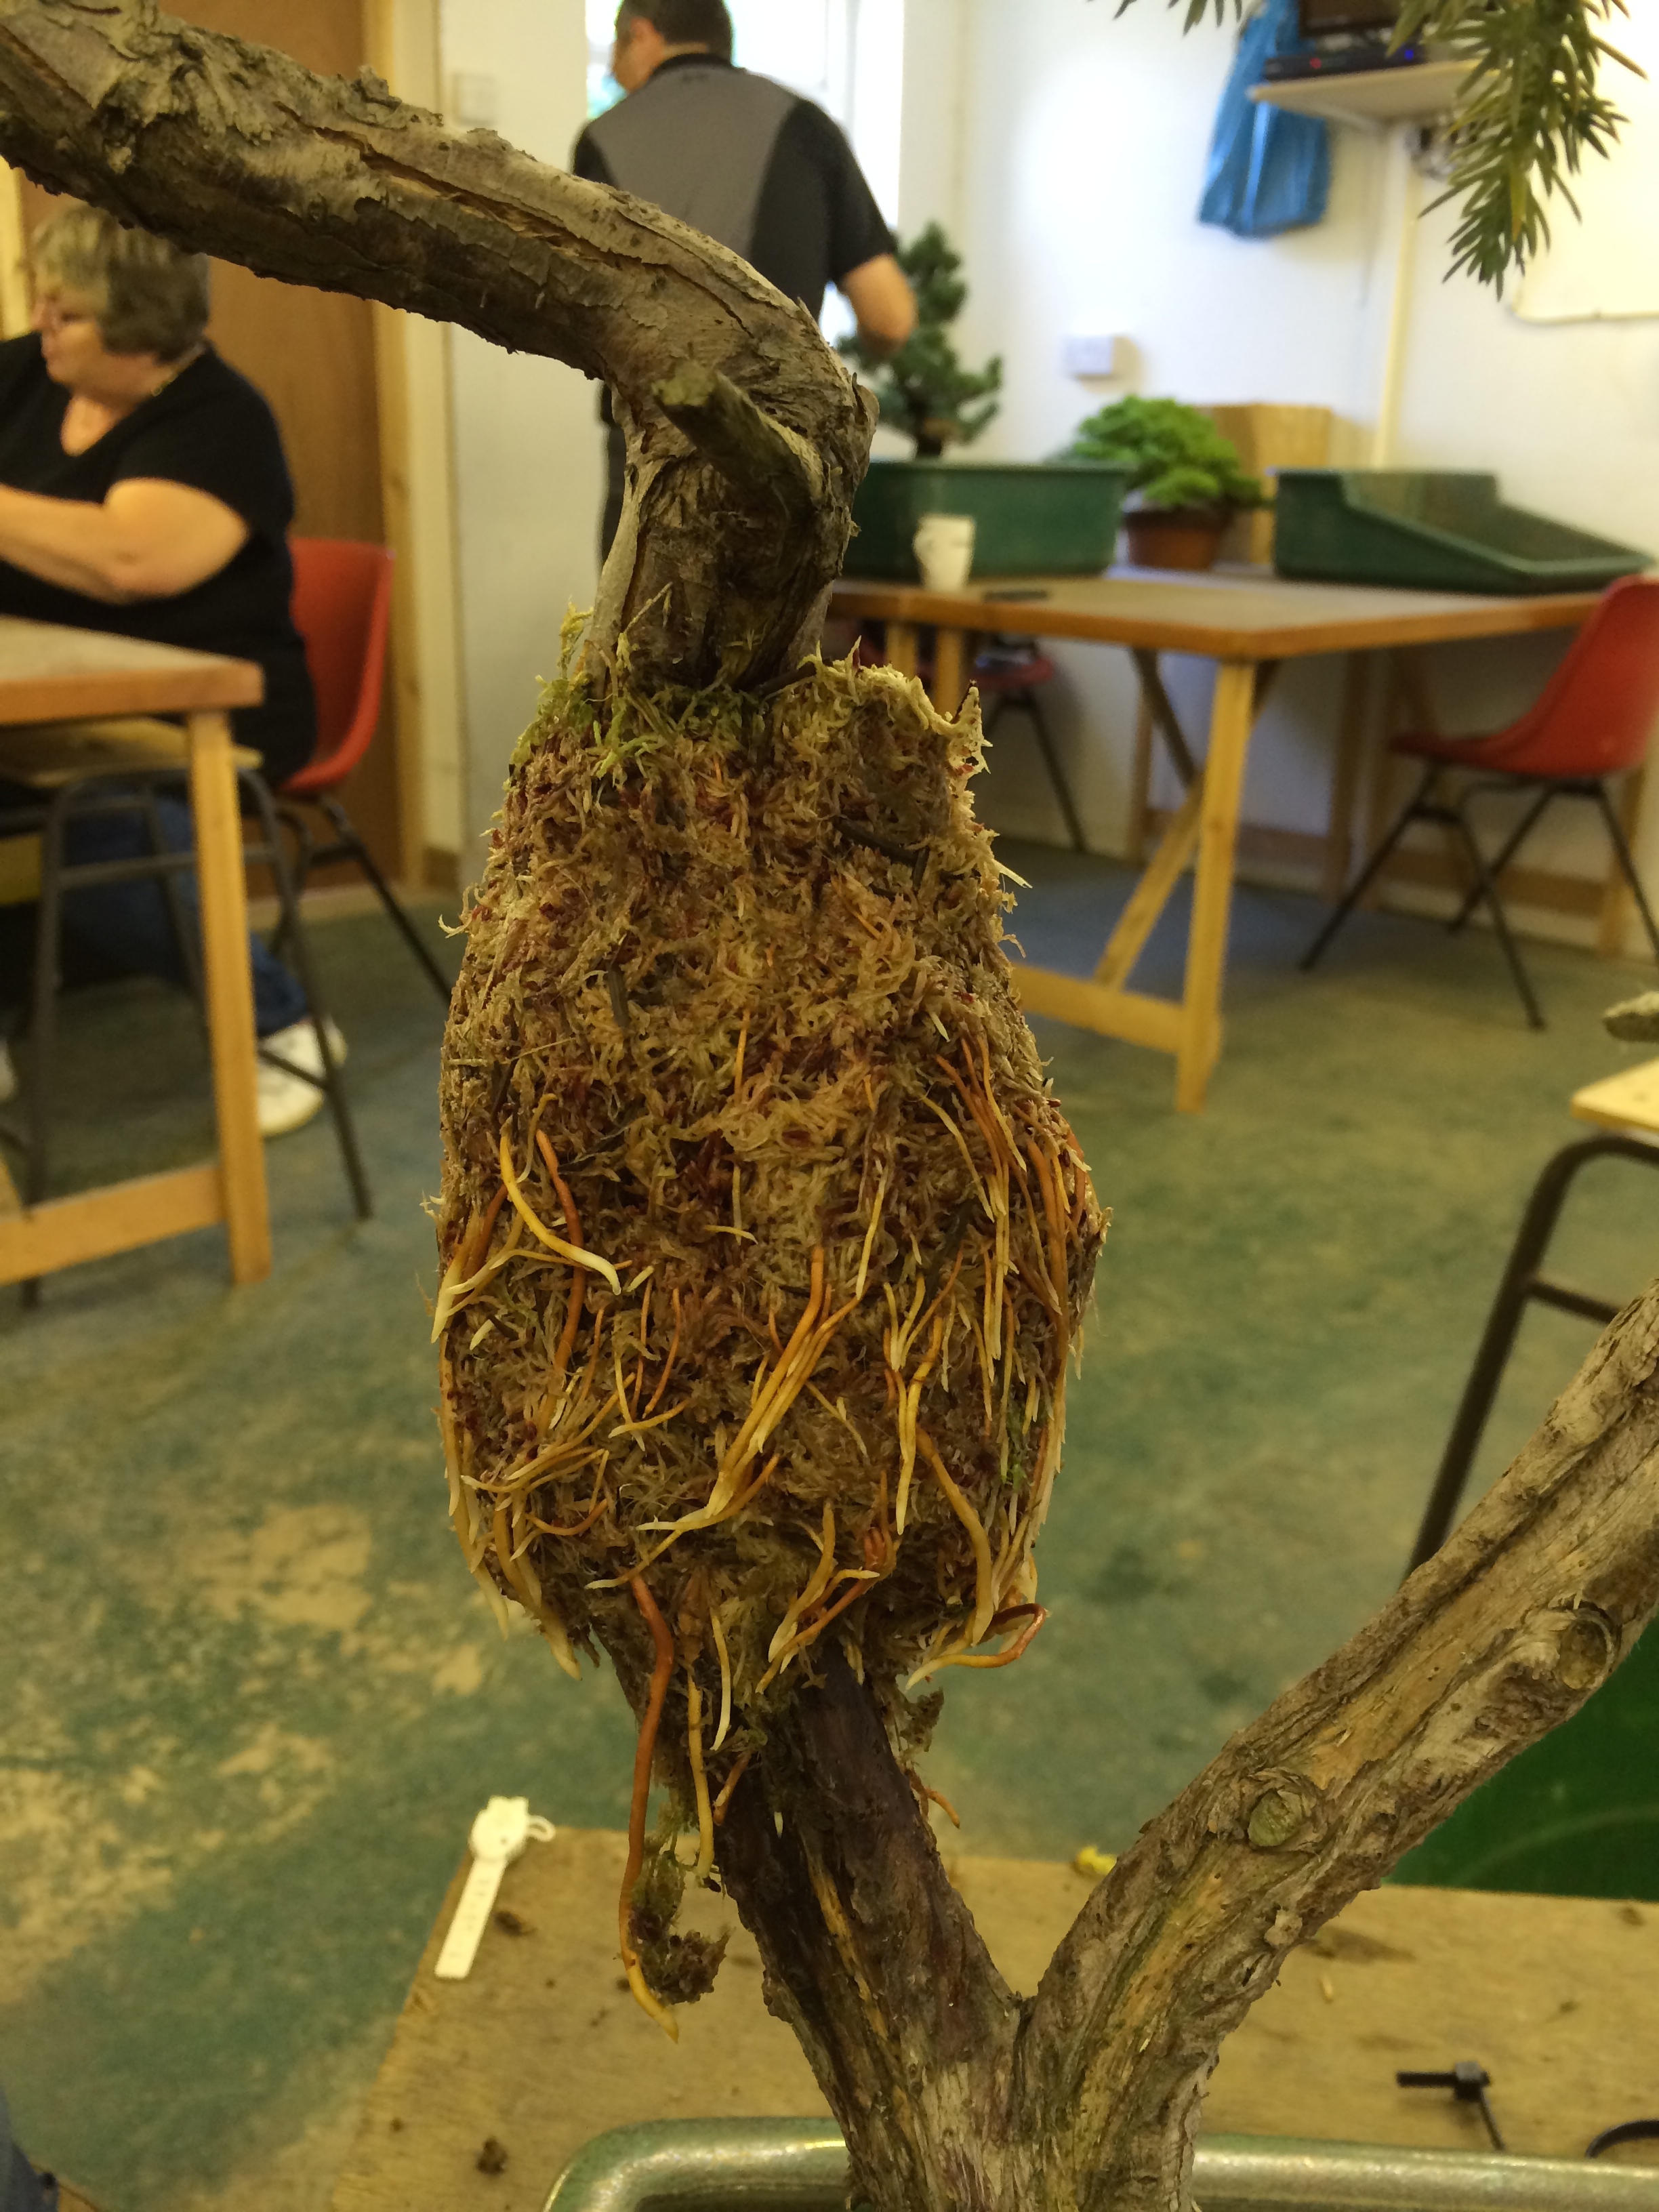
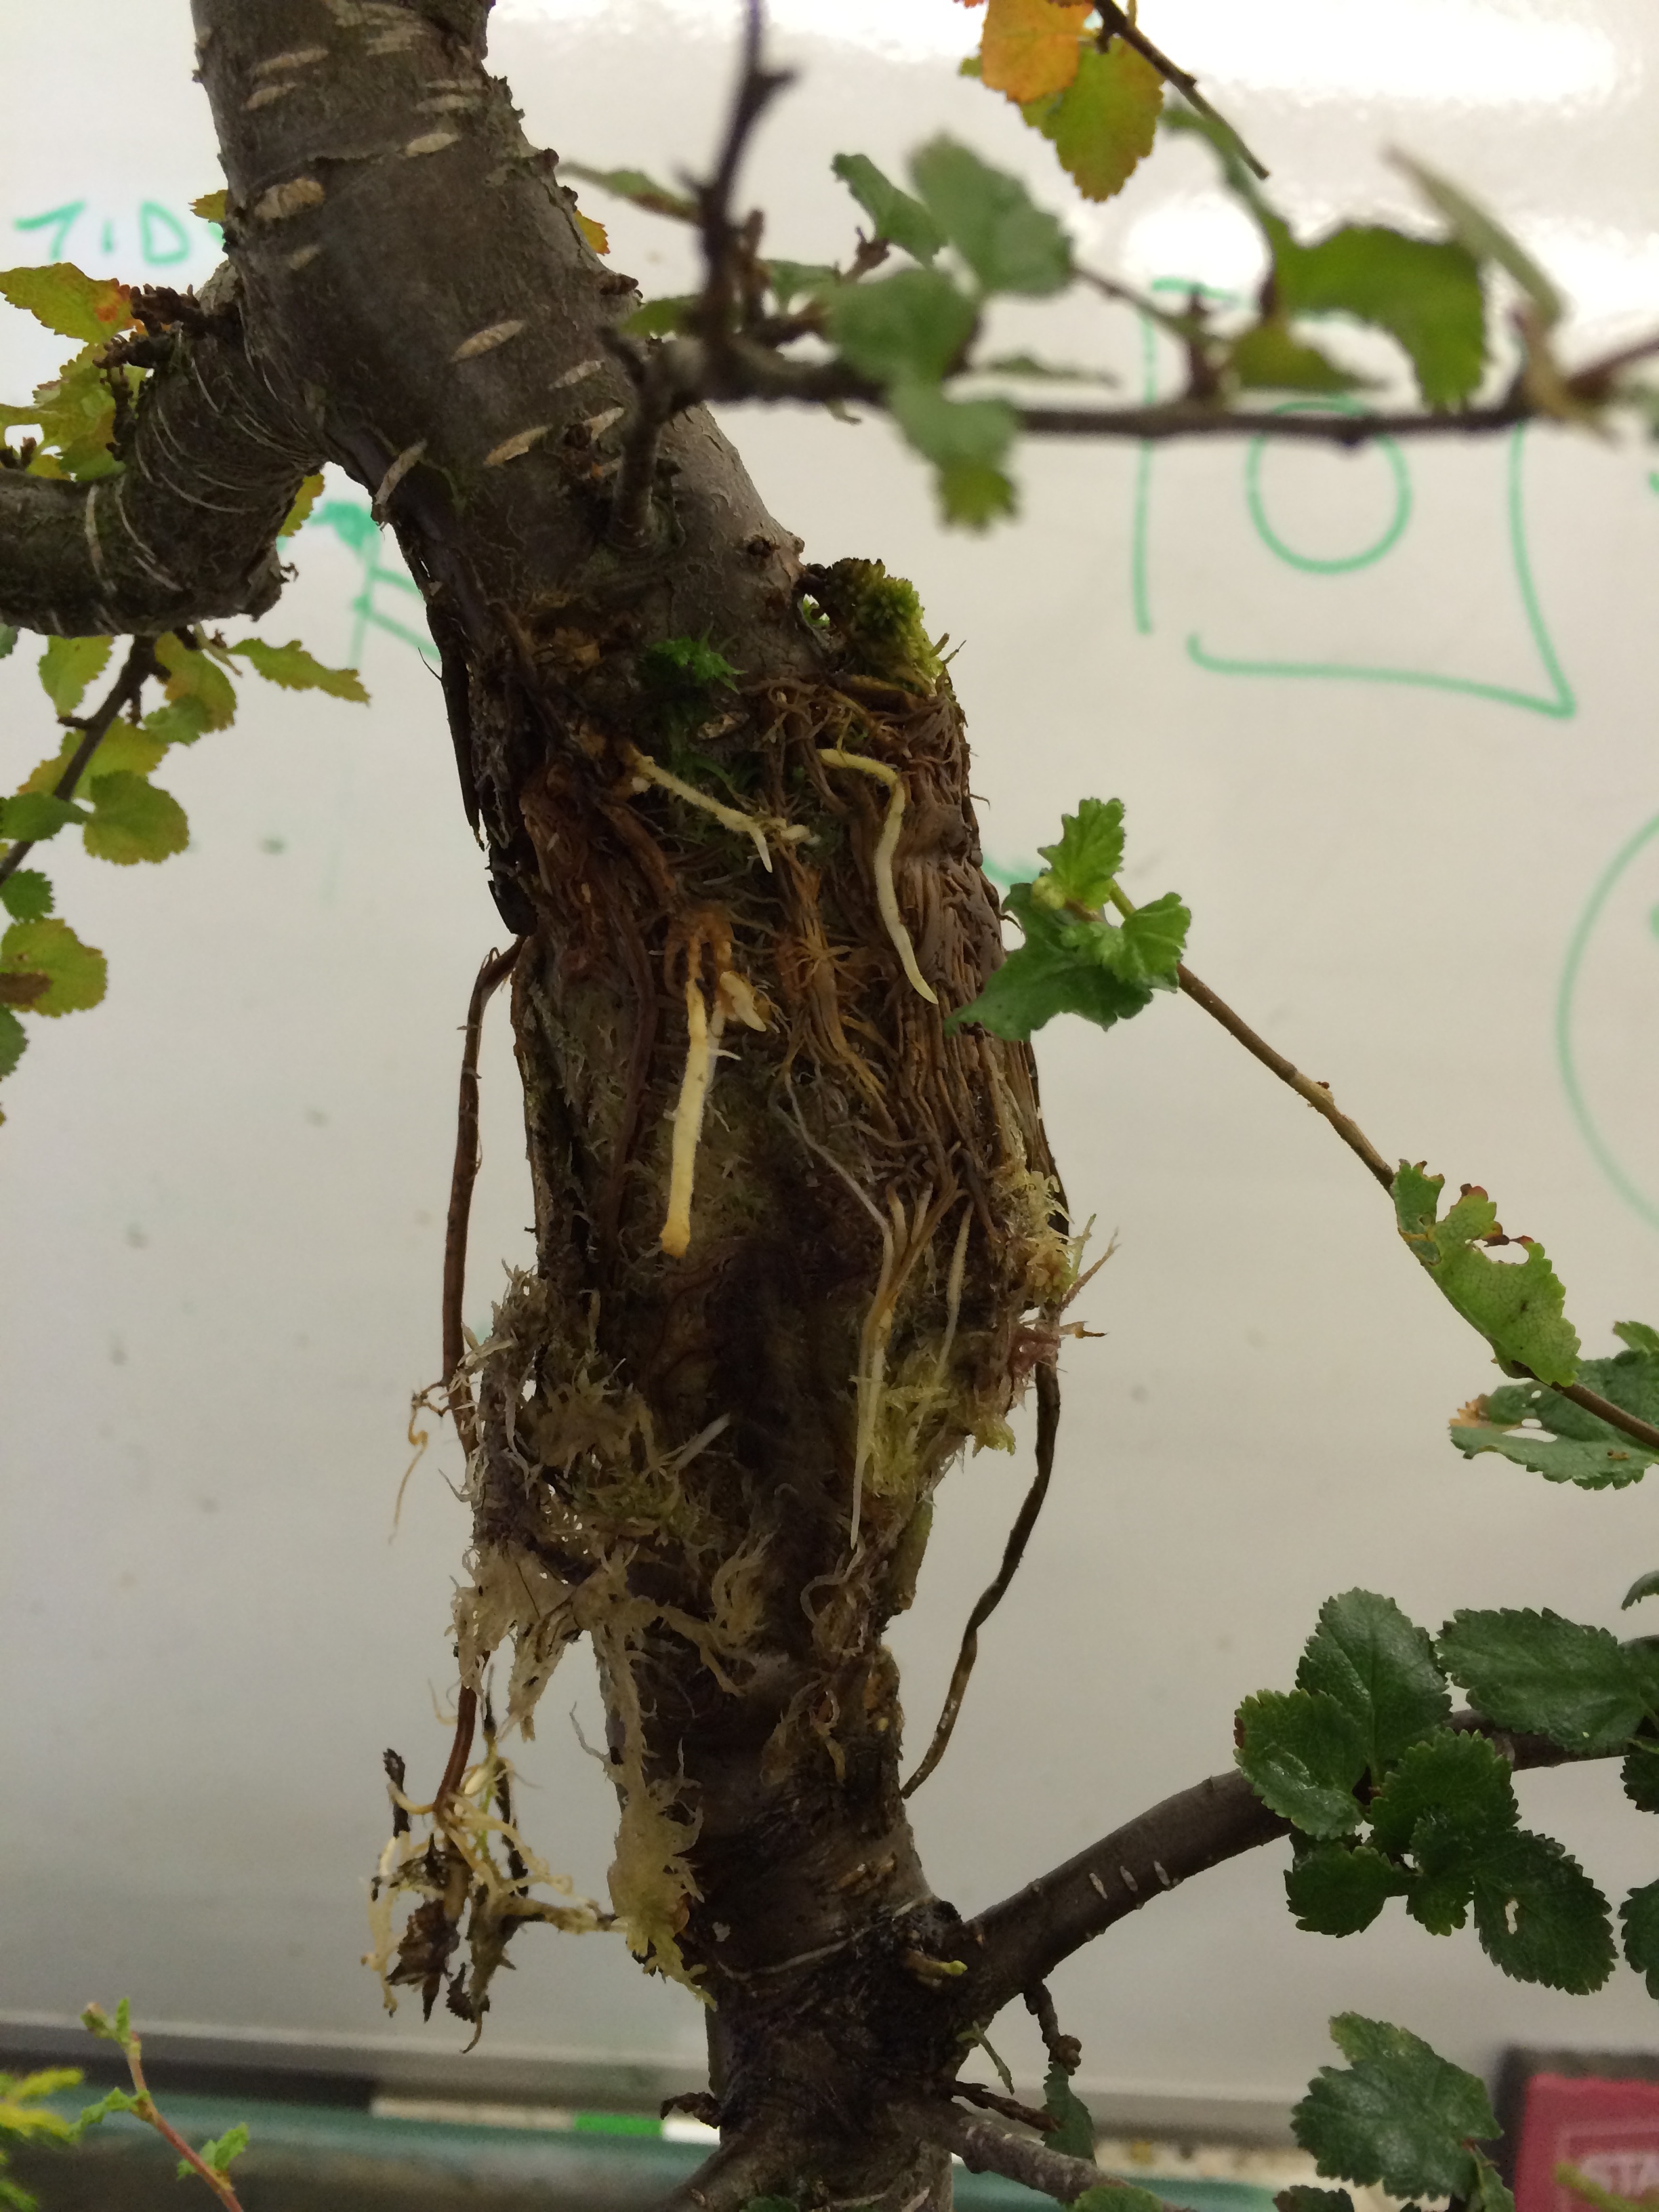
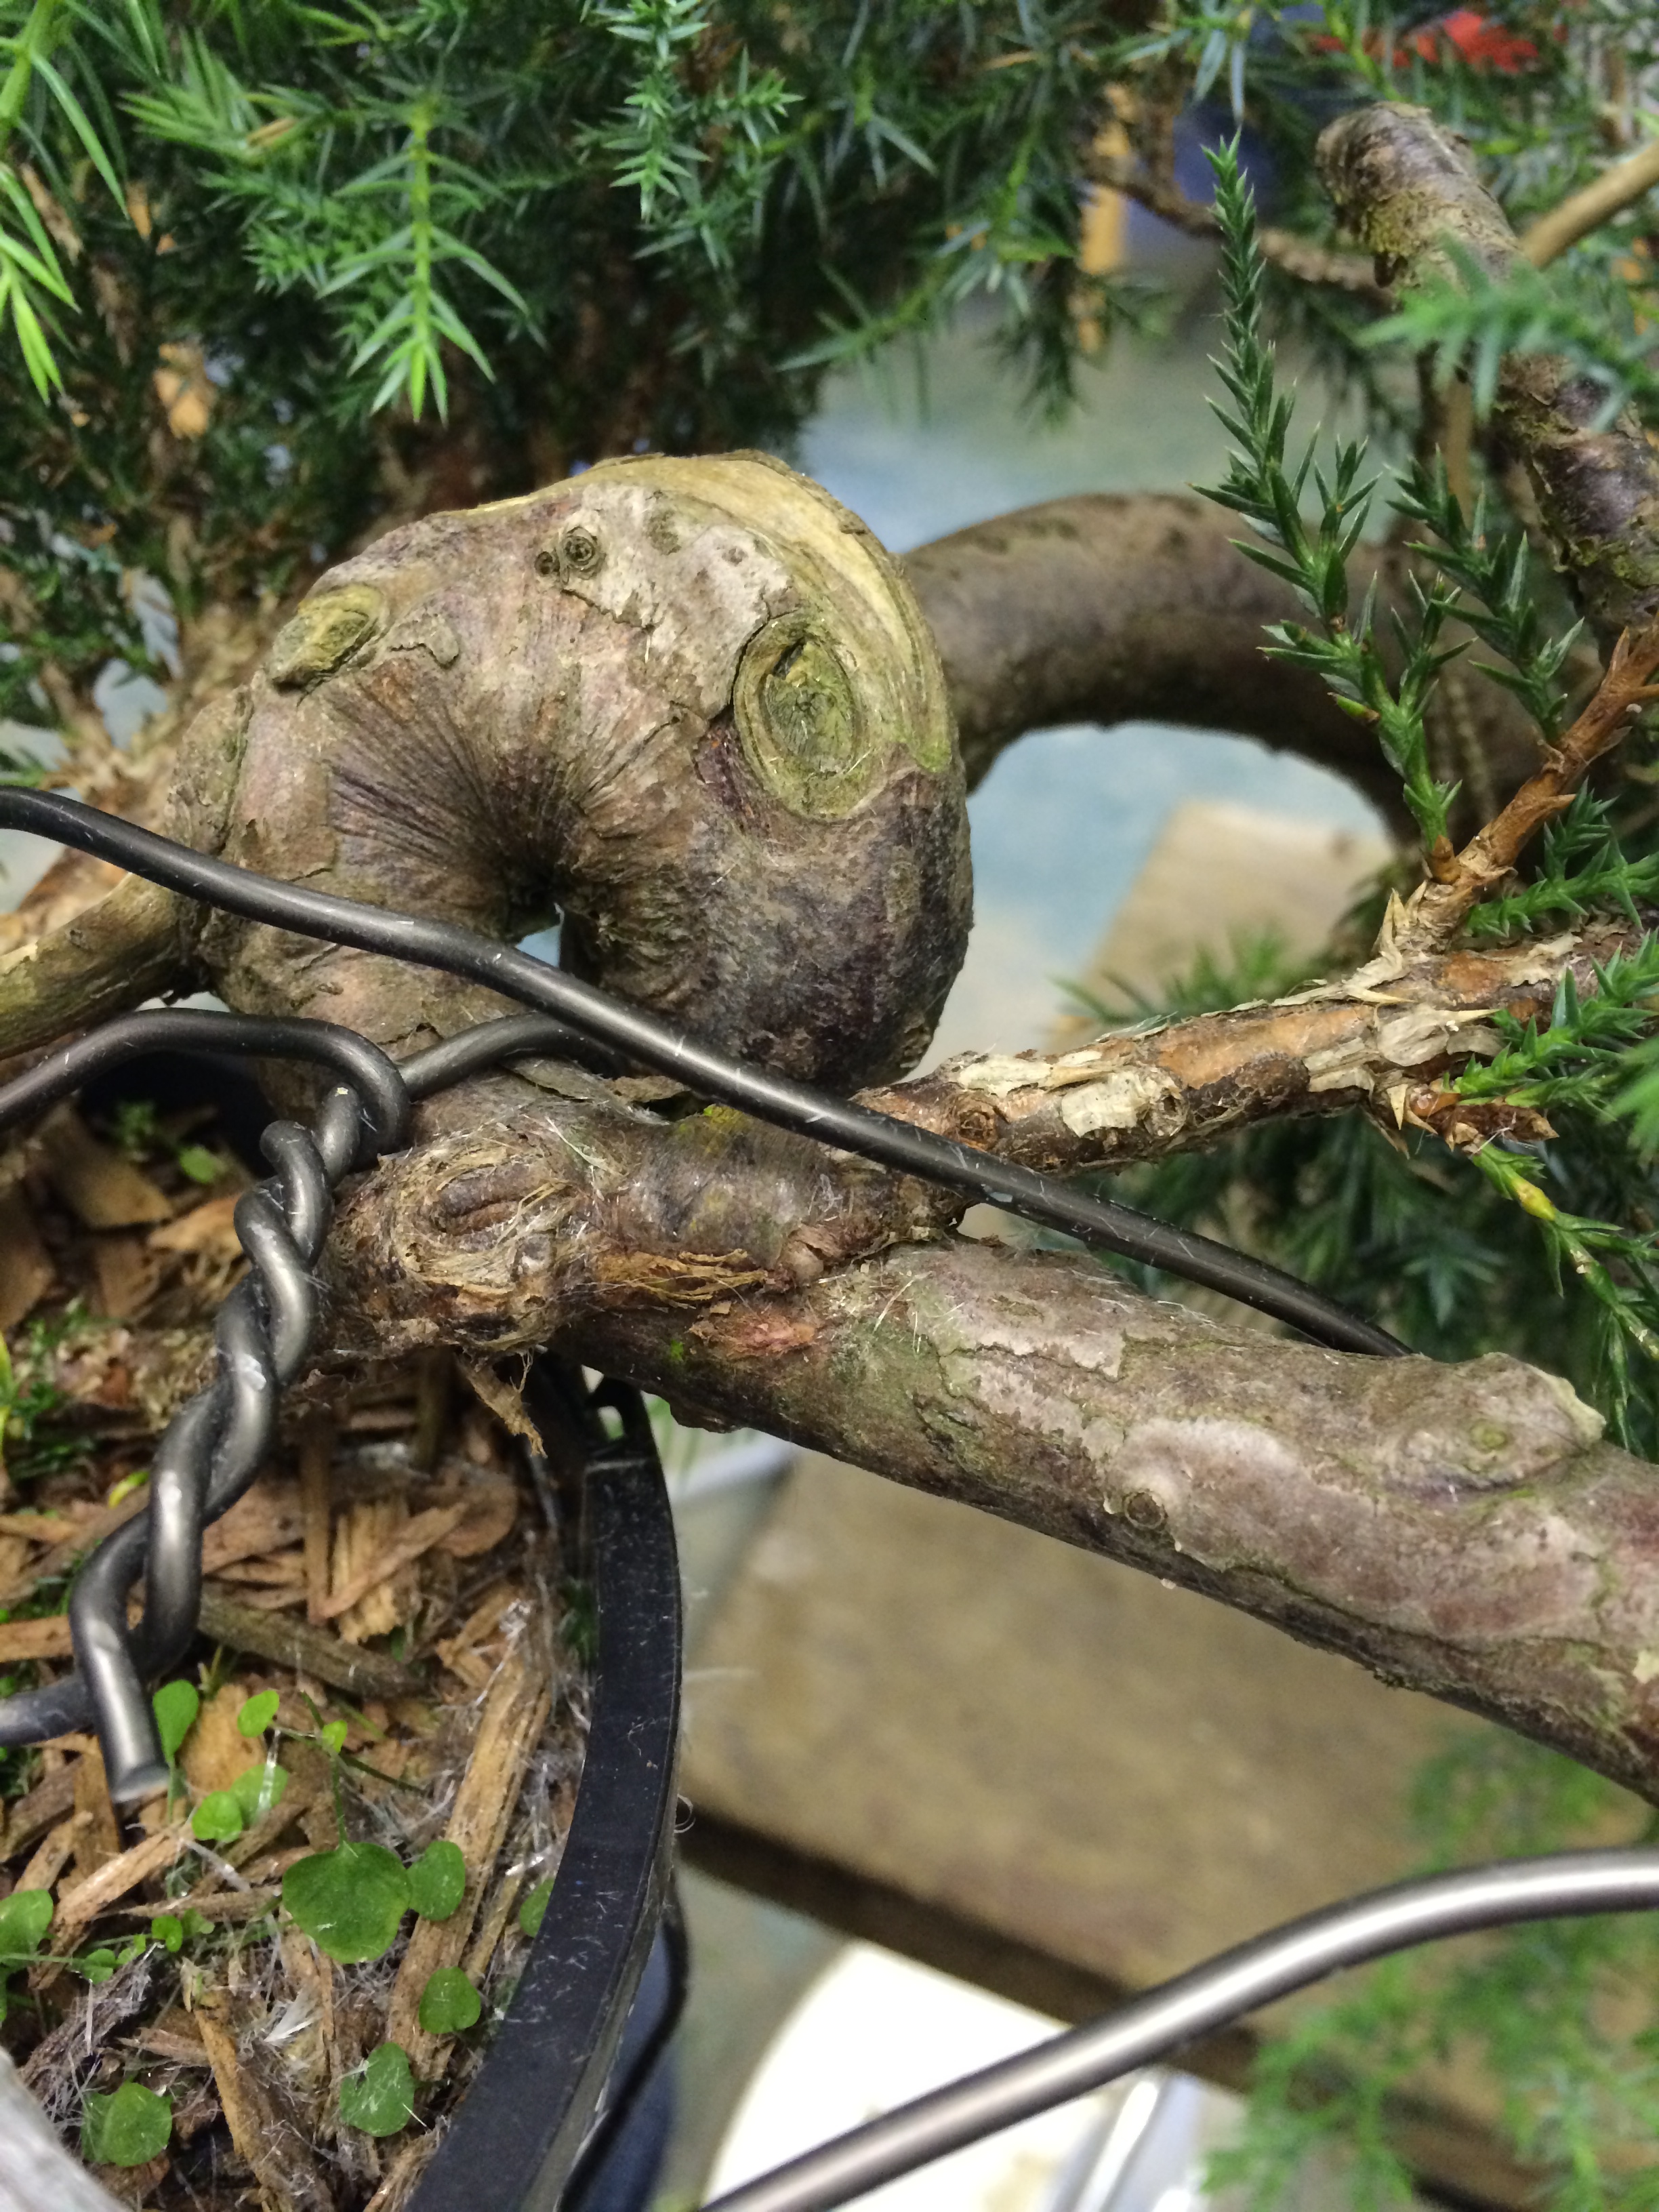
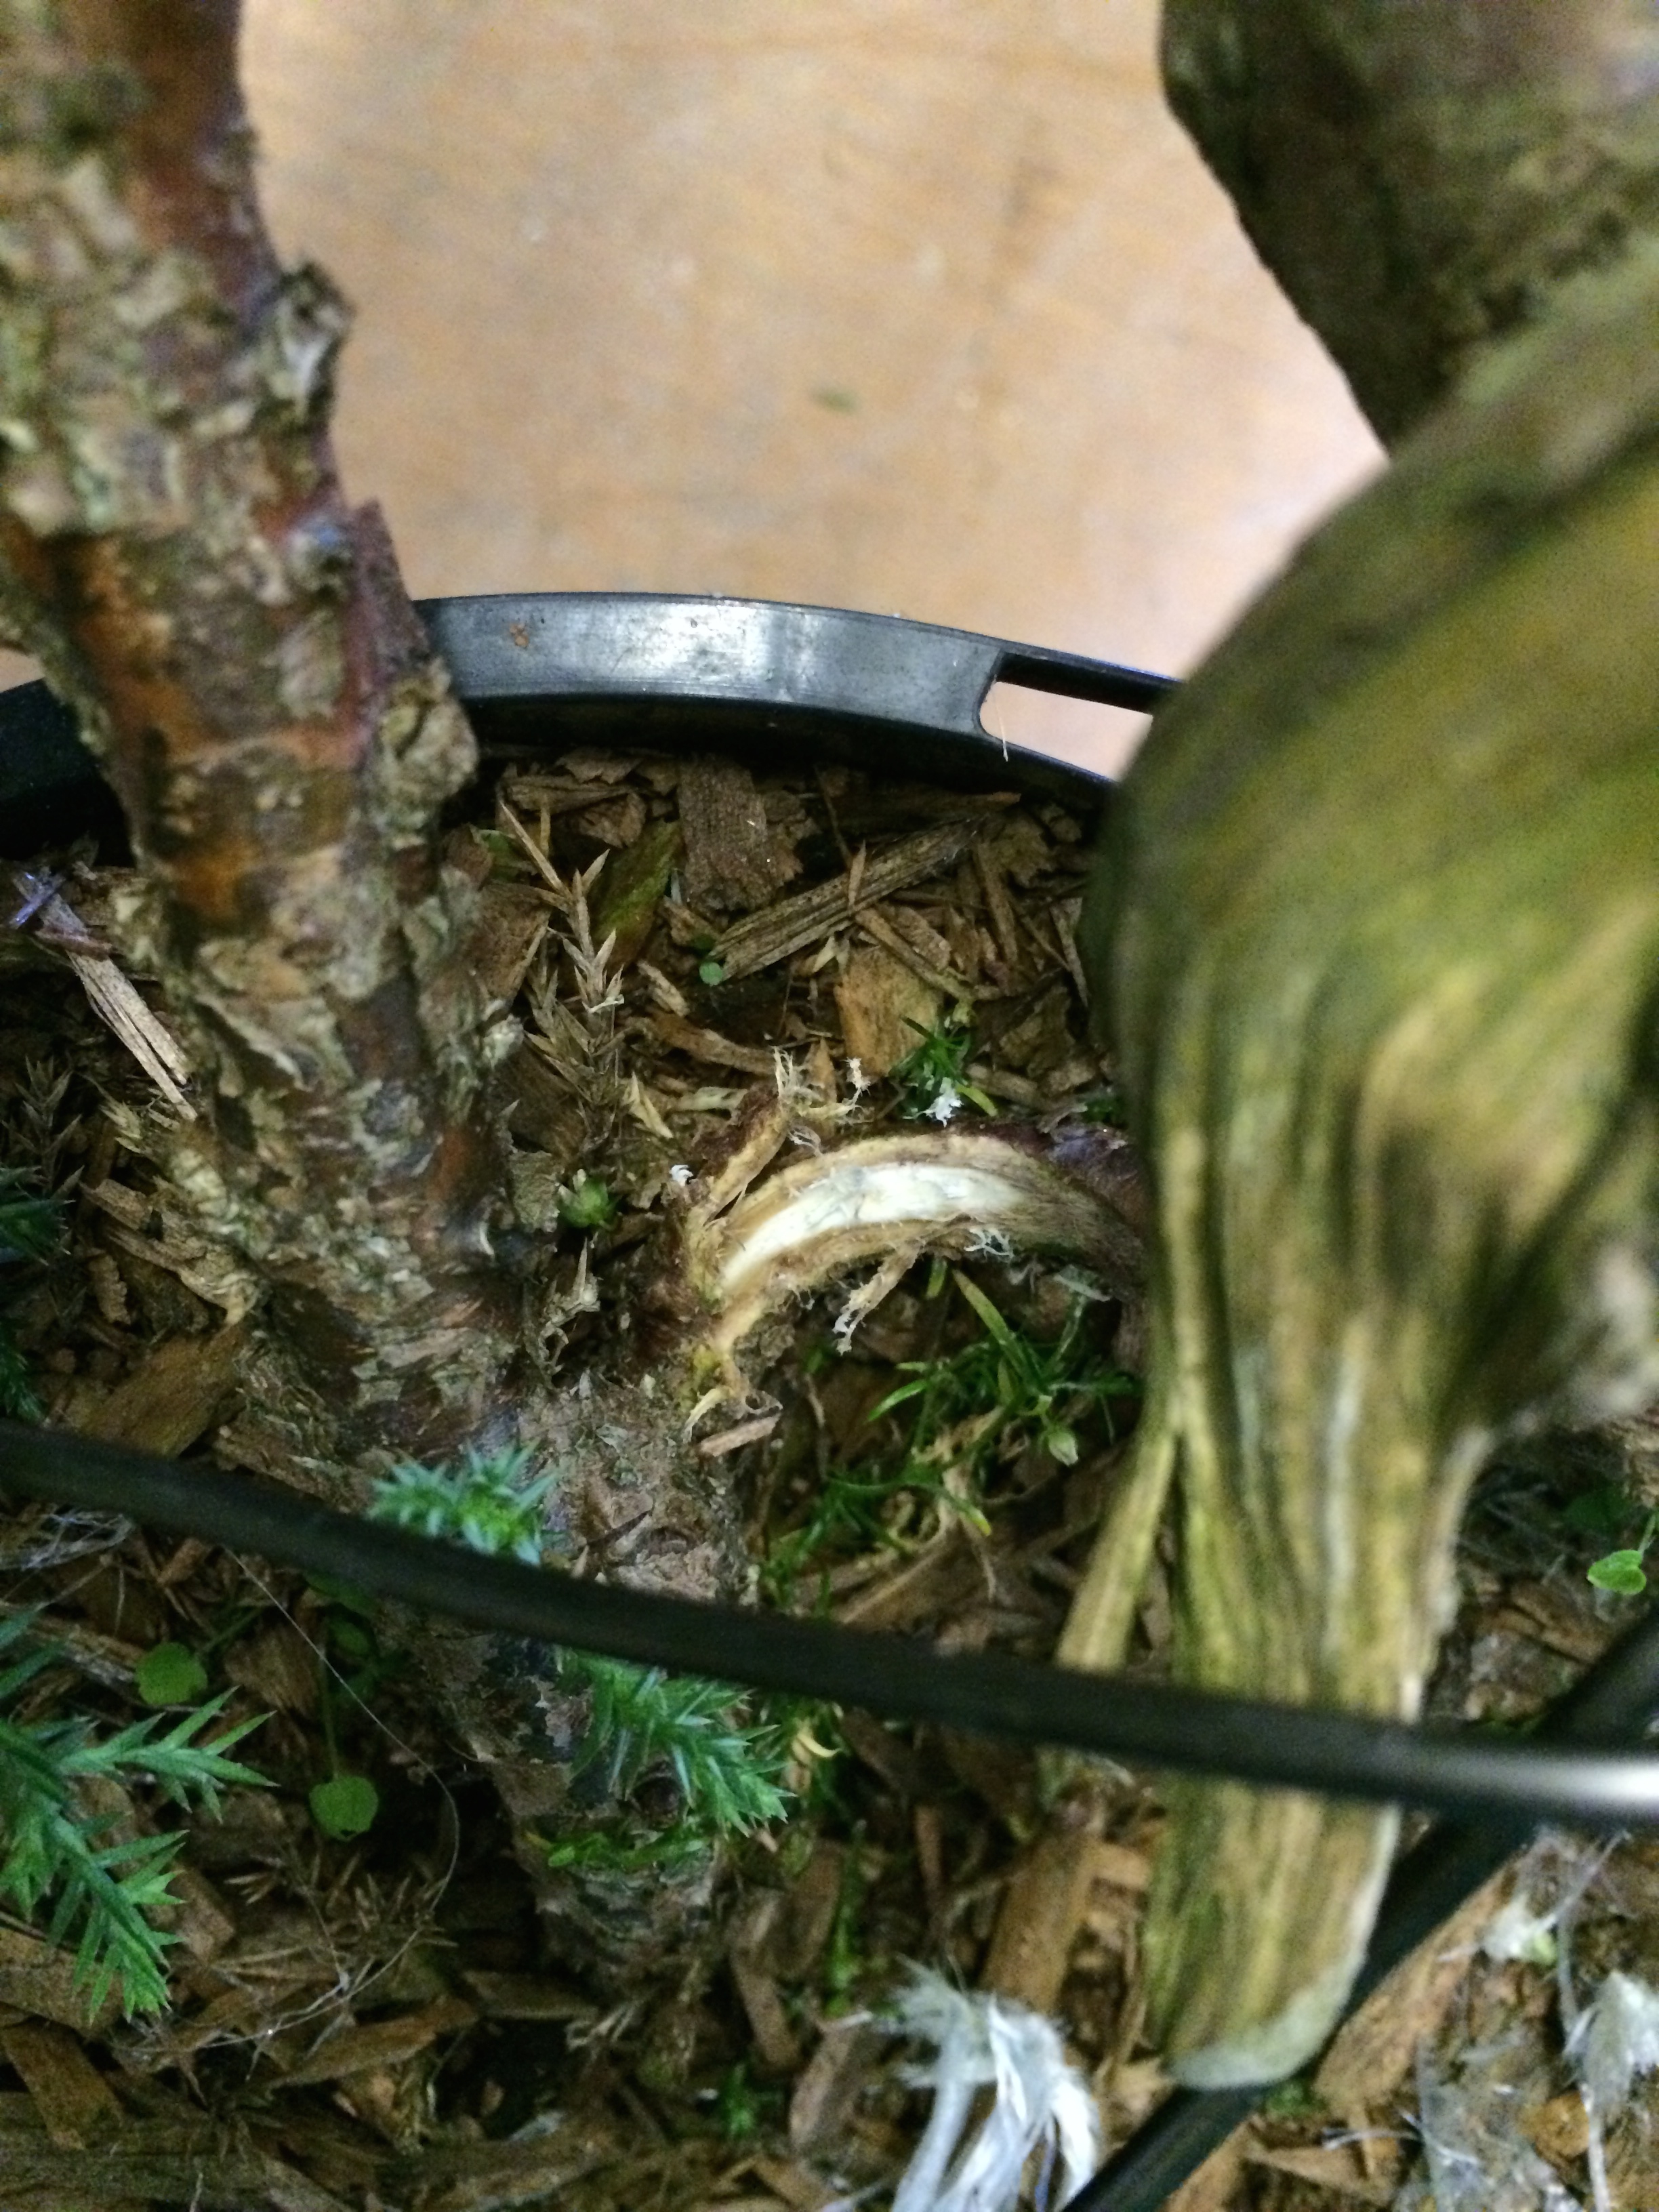
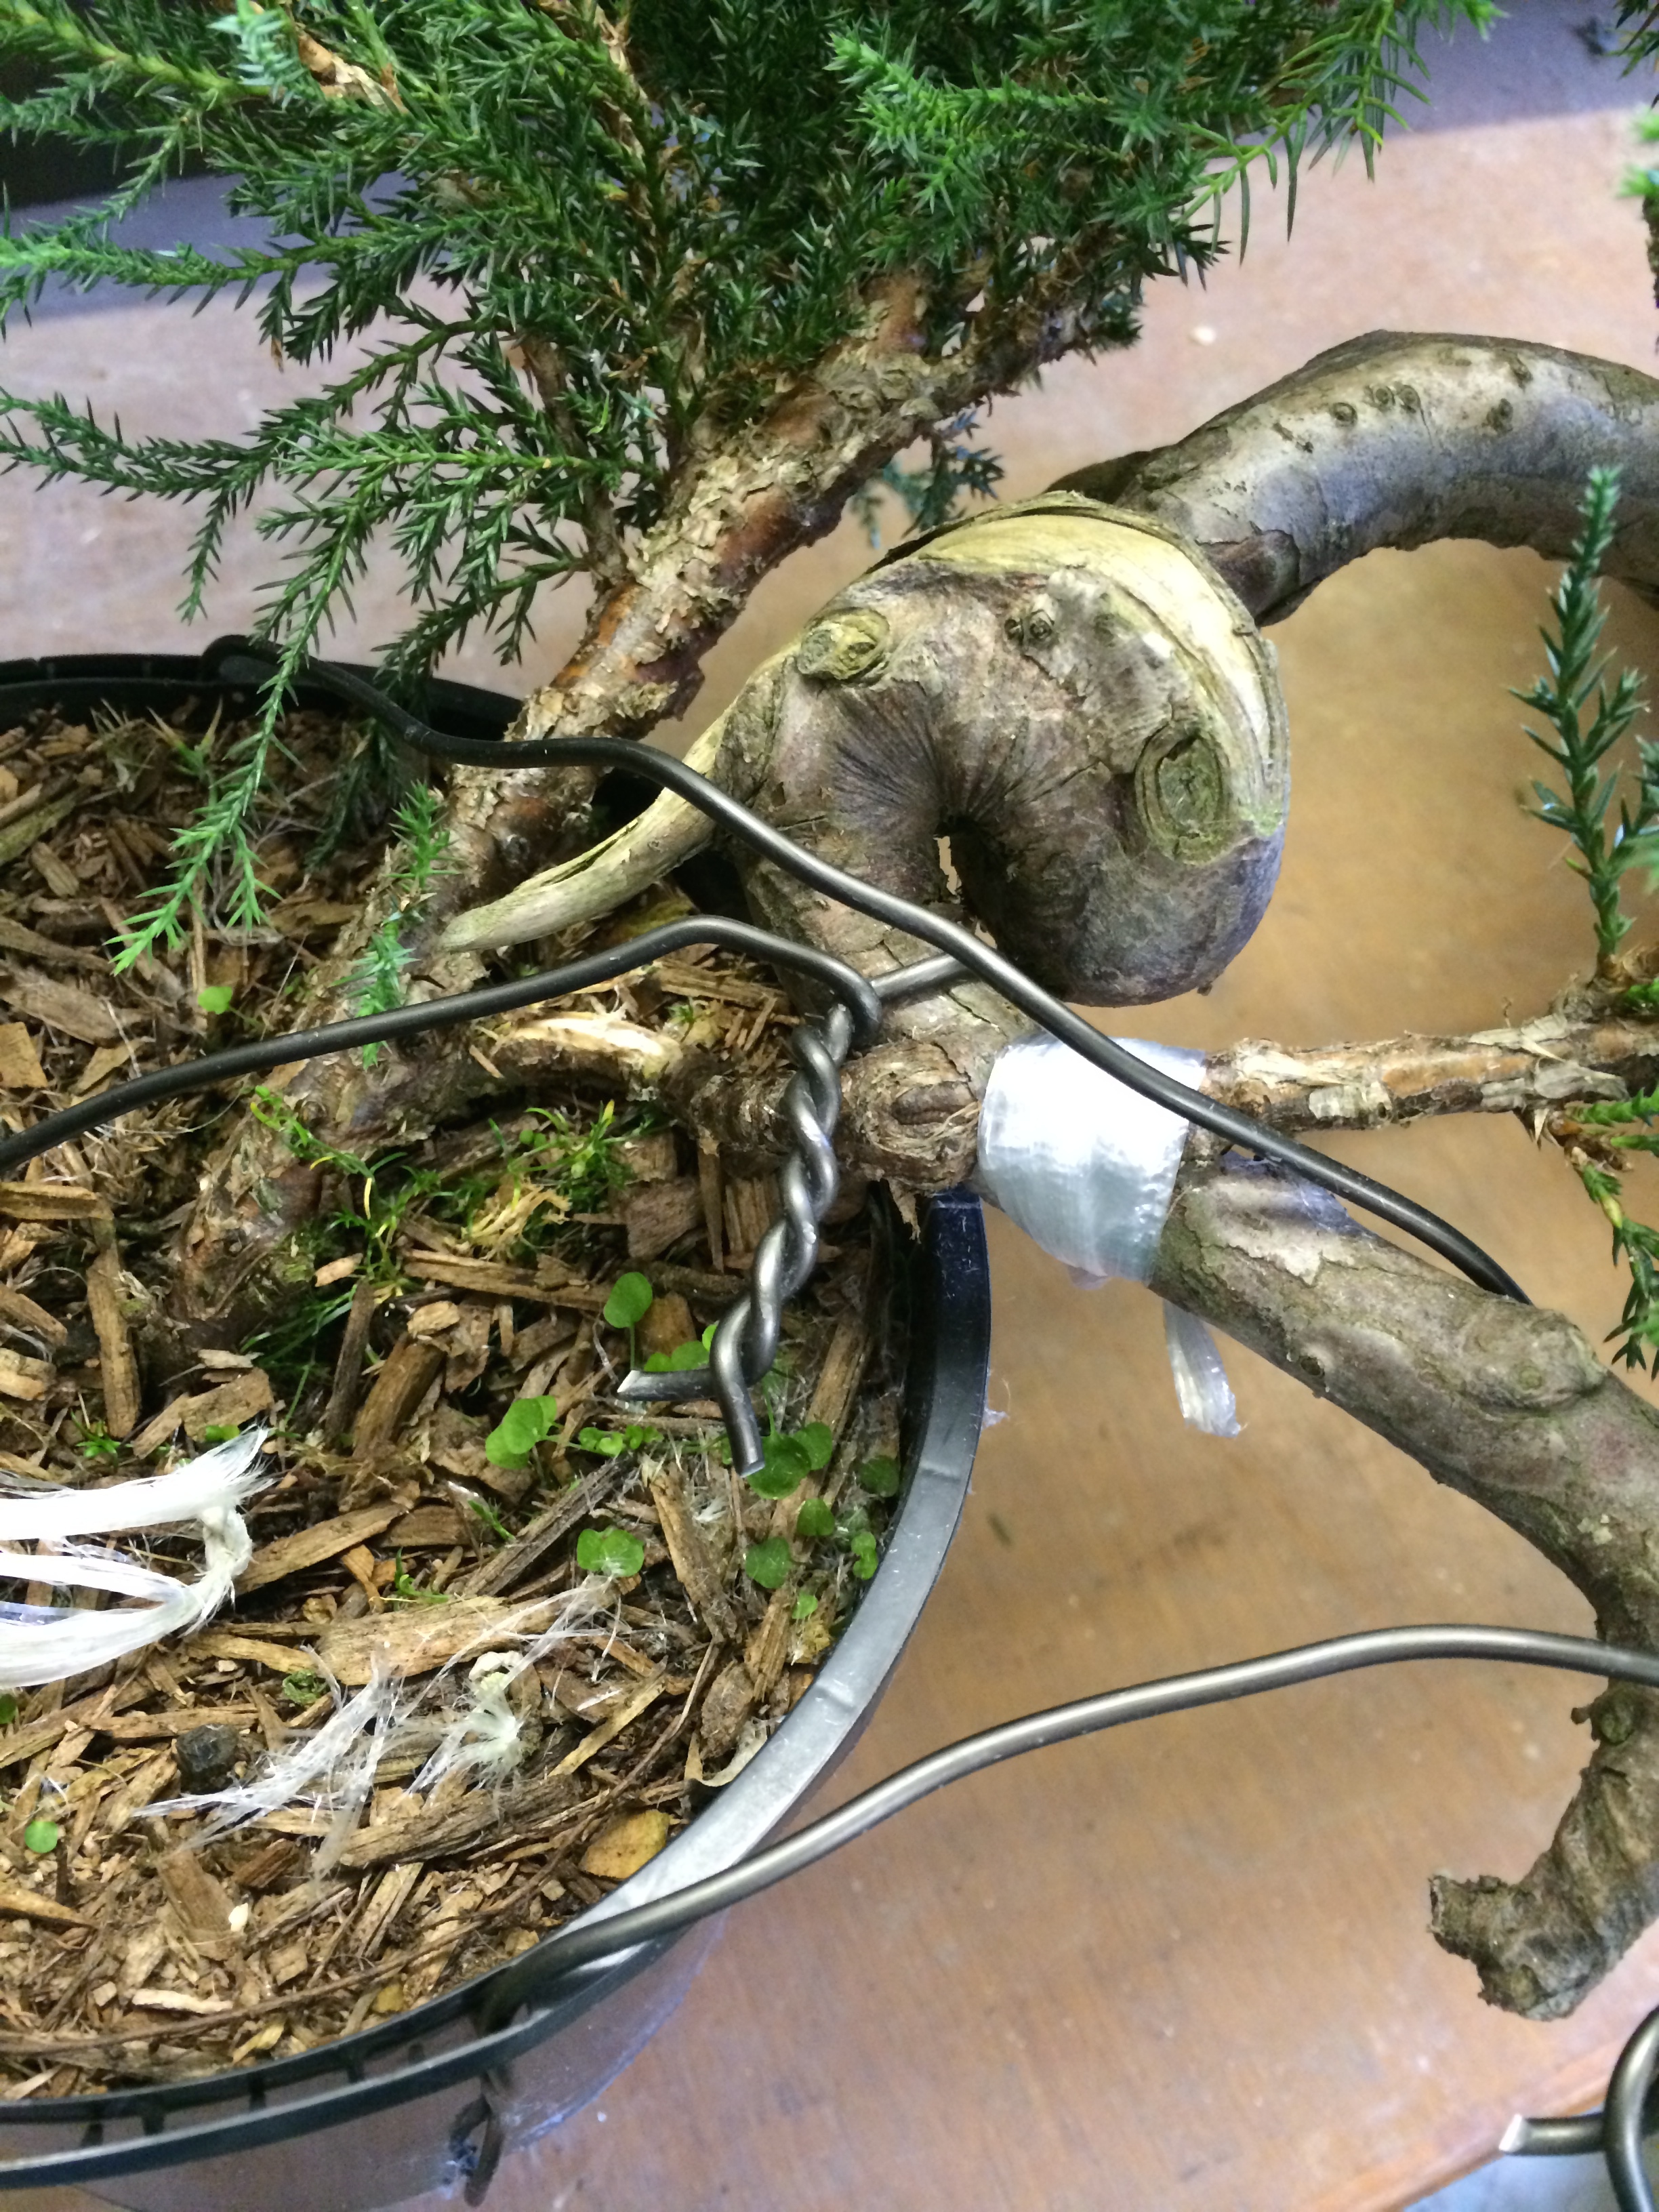
Early September and the tree is back. The traditional complete ring bark method was used. Once the bag is removed…..wow…. excellent roots.

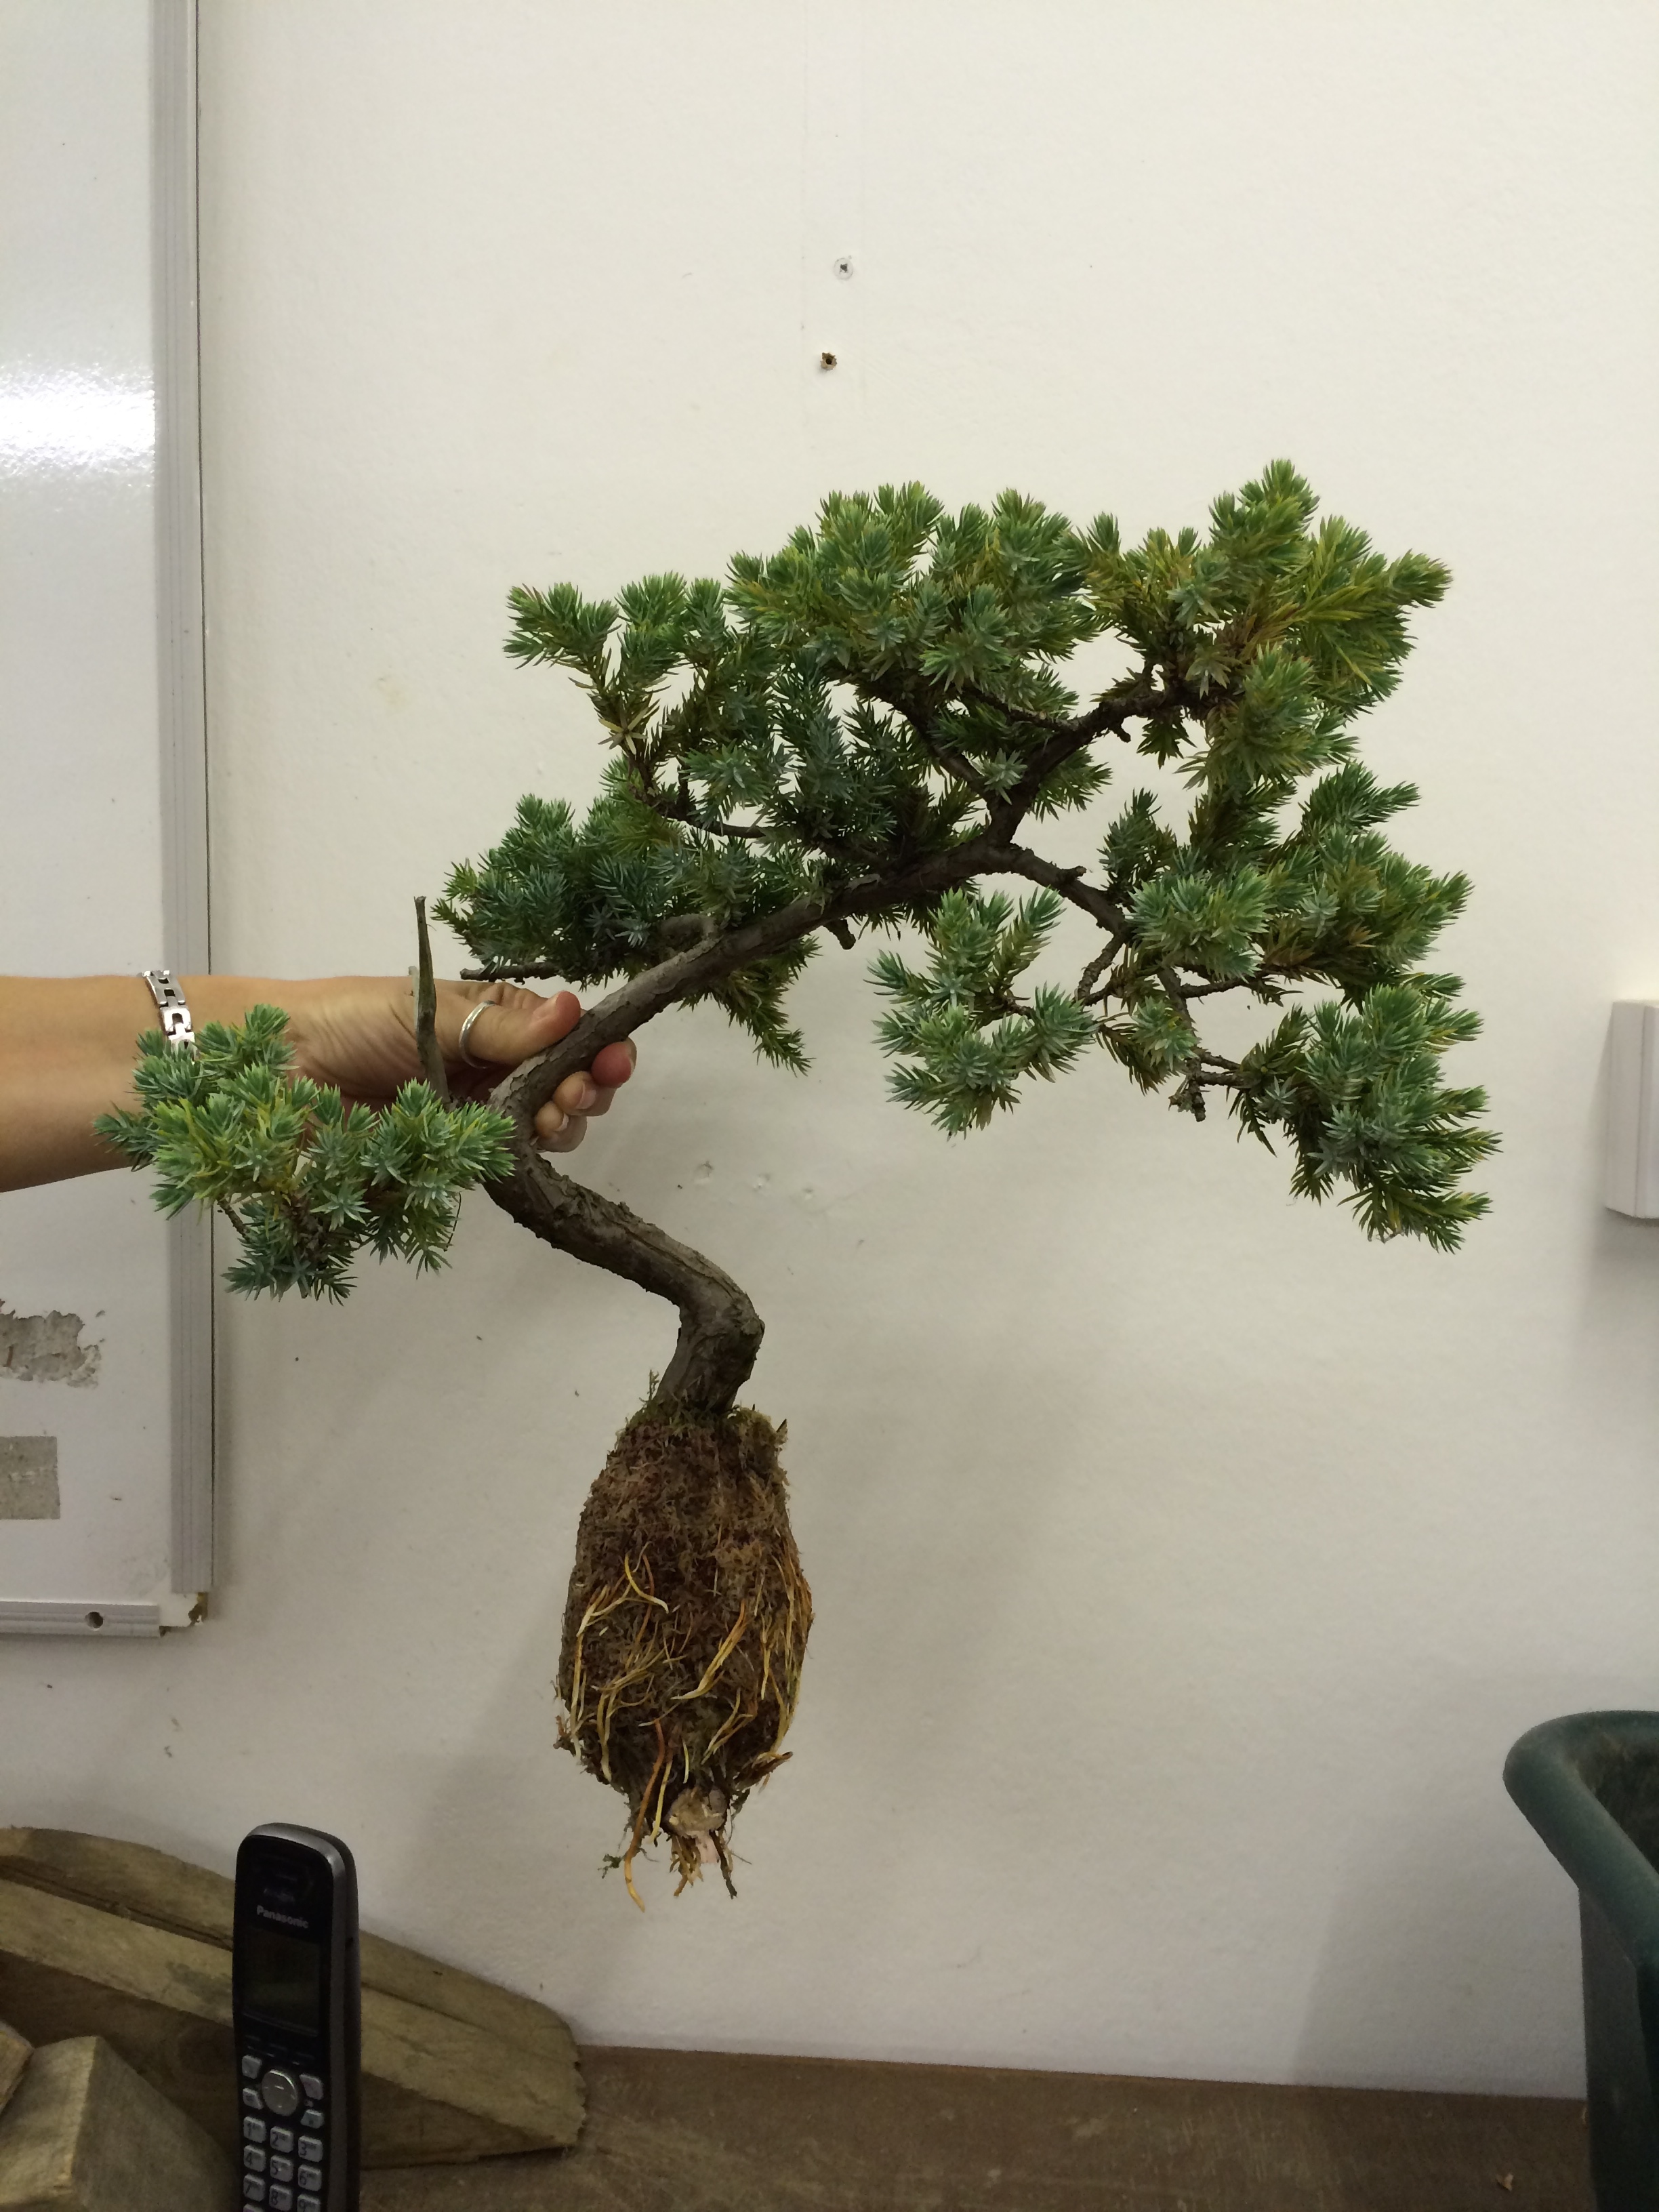
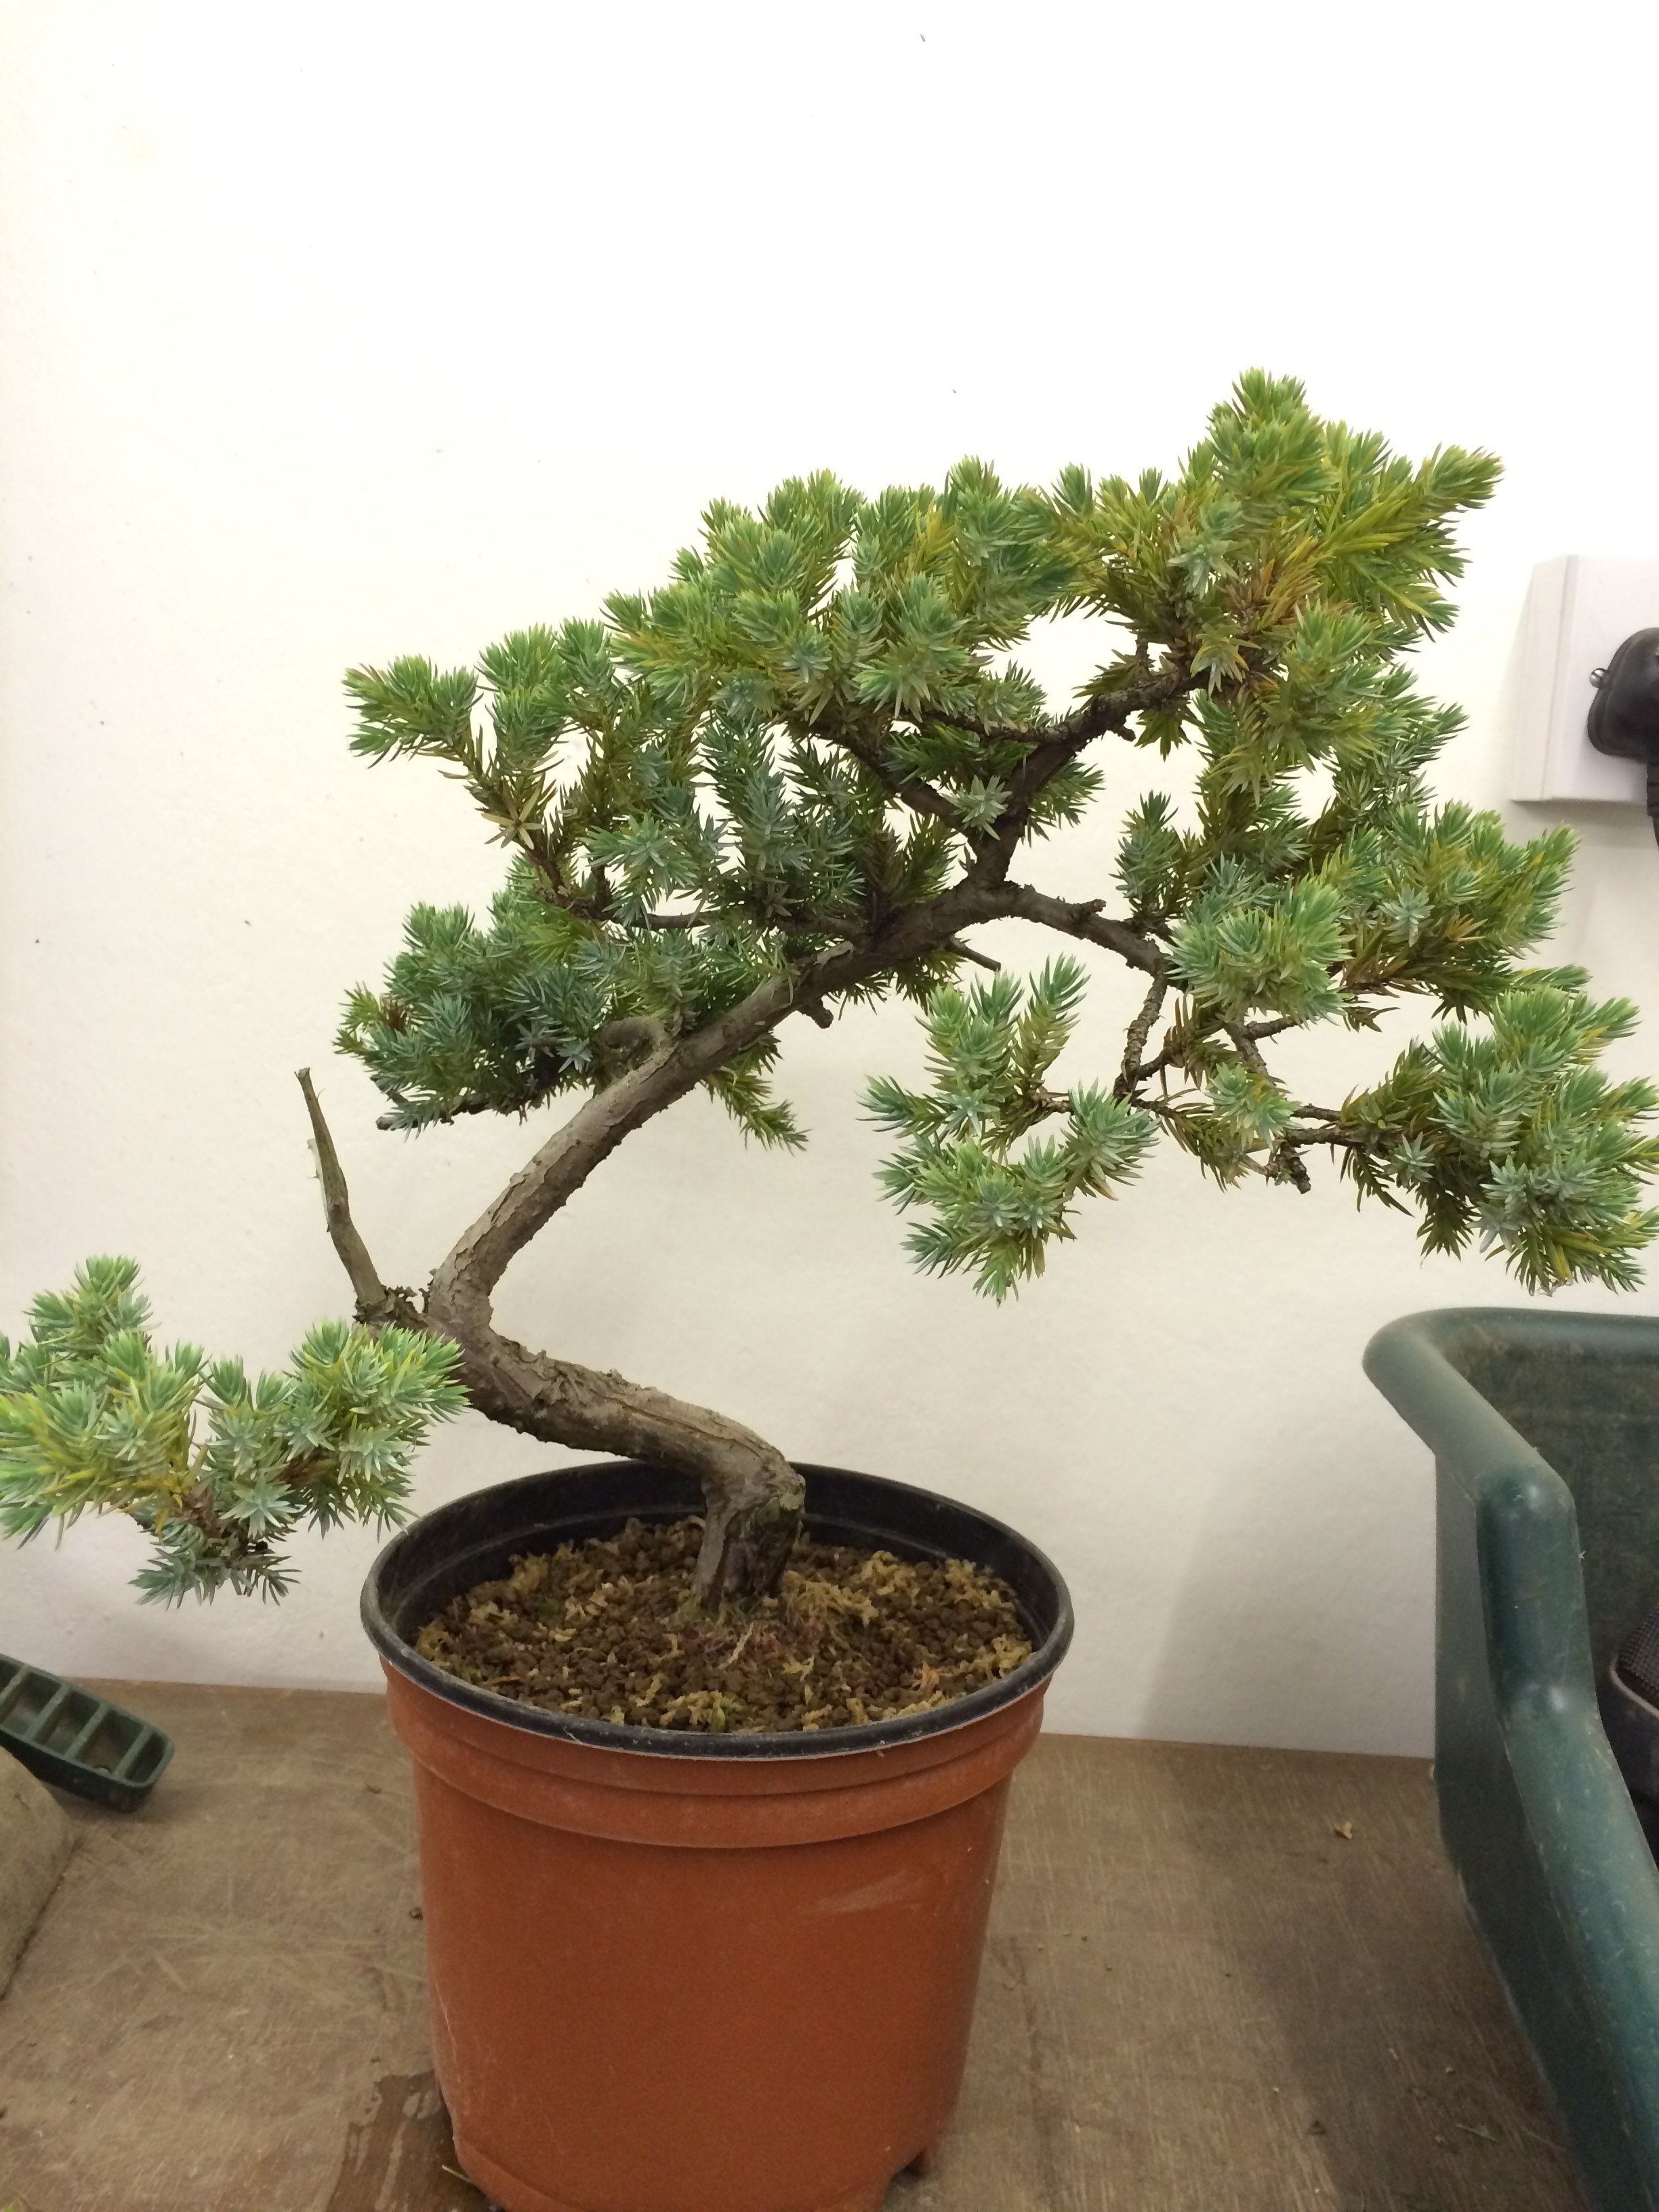
Carefully the layered tree is removed and potted up in a training pot. It will now be protected over the winter. Individually both these trees have the potential to make excellent literati style bonsai but together a good image was always going to be difficult to produce.
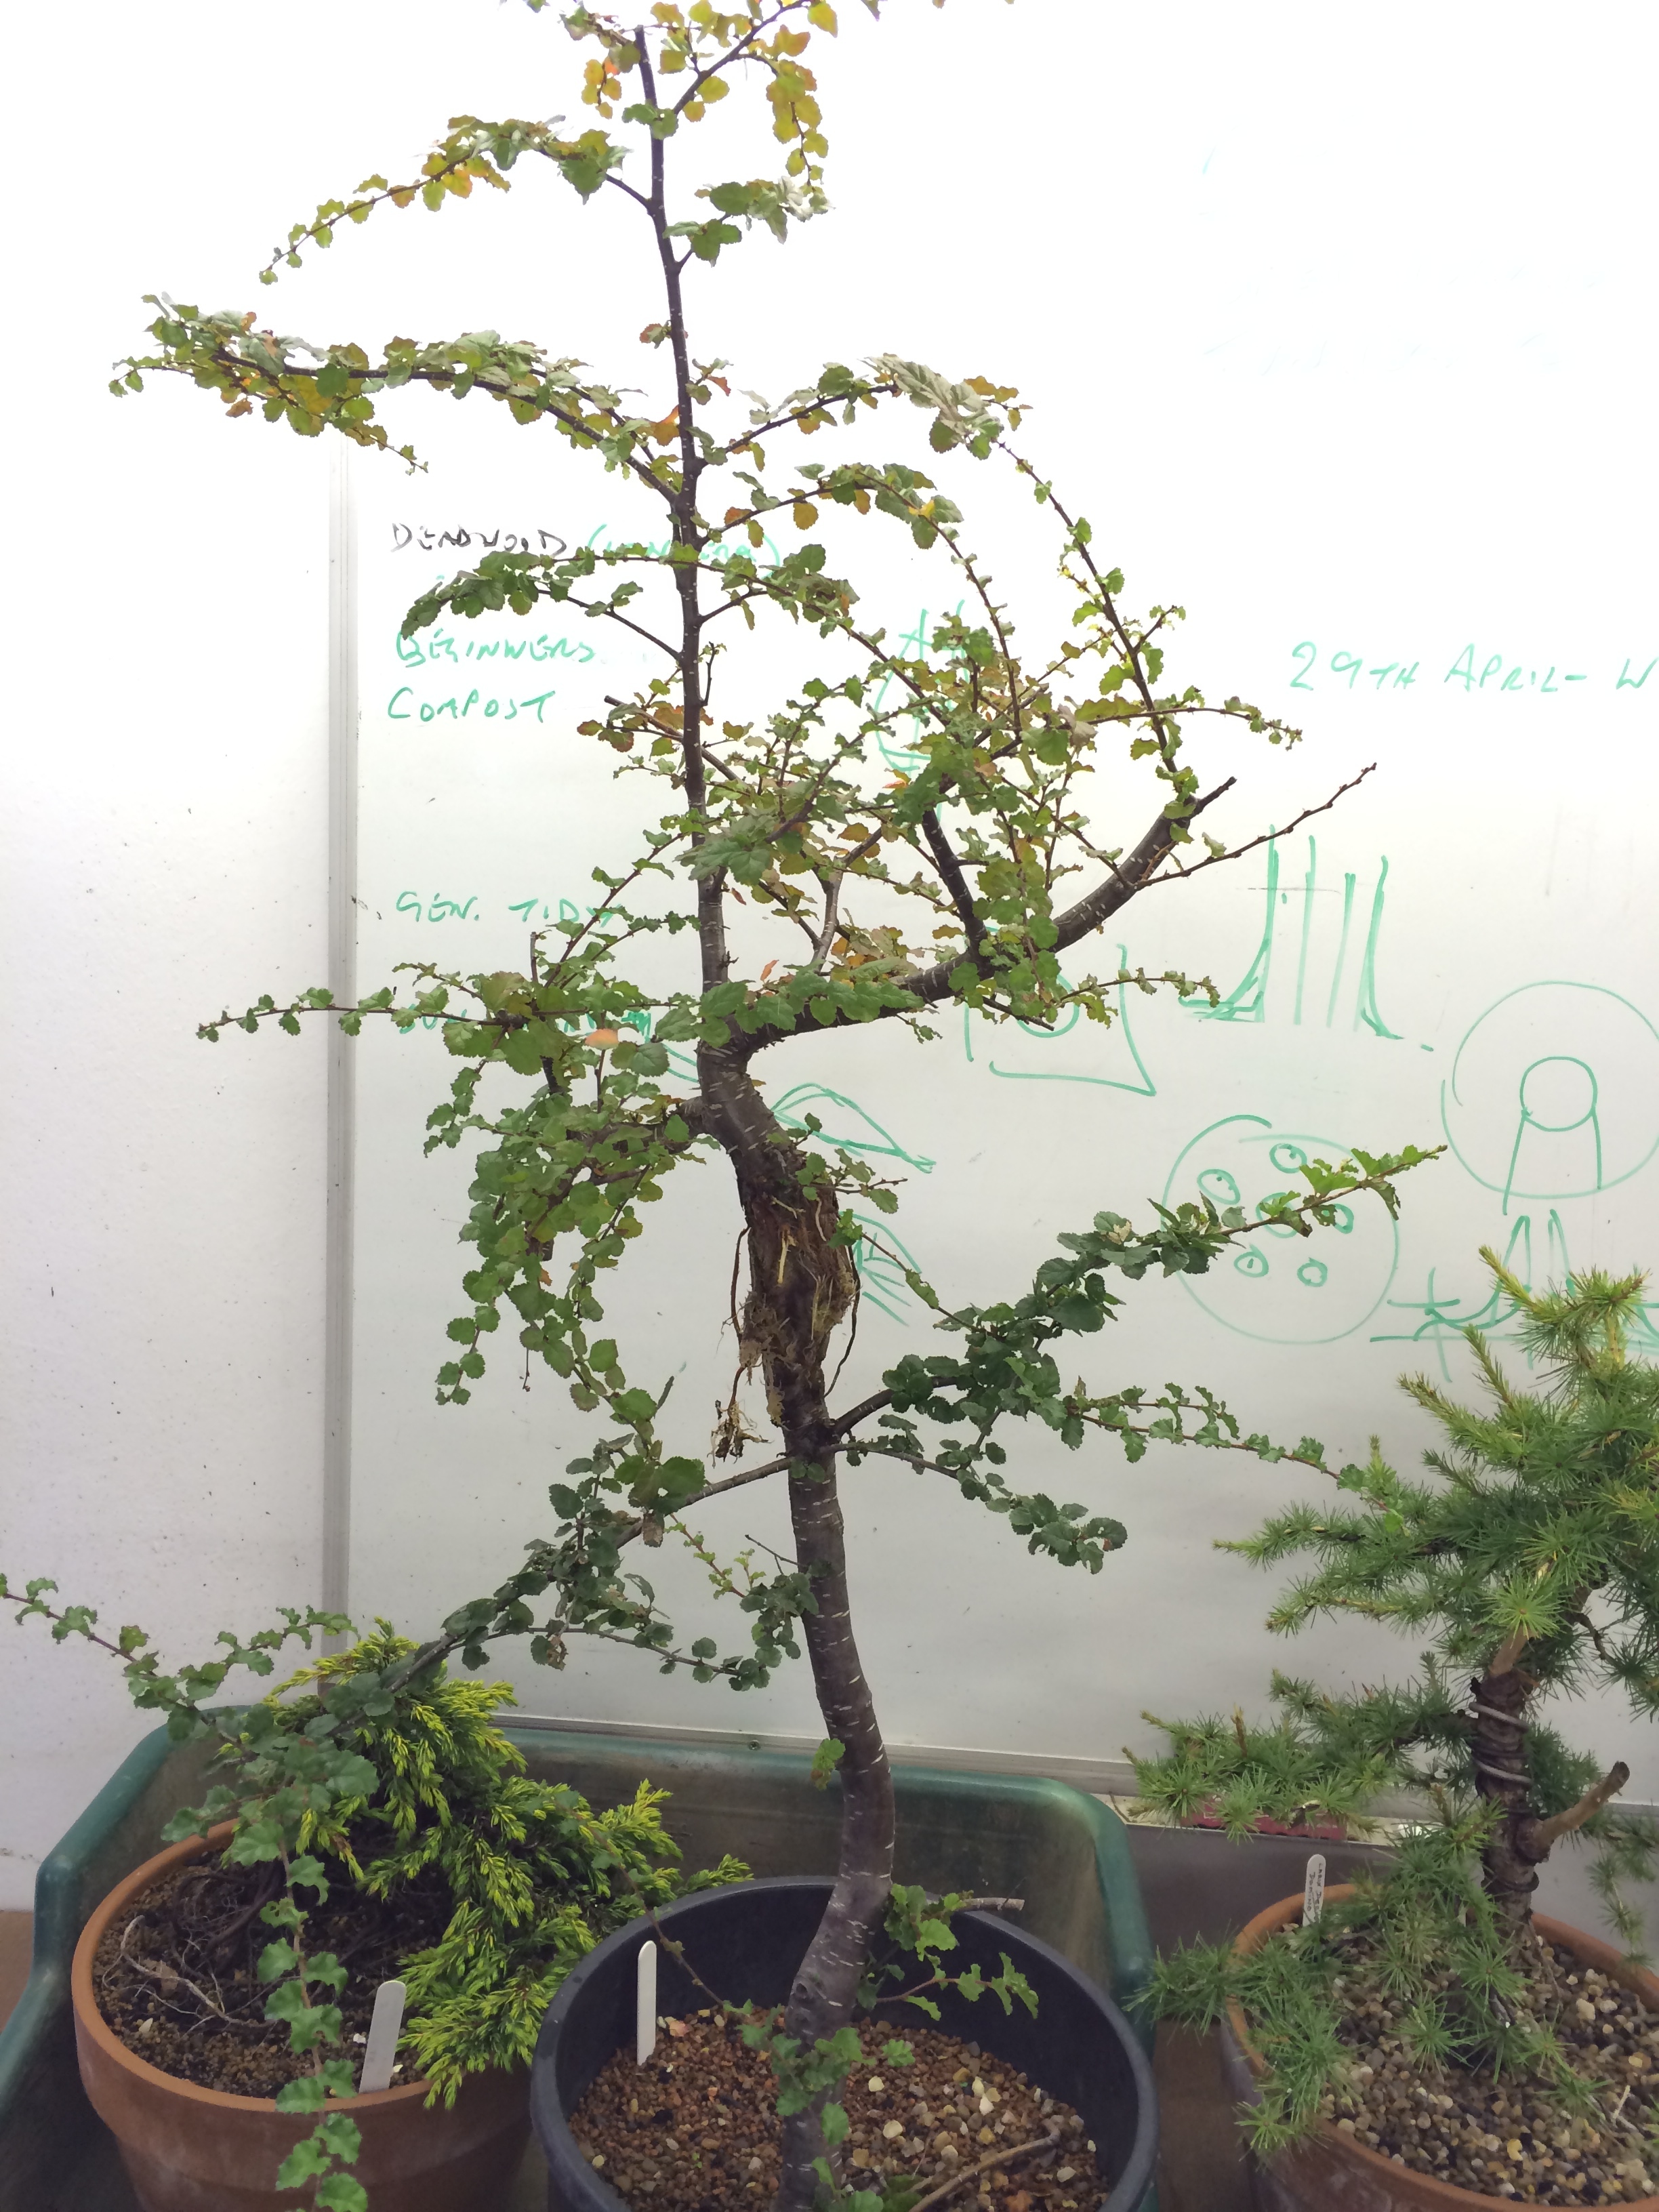
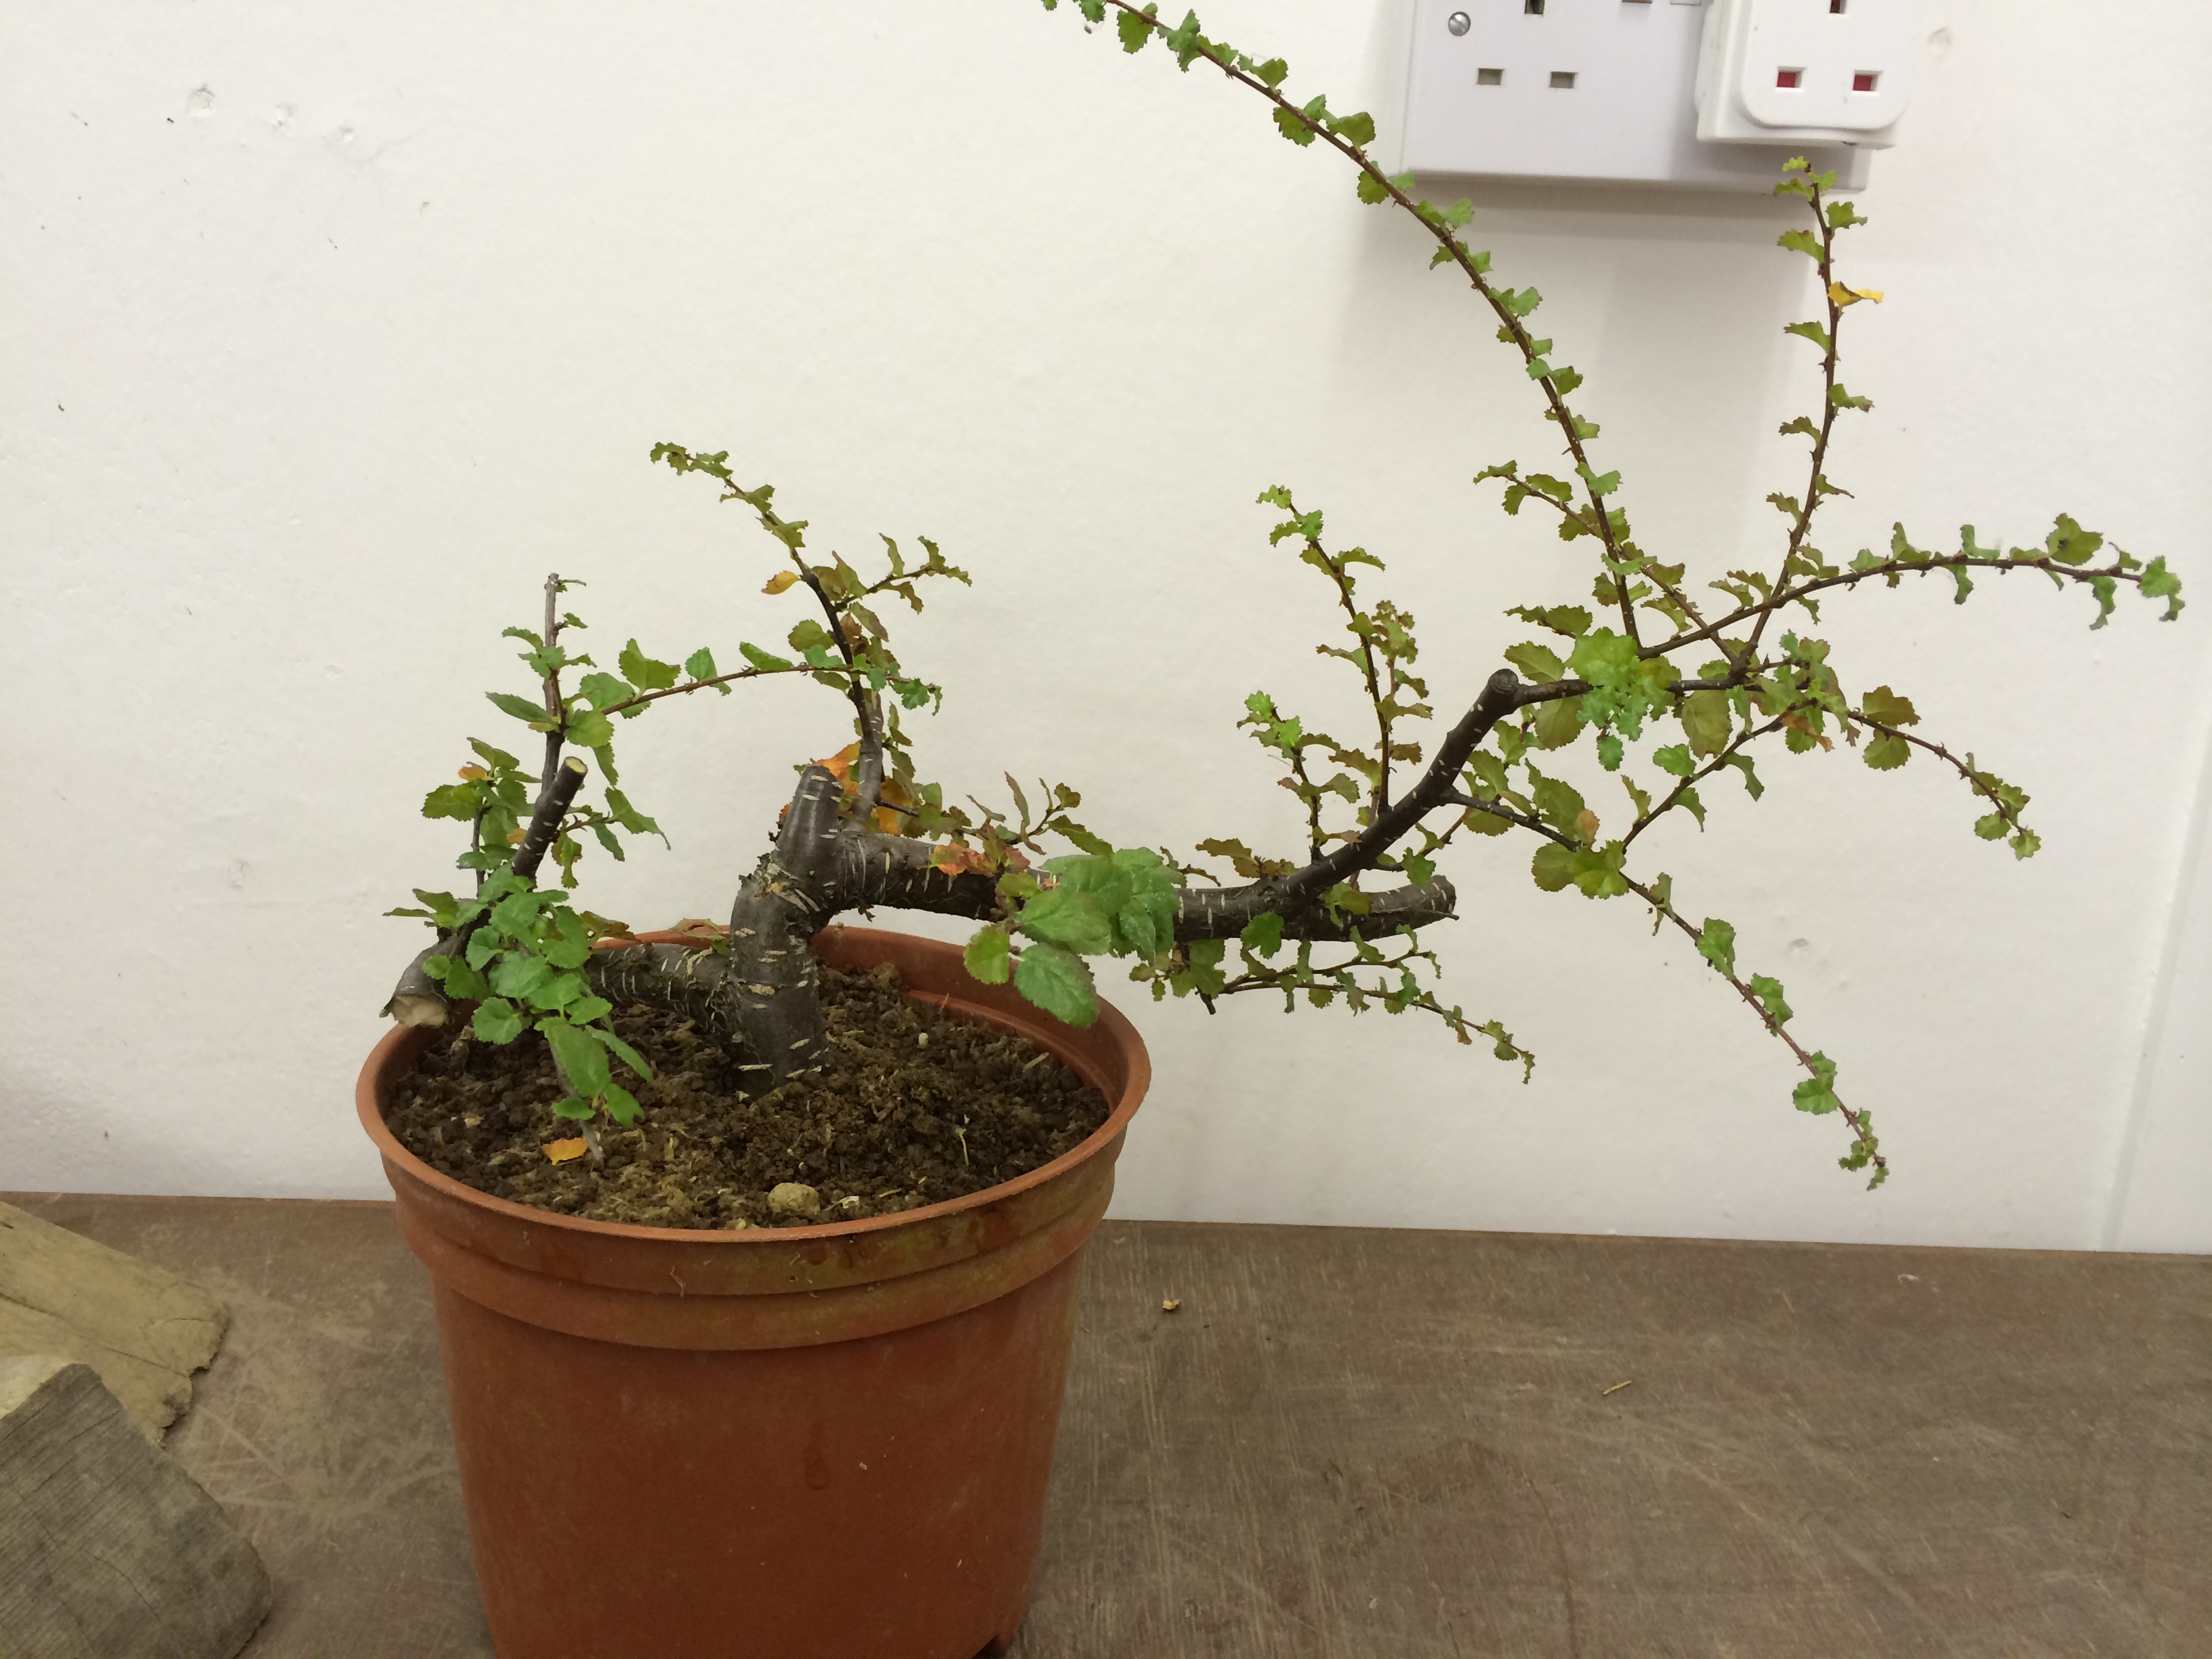
The second air layer was something completely different…… a deciduous tree…… Nothofagus Antarctica. Basic nursery material ready for training but with no obvious form.
The trunk is too tall with not much taper but this problem could be overcome by making two smaller trees. The layer was done in April and this removal work was carried out in August. The trees will be allowed to grow next year and then branch selecting can begin.
This graft was placed on the Juniper last year and was brought in during August for a progress report. The aim of the graft in this instance is to produce tighter foliage closer to the trunk. Both Junipers are growing strong.

When the raffia is removed the graft appears to have taken and is bonding well. The raffia is replaced, not as tight, but still to secure the union and to encourage the sap to flow in the right direction.
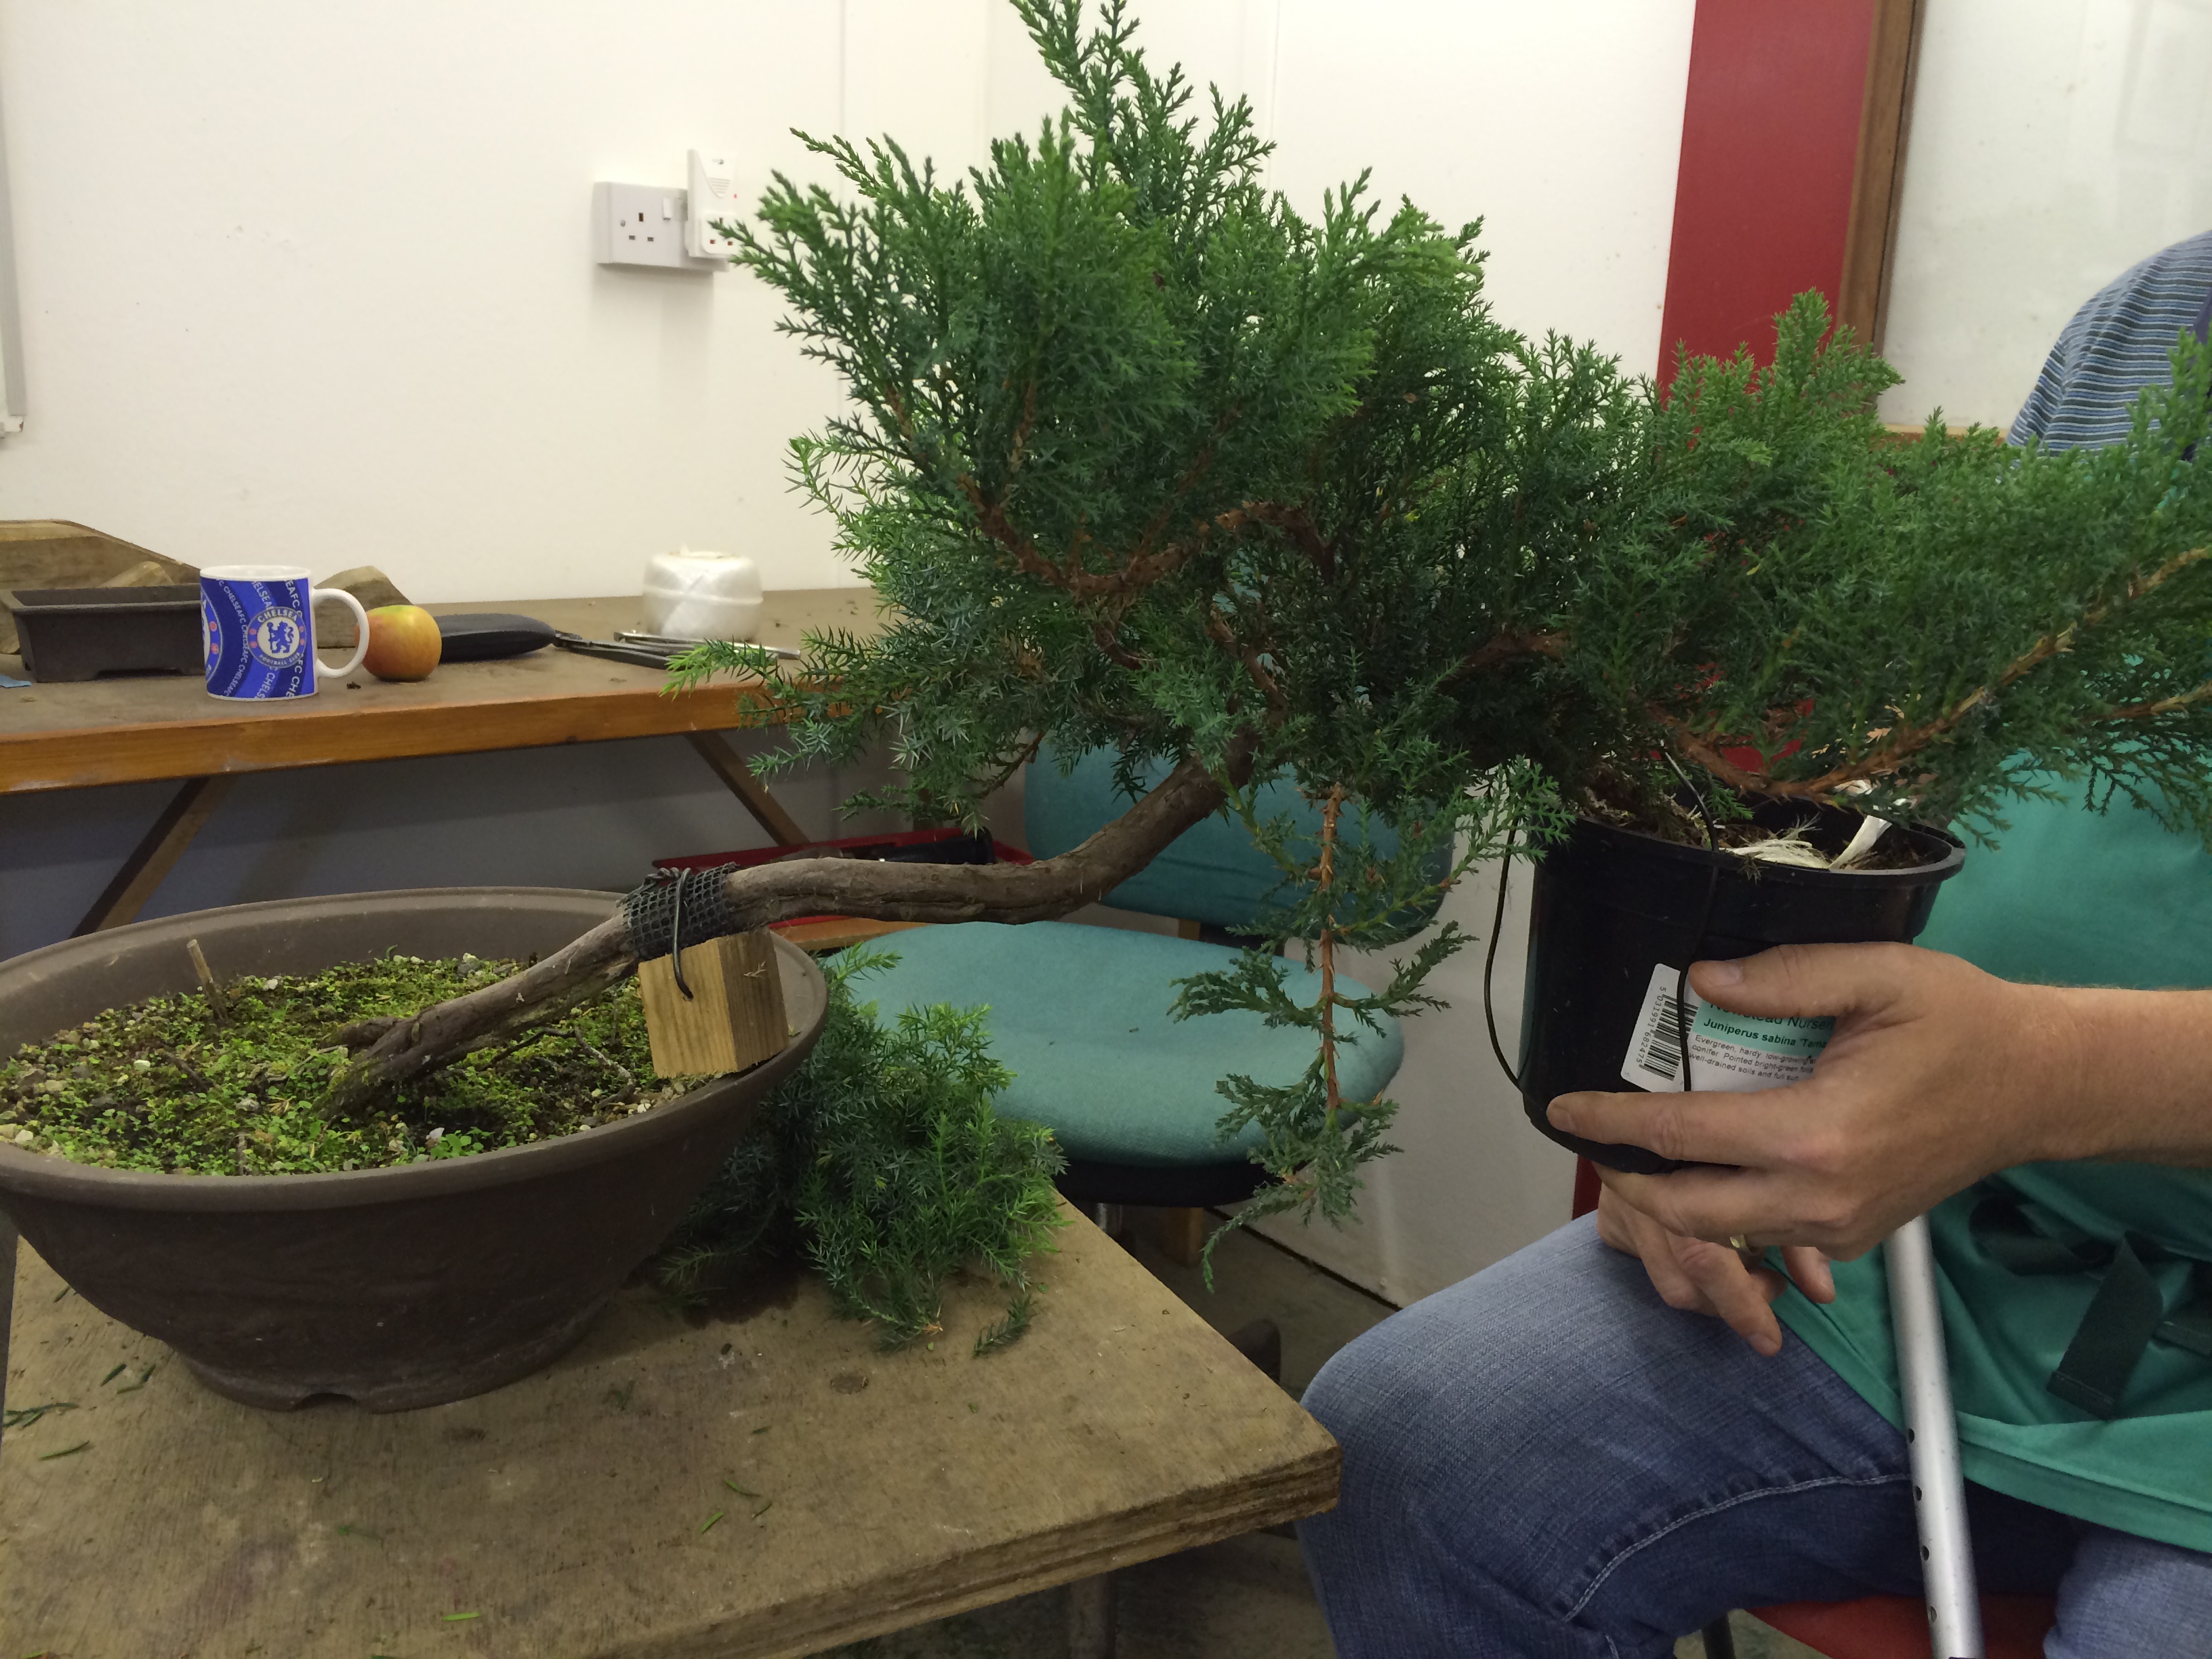
Some bark is removed between graft and the parent plant to weaken the supply line and force it to draw more sap from the receiving Juniper. The secret with grafting is patience, patience and more patience……take it from someone who knows! We will continue with this tree next year.
Projects were started and as you can see we had a good outcome….the layers were removed. Now the next phase can commence …….and maybe another bonsai class might be the best place to start. But then this is what bonsai is all about…..do the work, wait….. do the next bit, continue and your tree gets better and better. Some of my students have been coming for more than 20 years……you should see just what they have in their gardens!!!…………….and then the pictures of what they started with…….