Any questions about booking a course or shopping online? Contact us:   07399 383106     john@johnhanbybonsai.co.uk
  

Inside Out Repotting….Part One

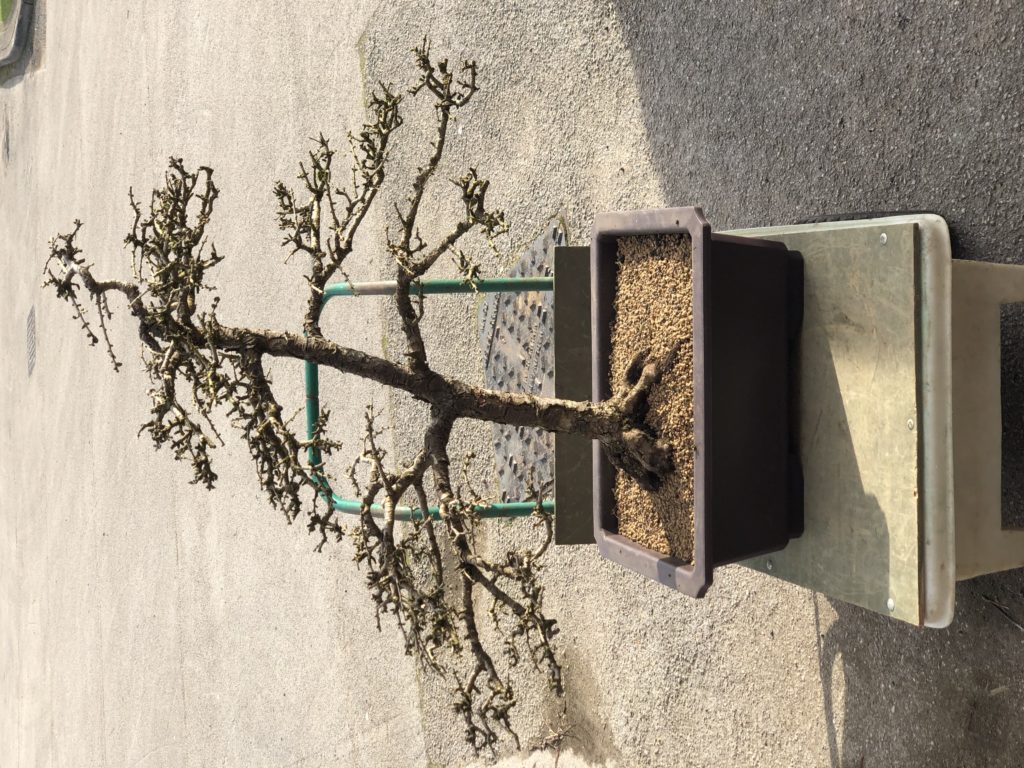
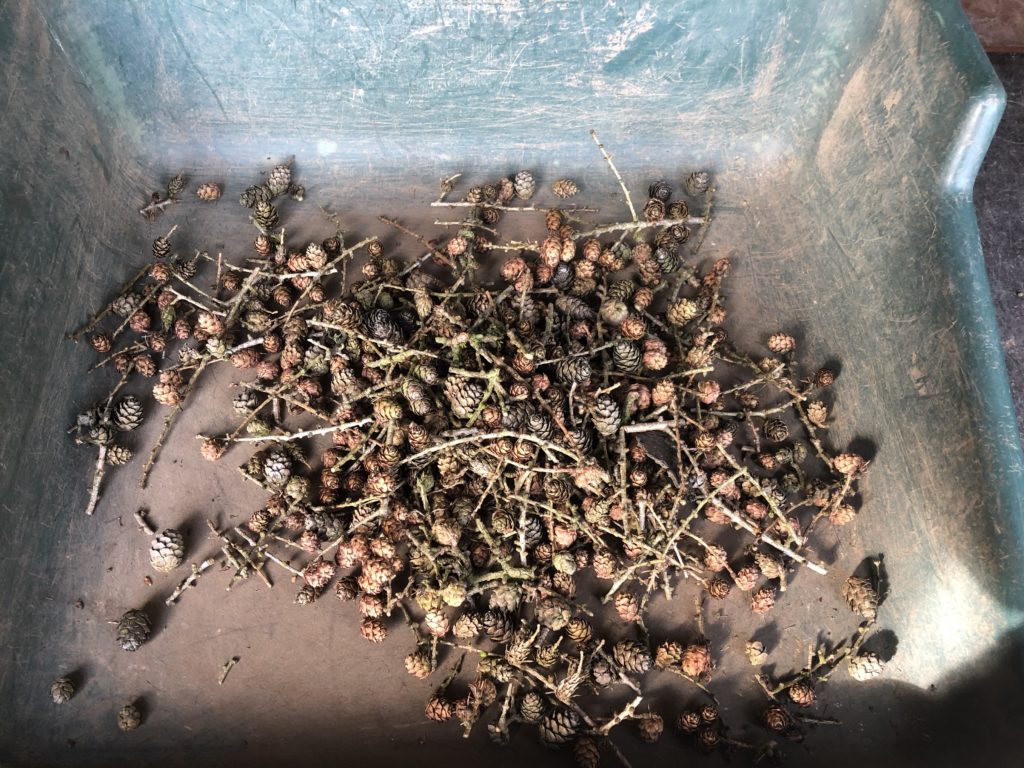
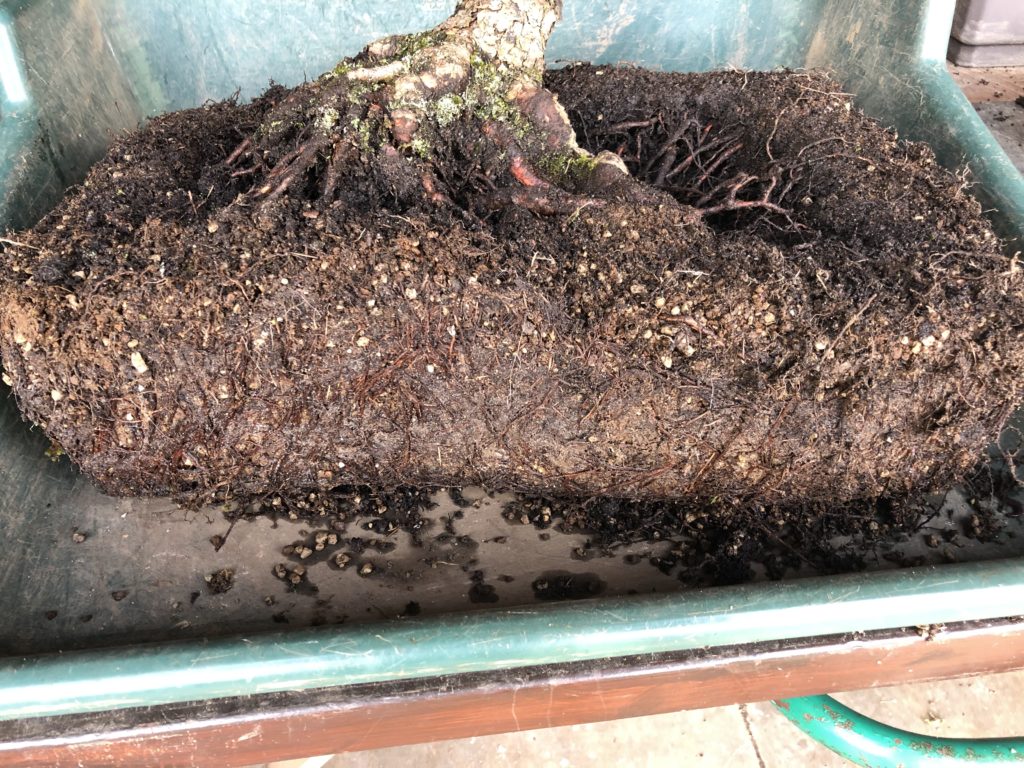
A client recently left two trees with me for repotting. One was a Larch whilst the other was a Scots Pine. Both trees were old and probably collected from the wild. This two part article will continue their story.

This is the Larch after being repotted and pruned……but what went before?
My first job had been to remove an excessive amount of cones. If a tree produces an uncharacteristically large amount of seeds it can be a cry for help. In fear of its life the tree can produce as much seed as possible to try and perpetuate itself. This activity alone can suggest that an investigation of the rootball is required.
The soil in the centre of the rootball had broken down, was very wet and causing roots to perish. It had to be carefully removed leaving healthy roots in place and without disturbing the outer sections of the rootball.
You can see how poor the removed soil is. Black and damp with dead roots clearly visible.
I repotted this tree for my client several years ago. You can see the compost I introduced around the edge of the rootball before is still good and full of brown healthy roots. I could not use the inside out method before because at that time the outer roots were not strong enough to sustain the health of the tree.
Fresh compost is introduced into the void and worked in to all the spaces with a wide chopstick. This is a mixture of 3 parts Akadama and 1 part horticultural aggregate.
The tree is finished with a top dressing which highlights the impressive nebari.

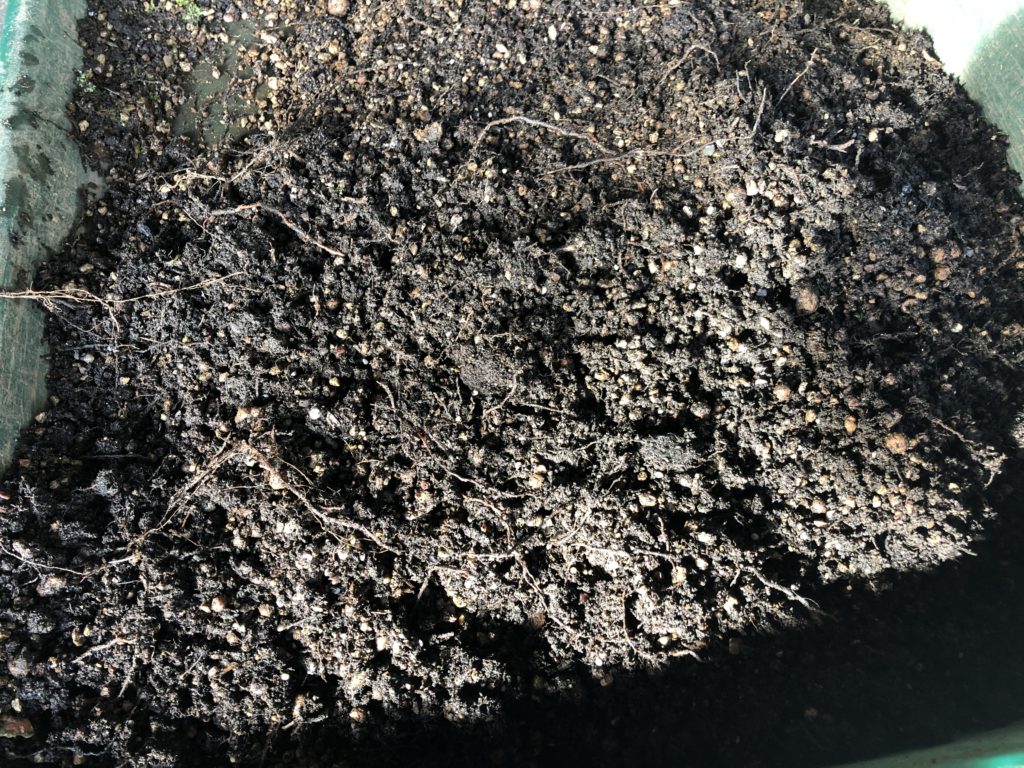
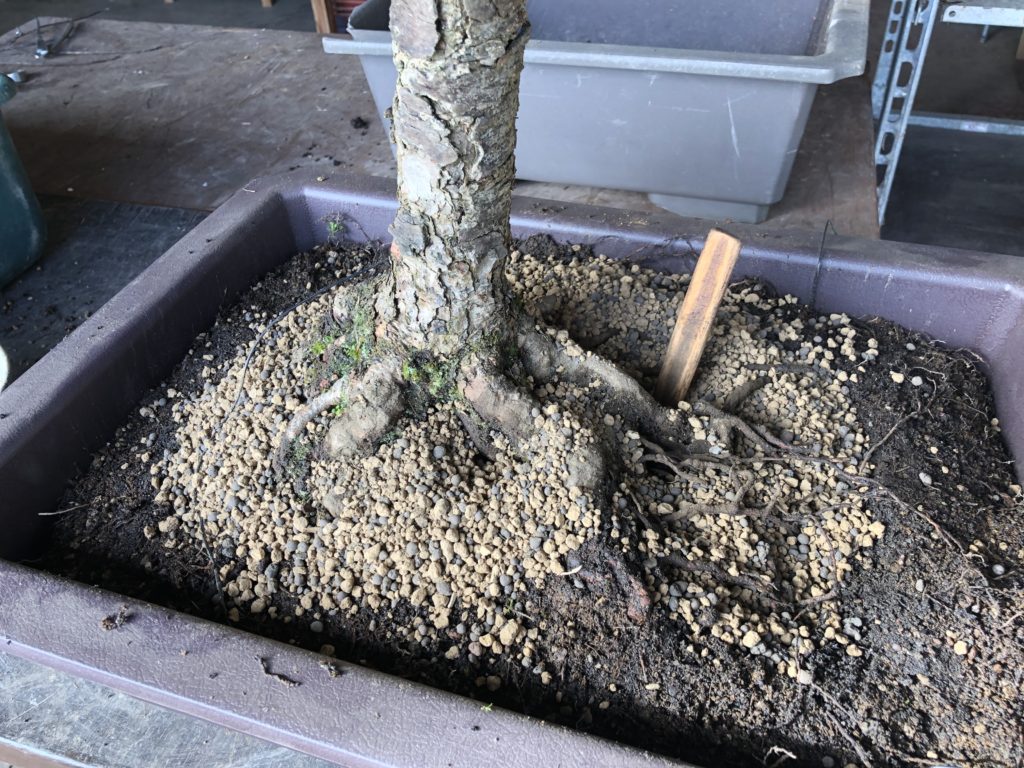
In 2 to 3 years time the tree can be repotted in the more traditional manner of dealing with the outer roots…..trimming them back and adding new compost.

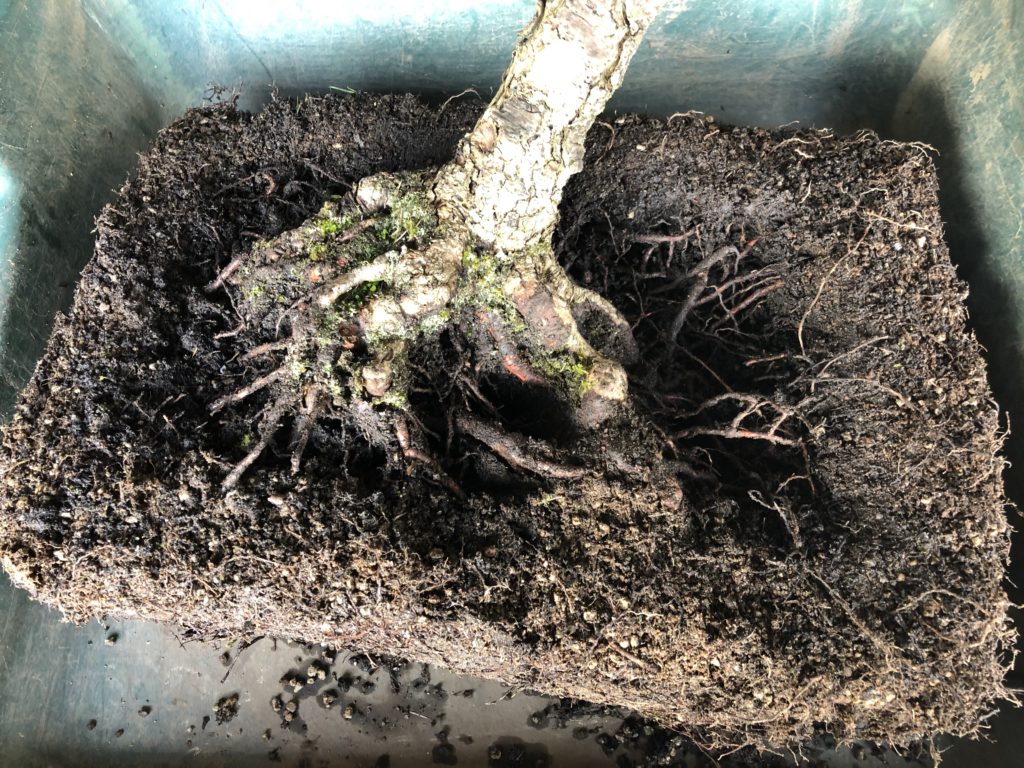
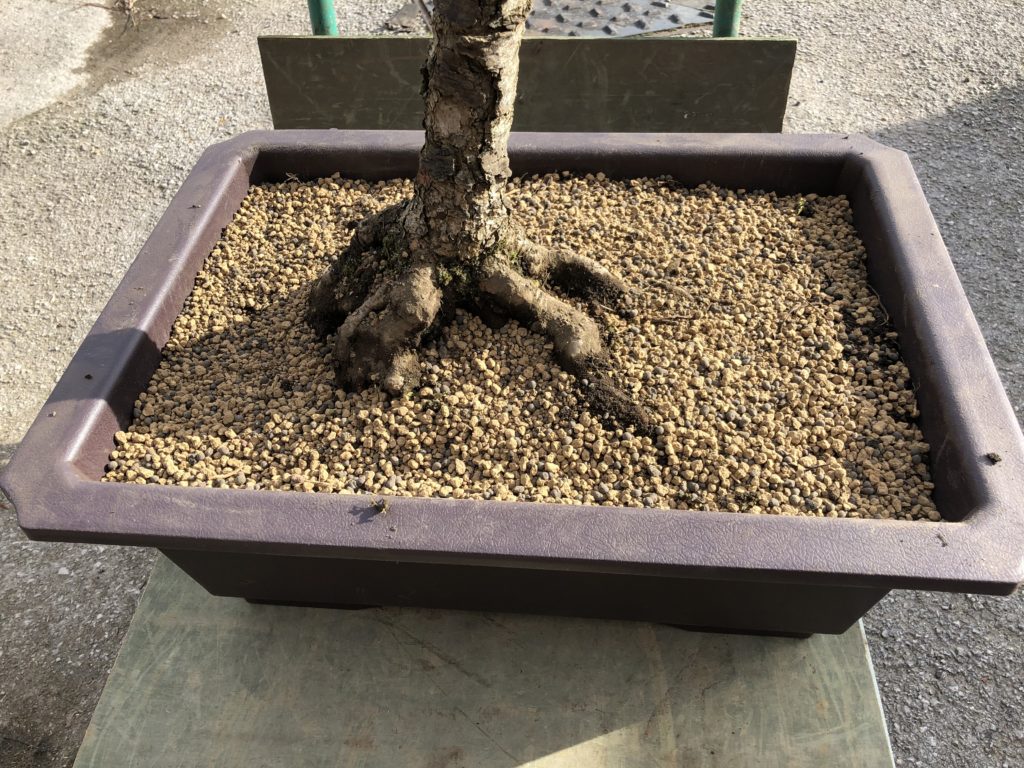
At the end of this work we will have changed all the compost in the pot whilst minimising the stress to the tree and enabling him to continue his recovery to being strong and healthy.