
Sometimes I work on nursery trees, sometimes I work on client’s trees……and sometimes if I’ve been a really good boy I get to work on my own trees. Hopefully these regular visits will give you an insight into what goes on behind closed doors……….
Studio Stories – Taxus Cuspidata from Korea (Part Four)
Parts one and two of this series were posted in May 2014 whist part three was posted in June. The first three parts trace the history of this tree from it’s arrival in Europe in 2002 up to 2013.
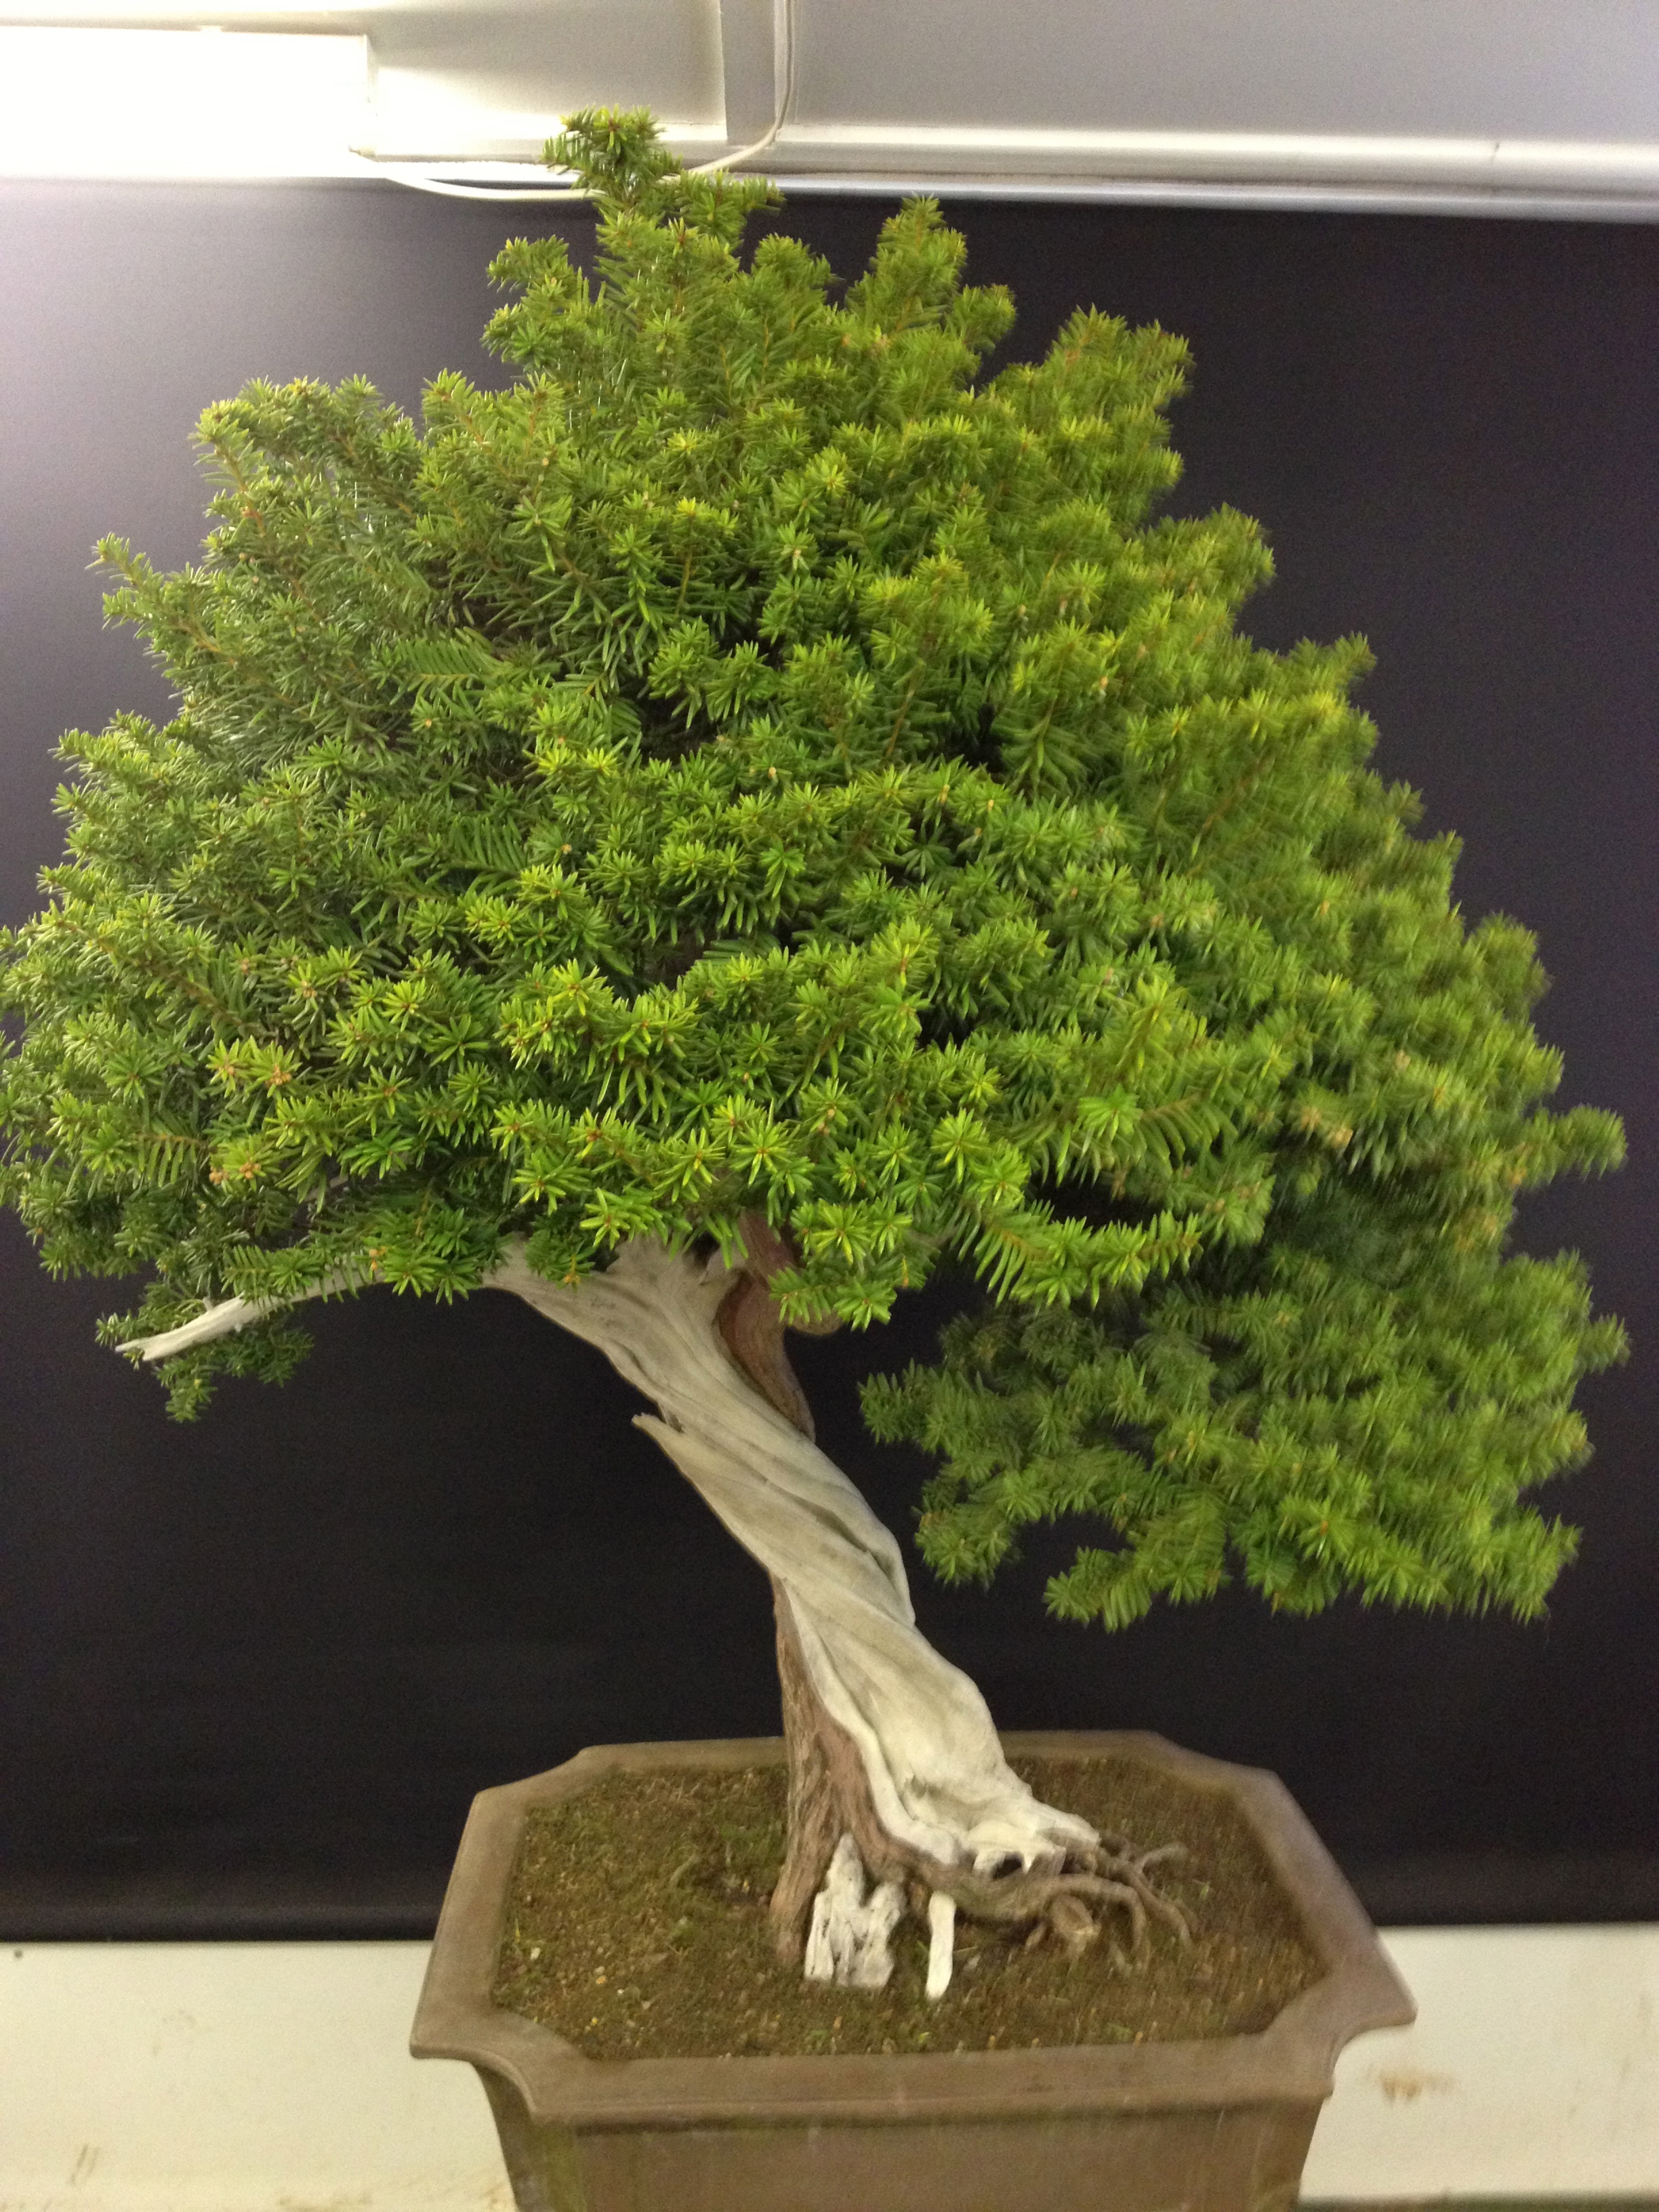
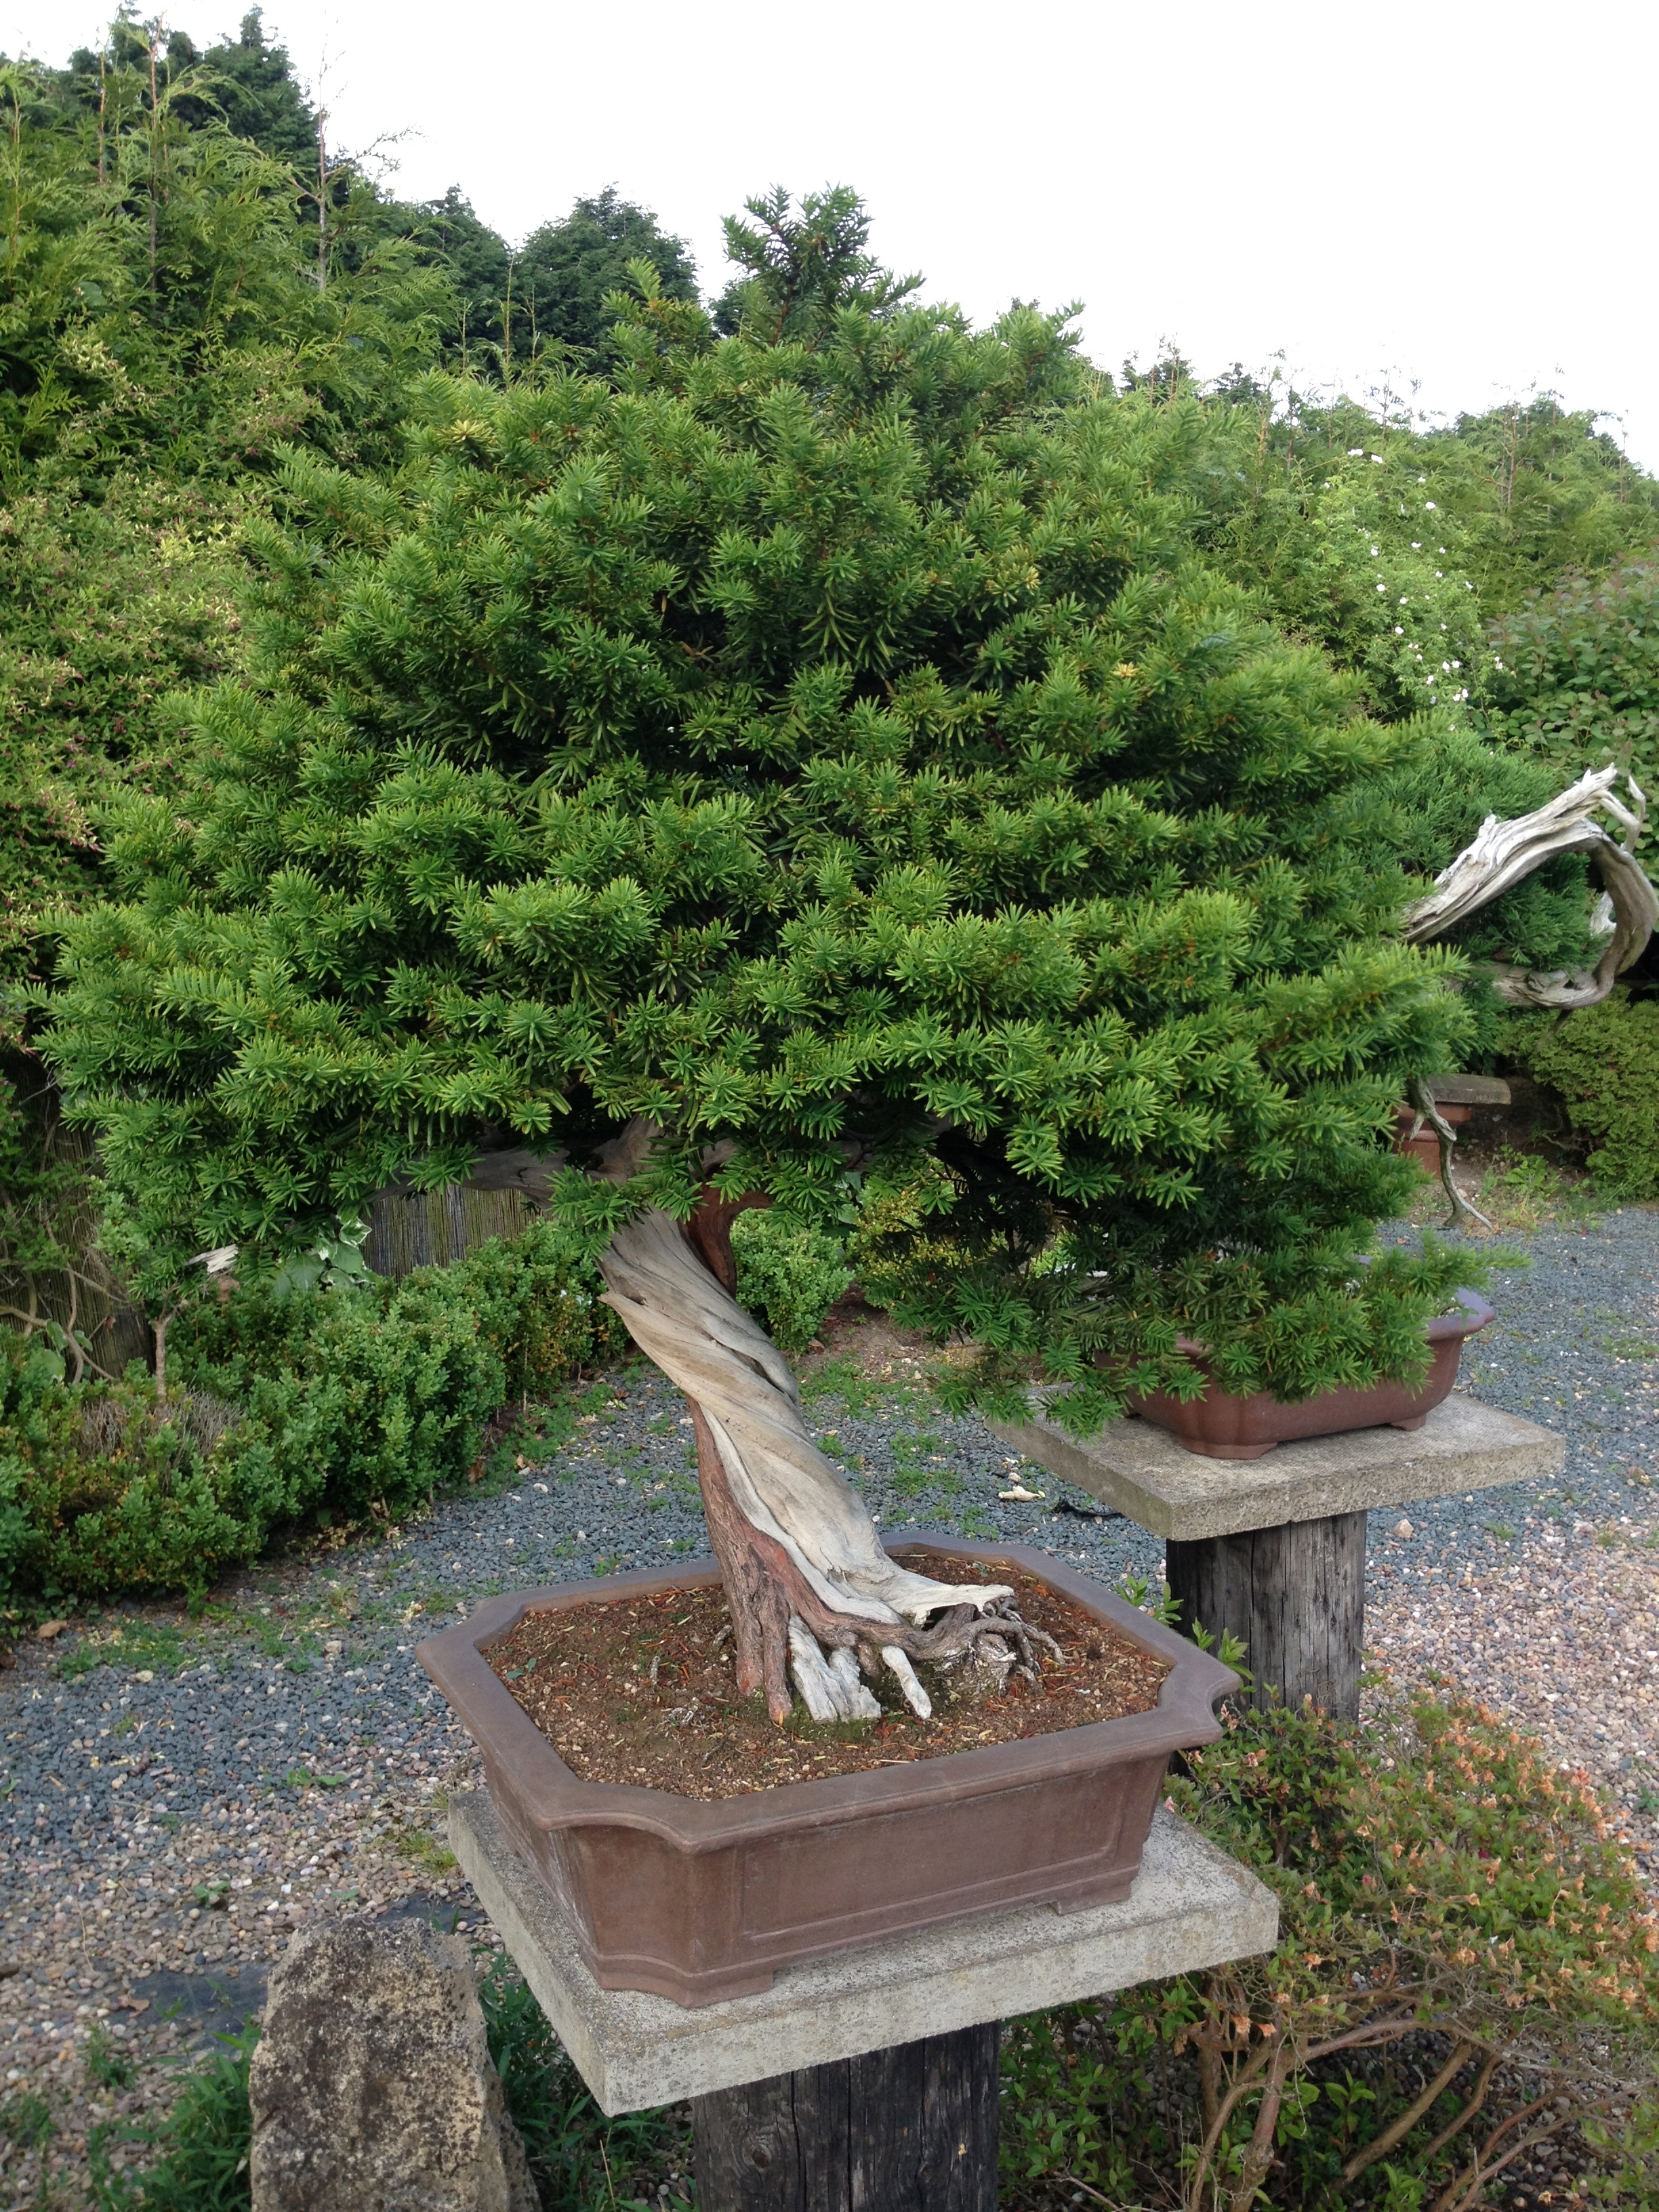
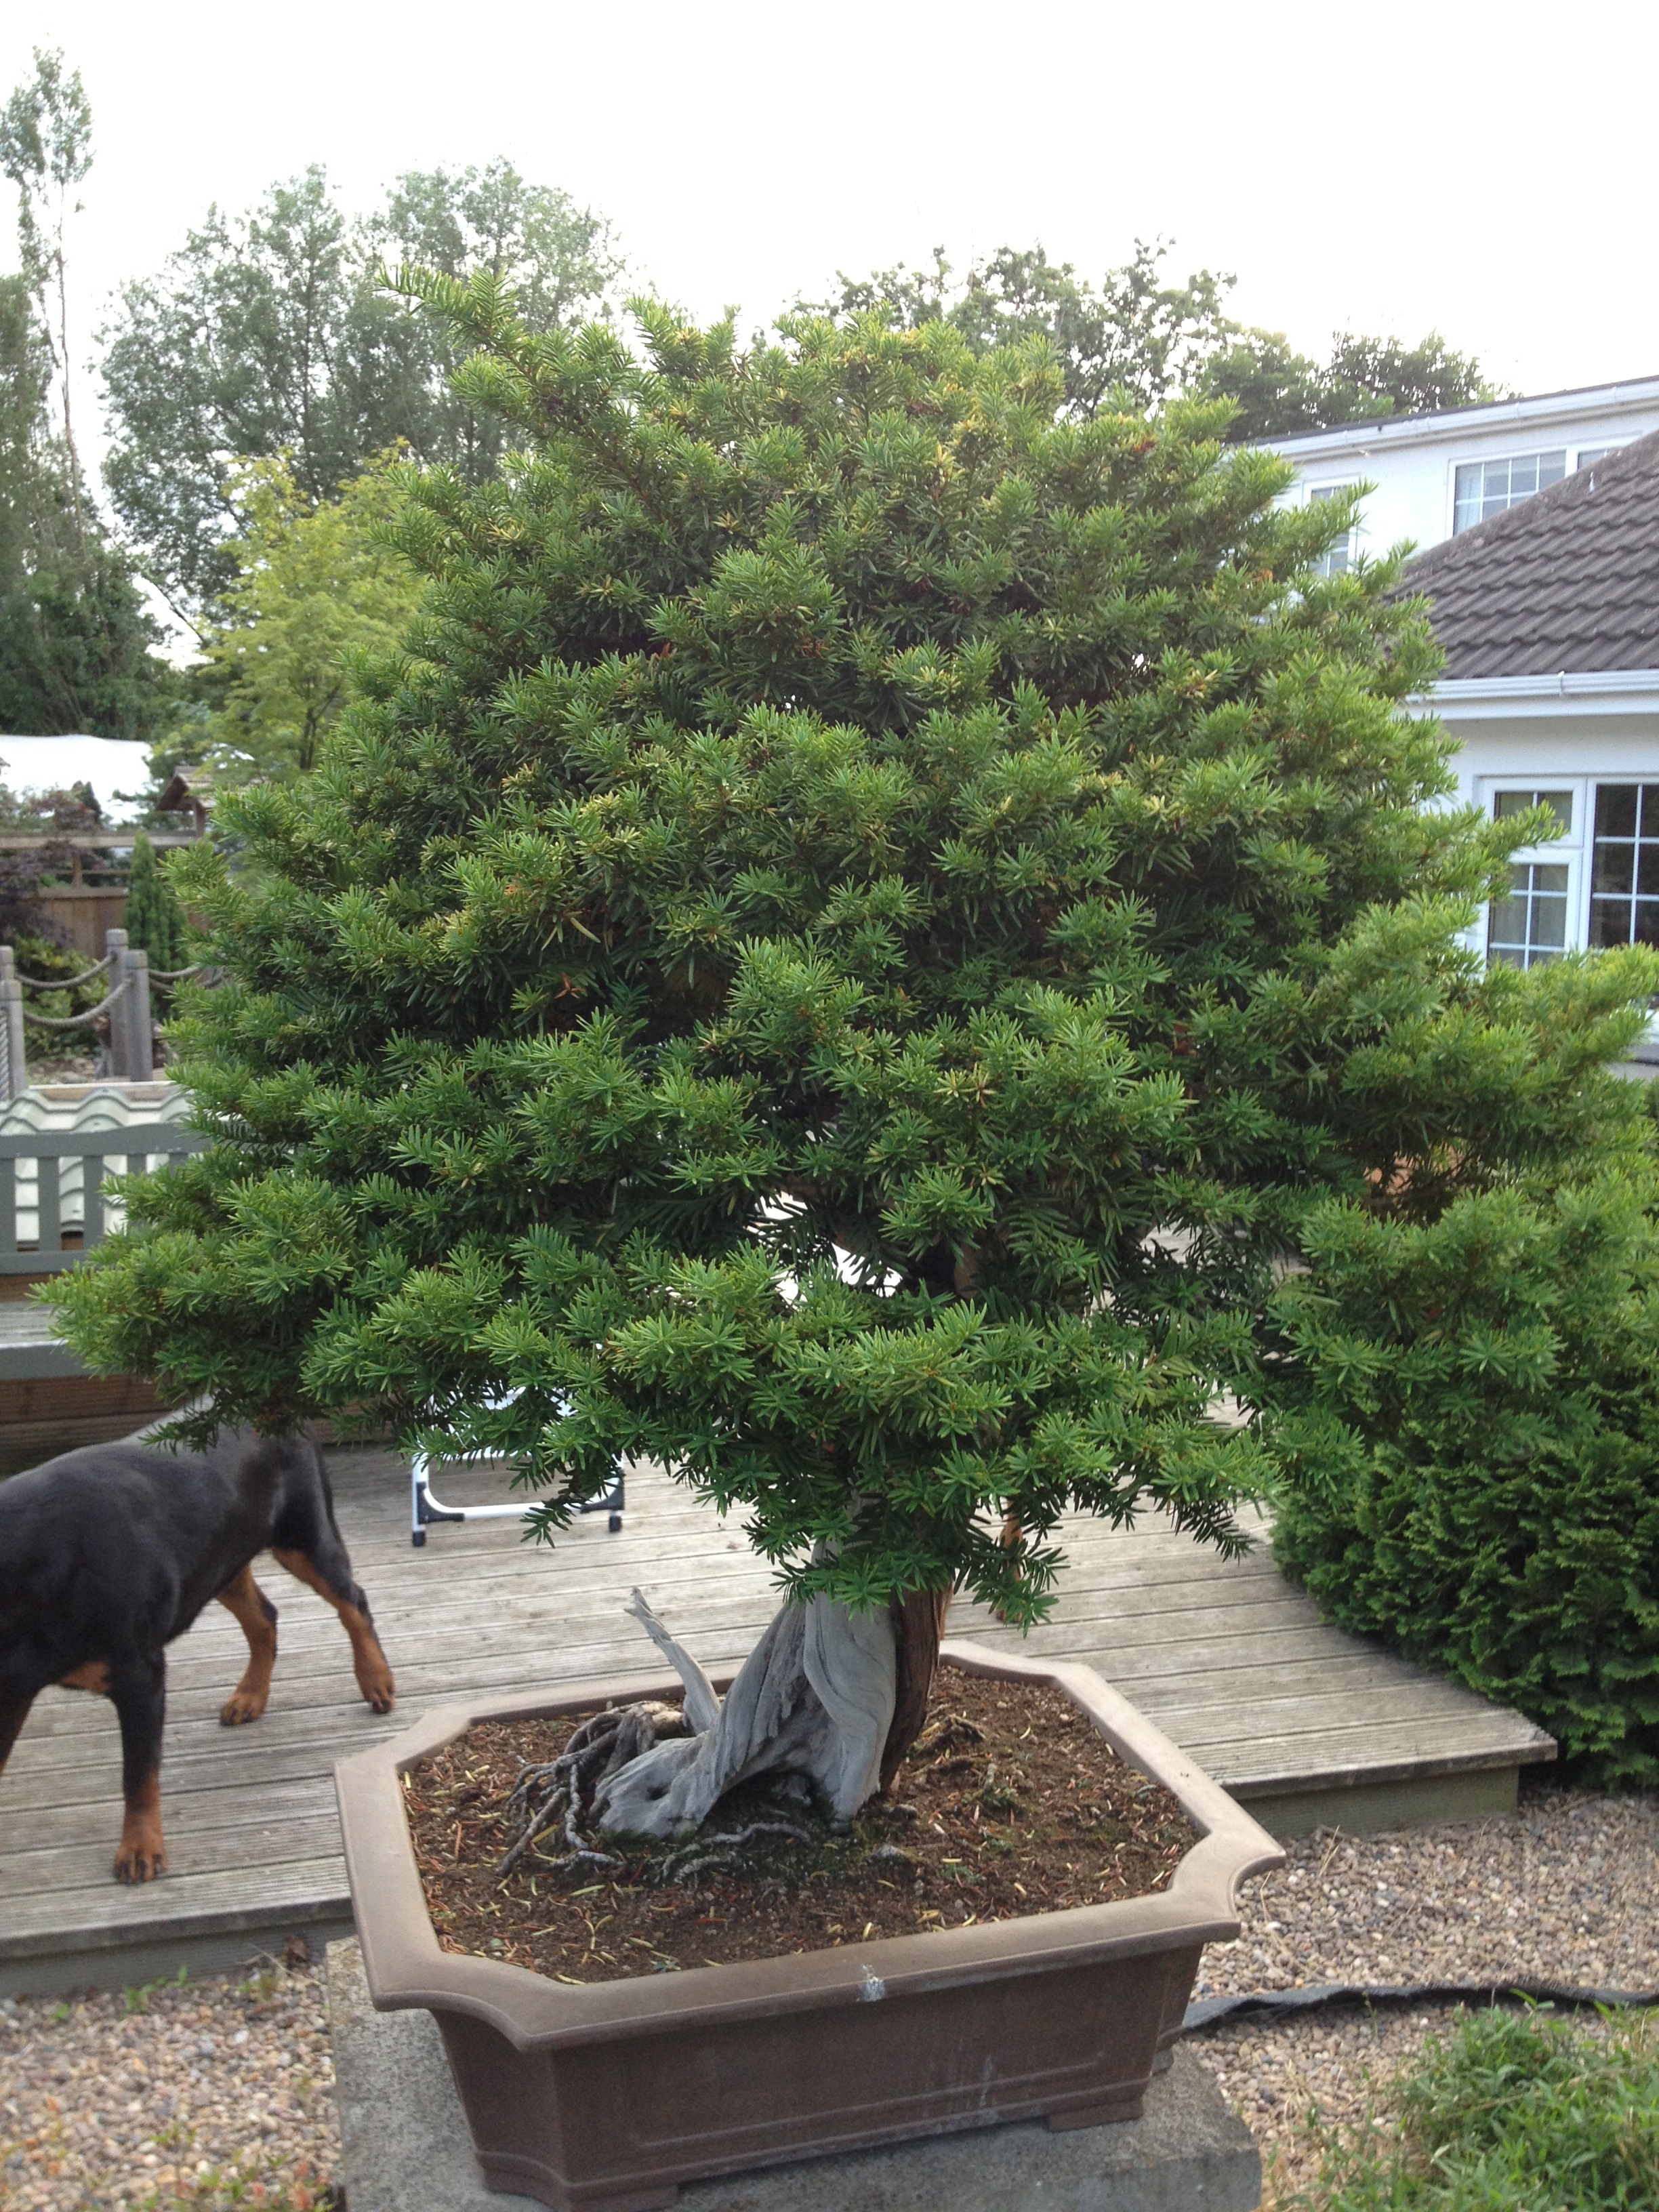
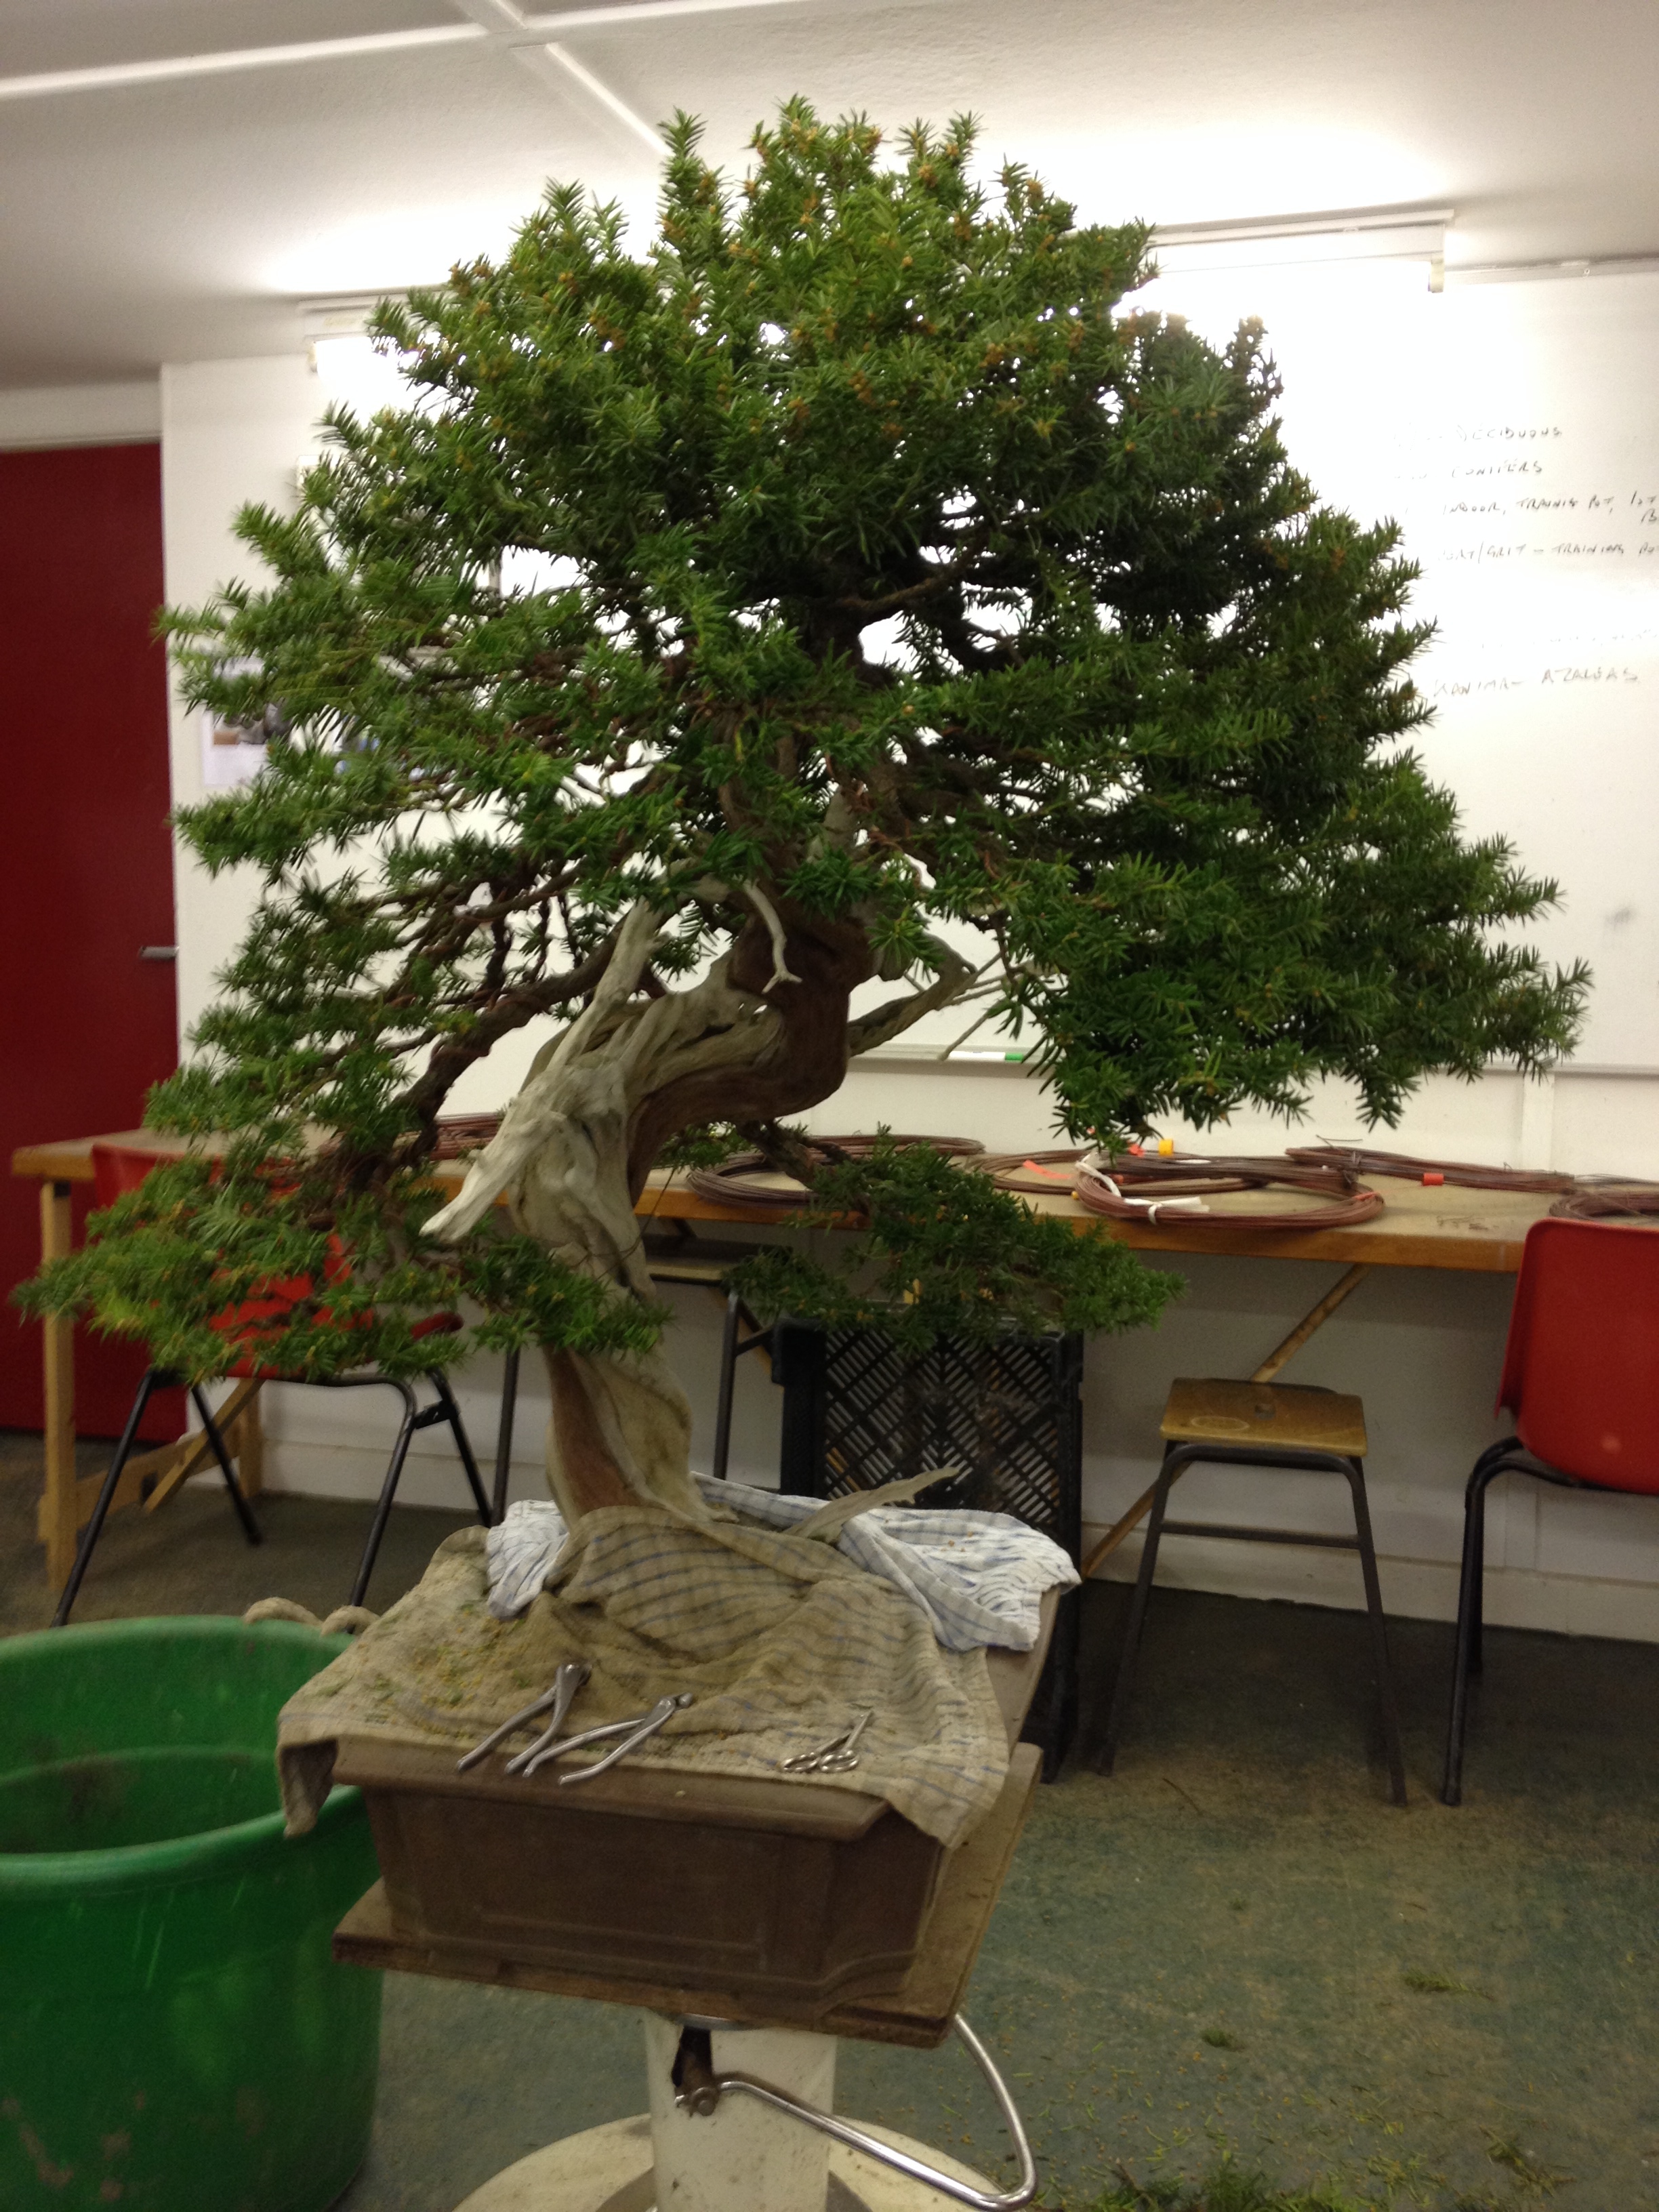
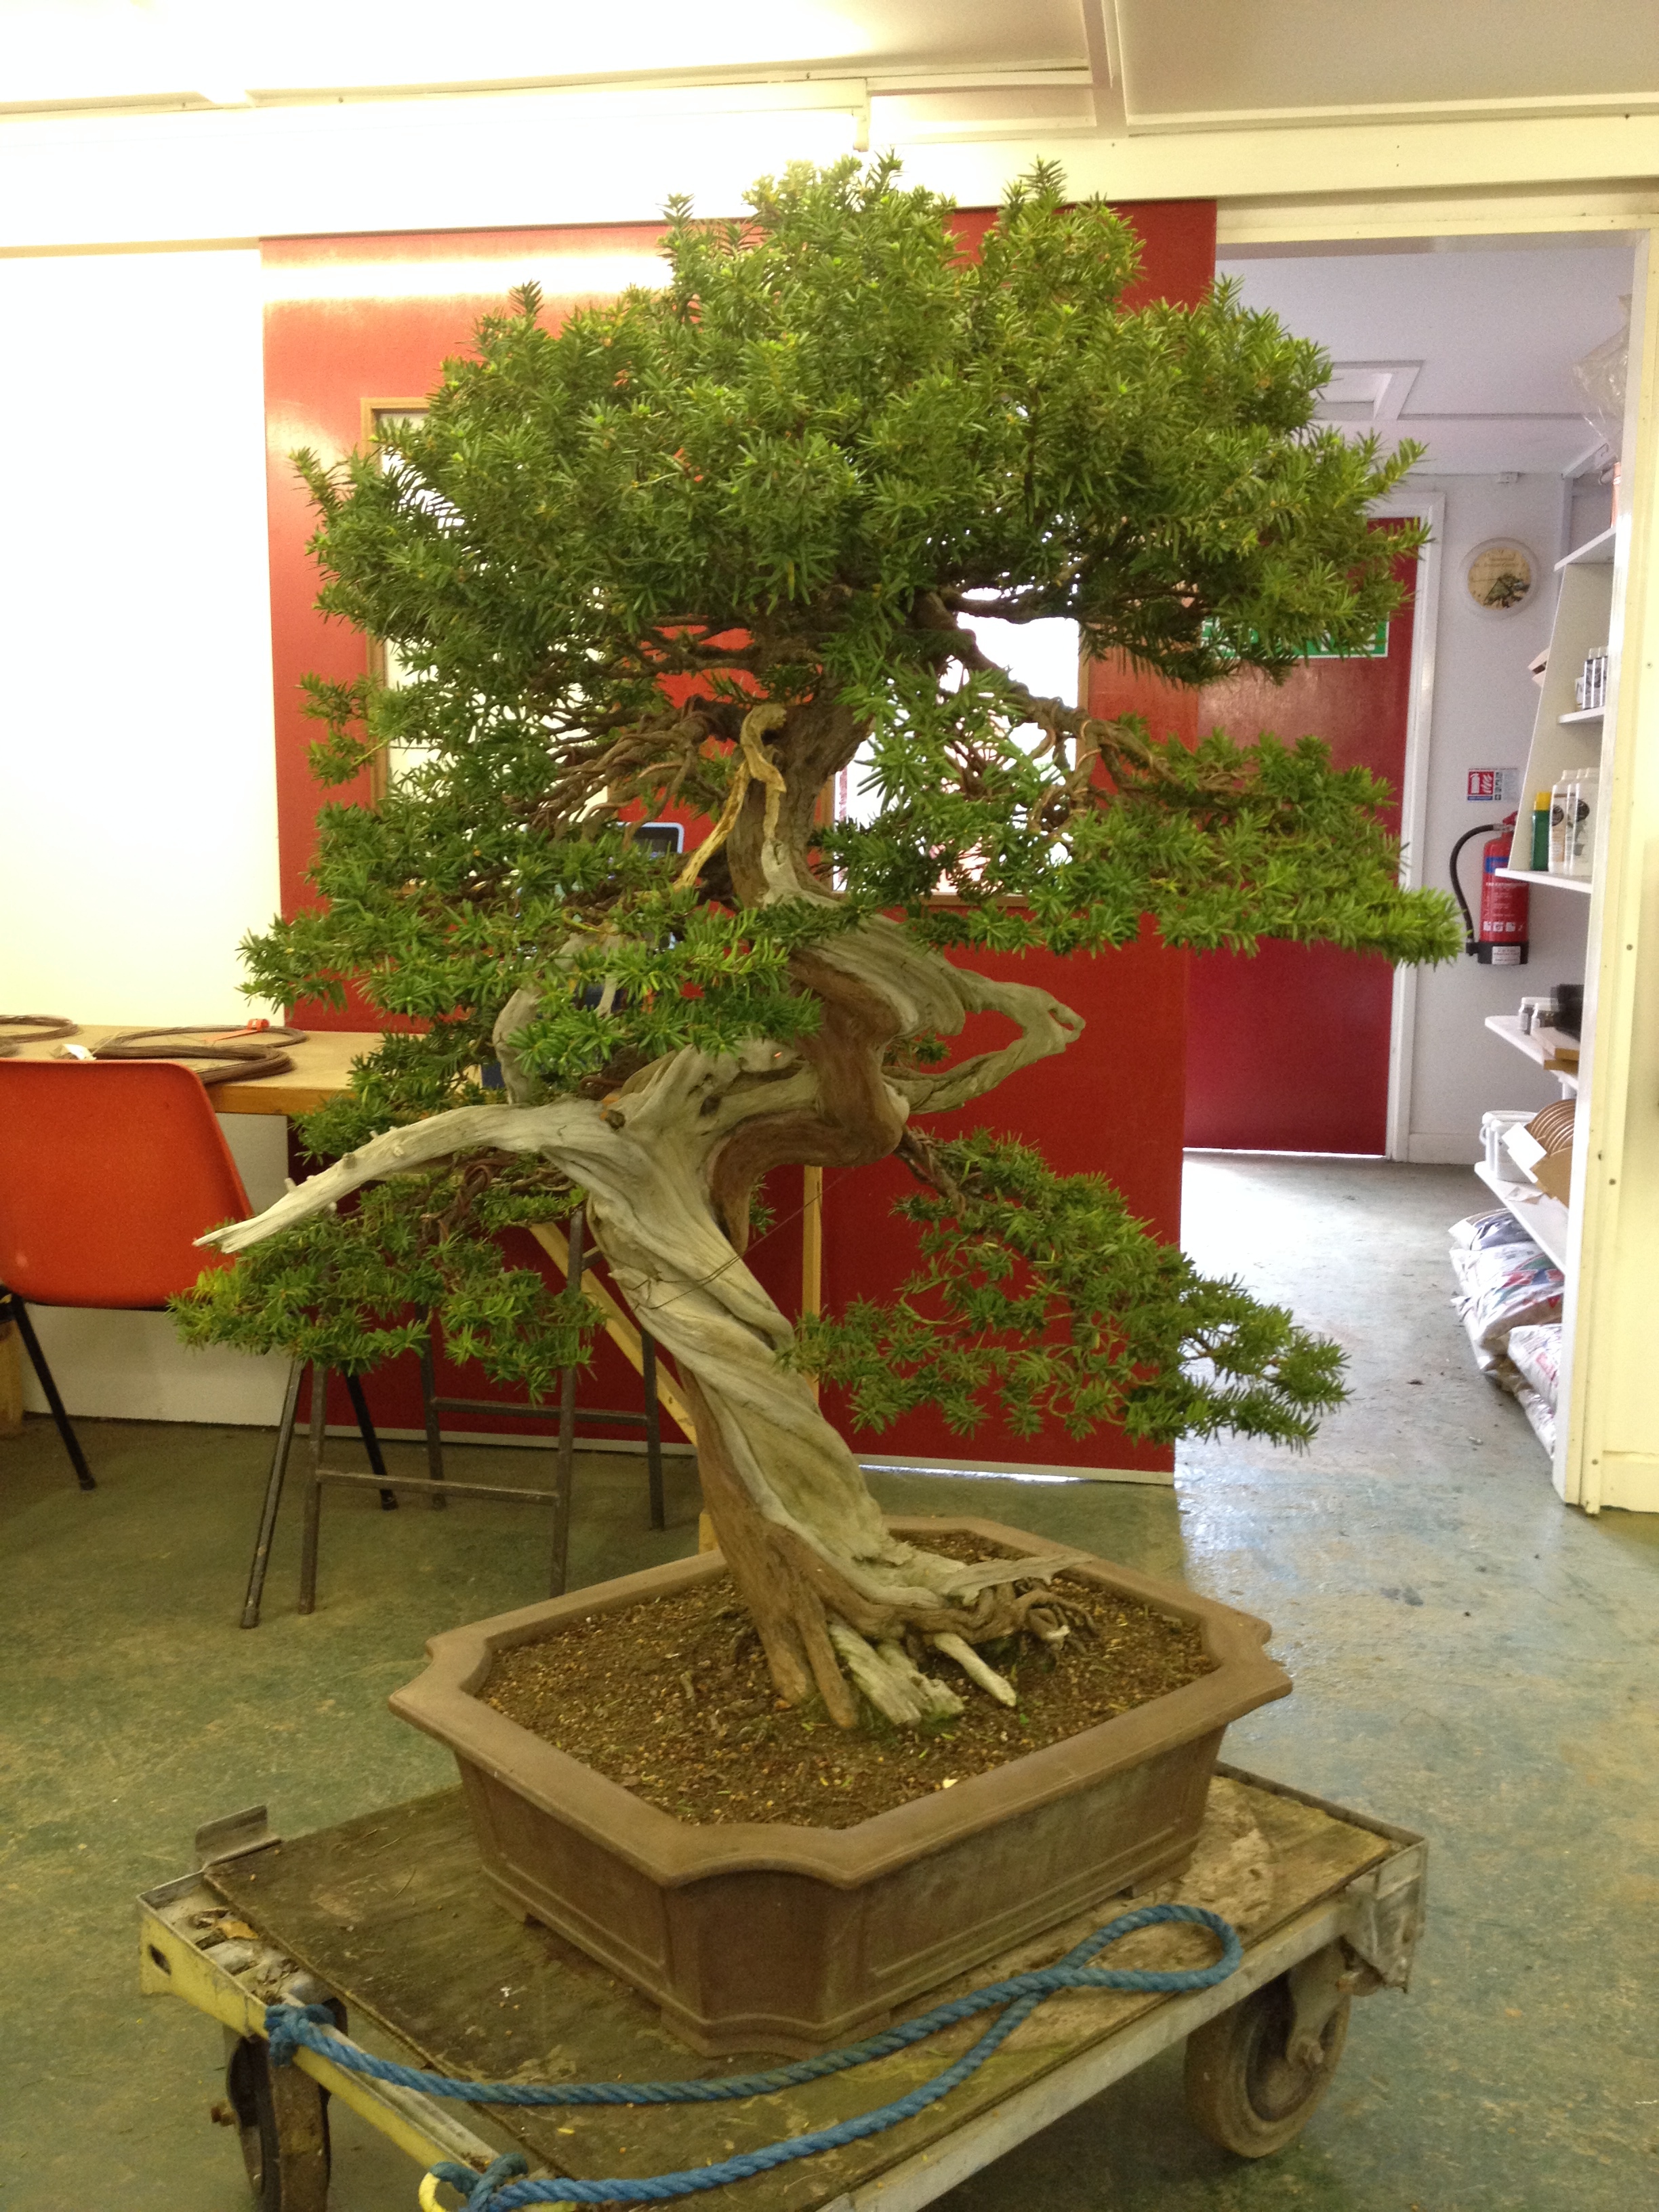
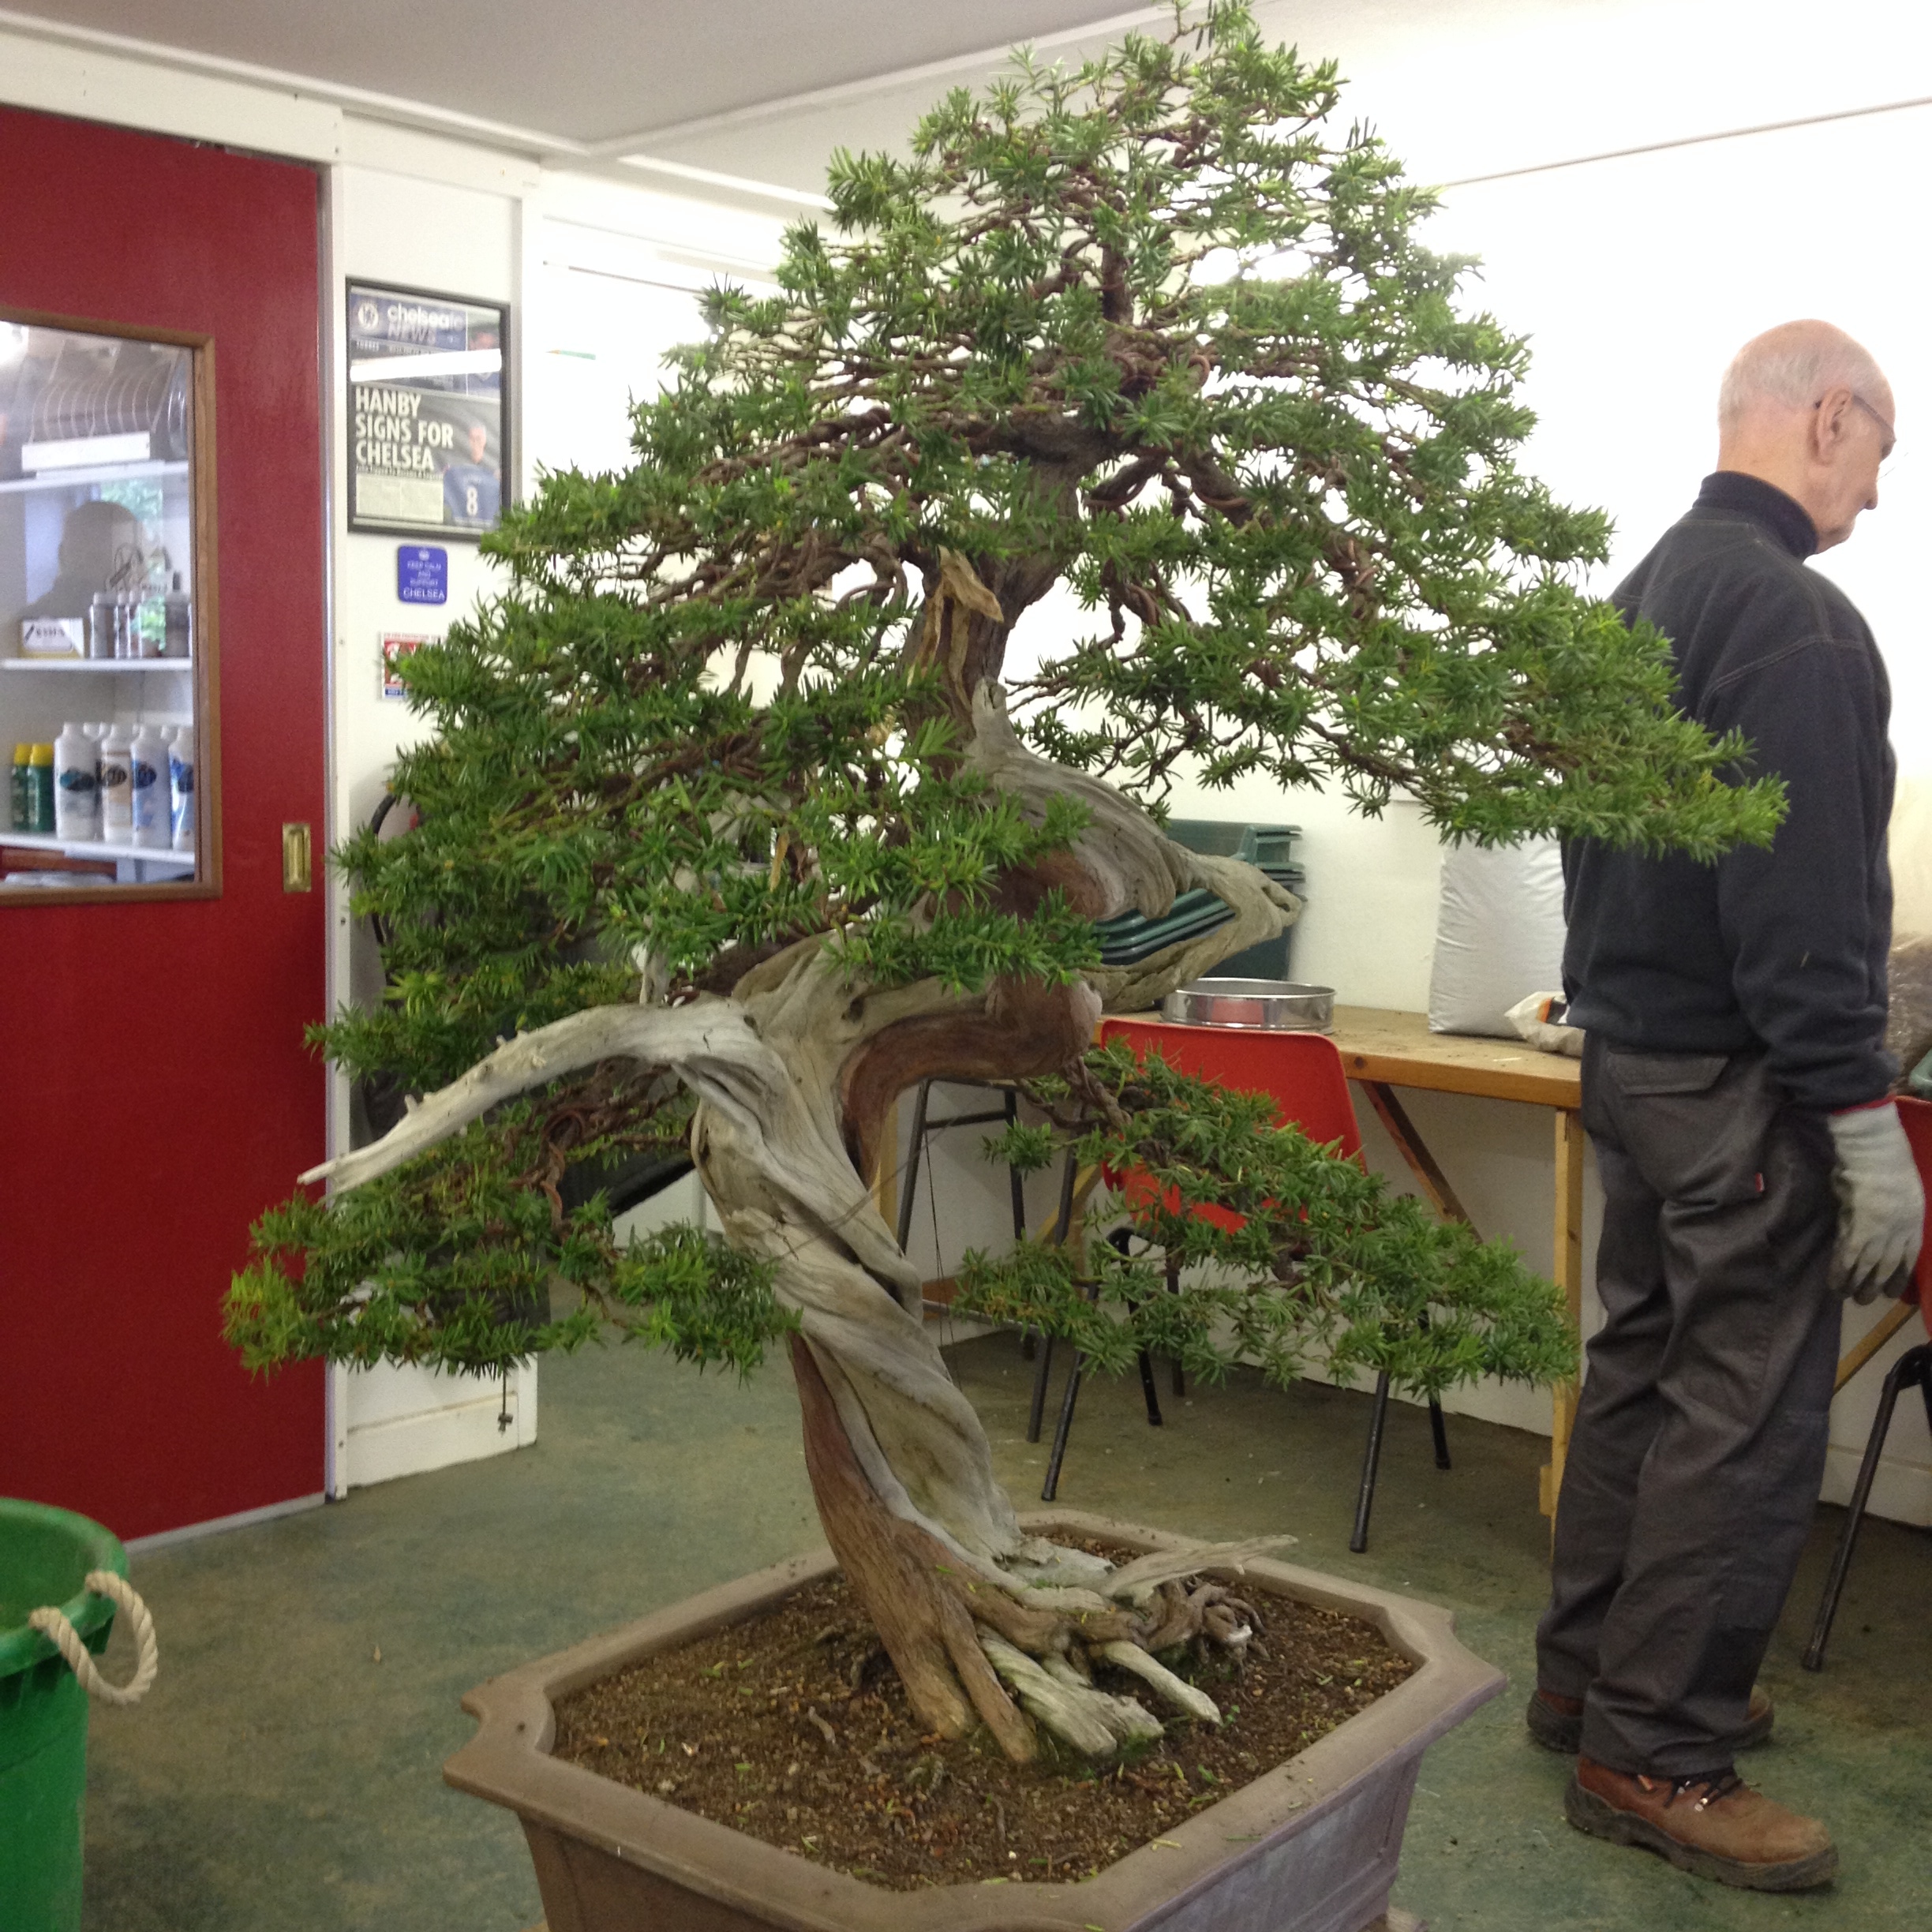
Our last post detailed how the tree had been allowed to grow unchecked and the first picture above was taken in April 2013. The other two pictures show the tree in June, it was becoming far too dense and had to be cleaned out with the removal and shortening of many branches.
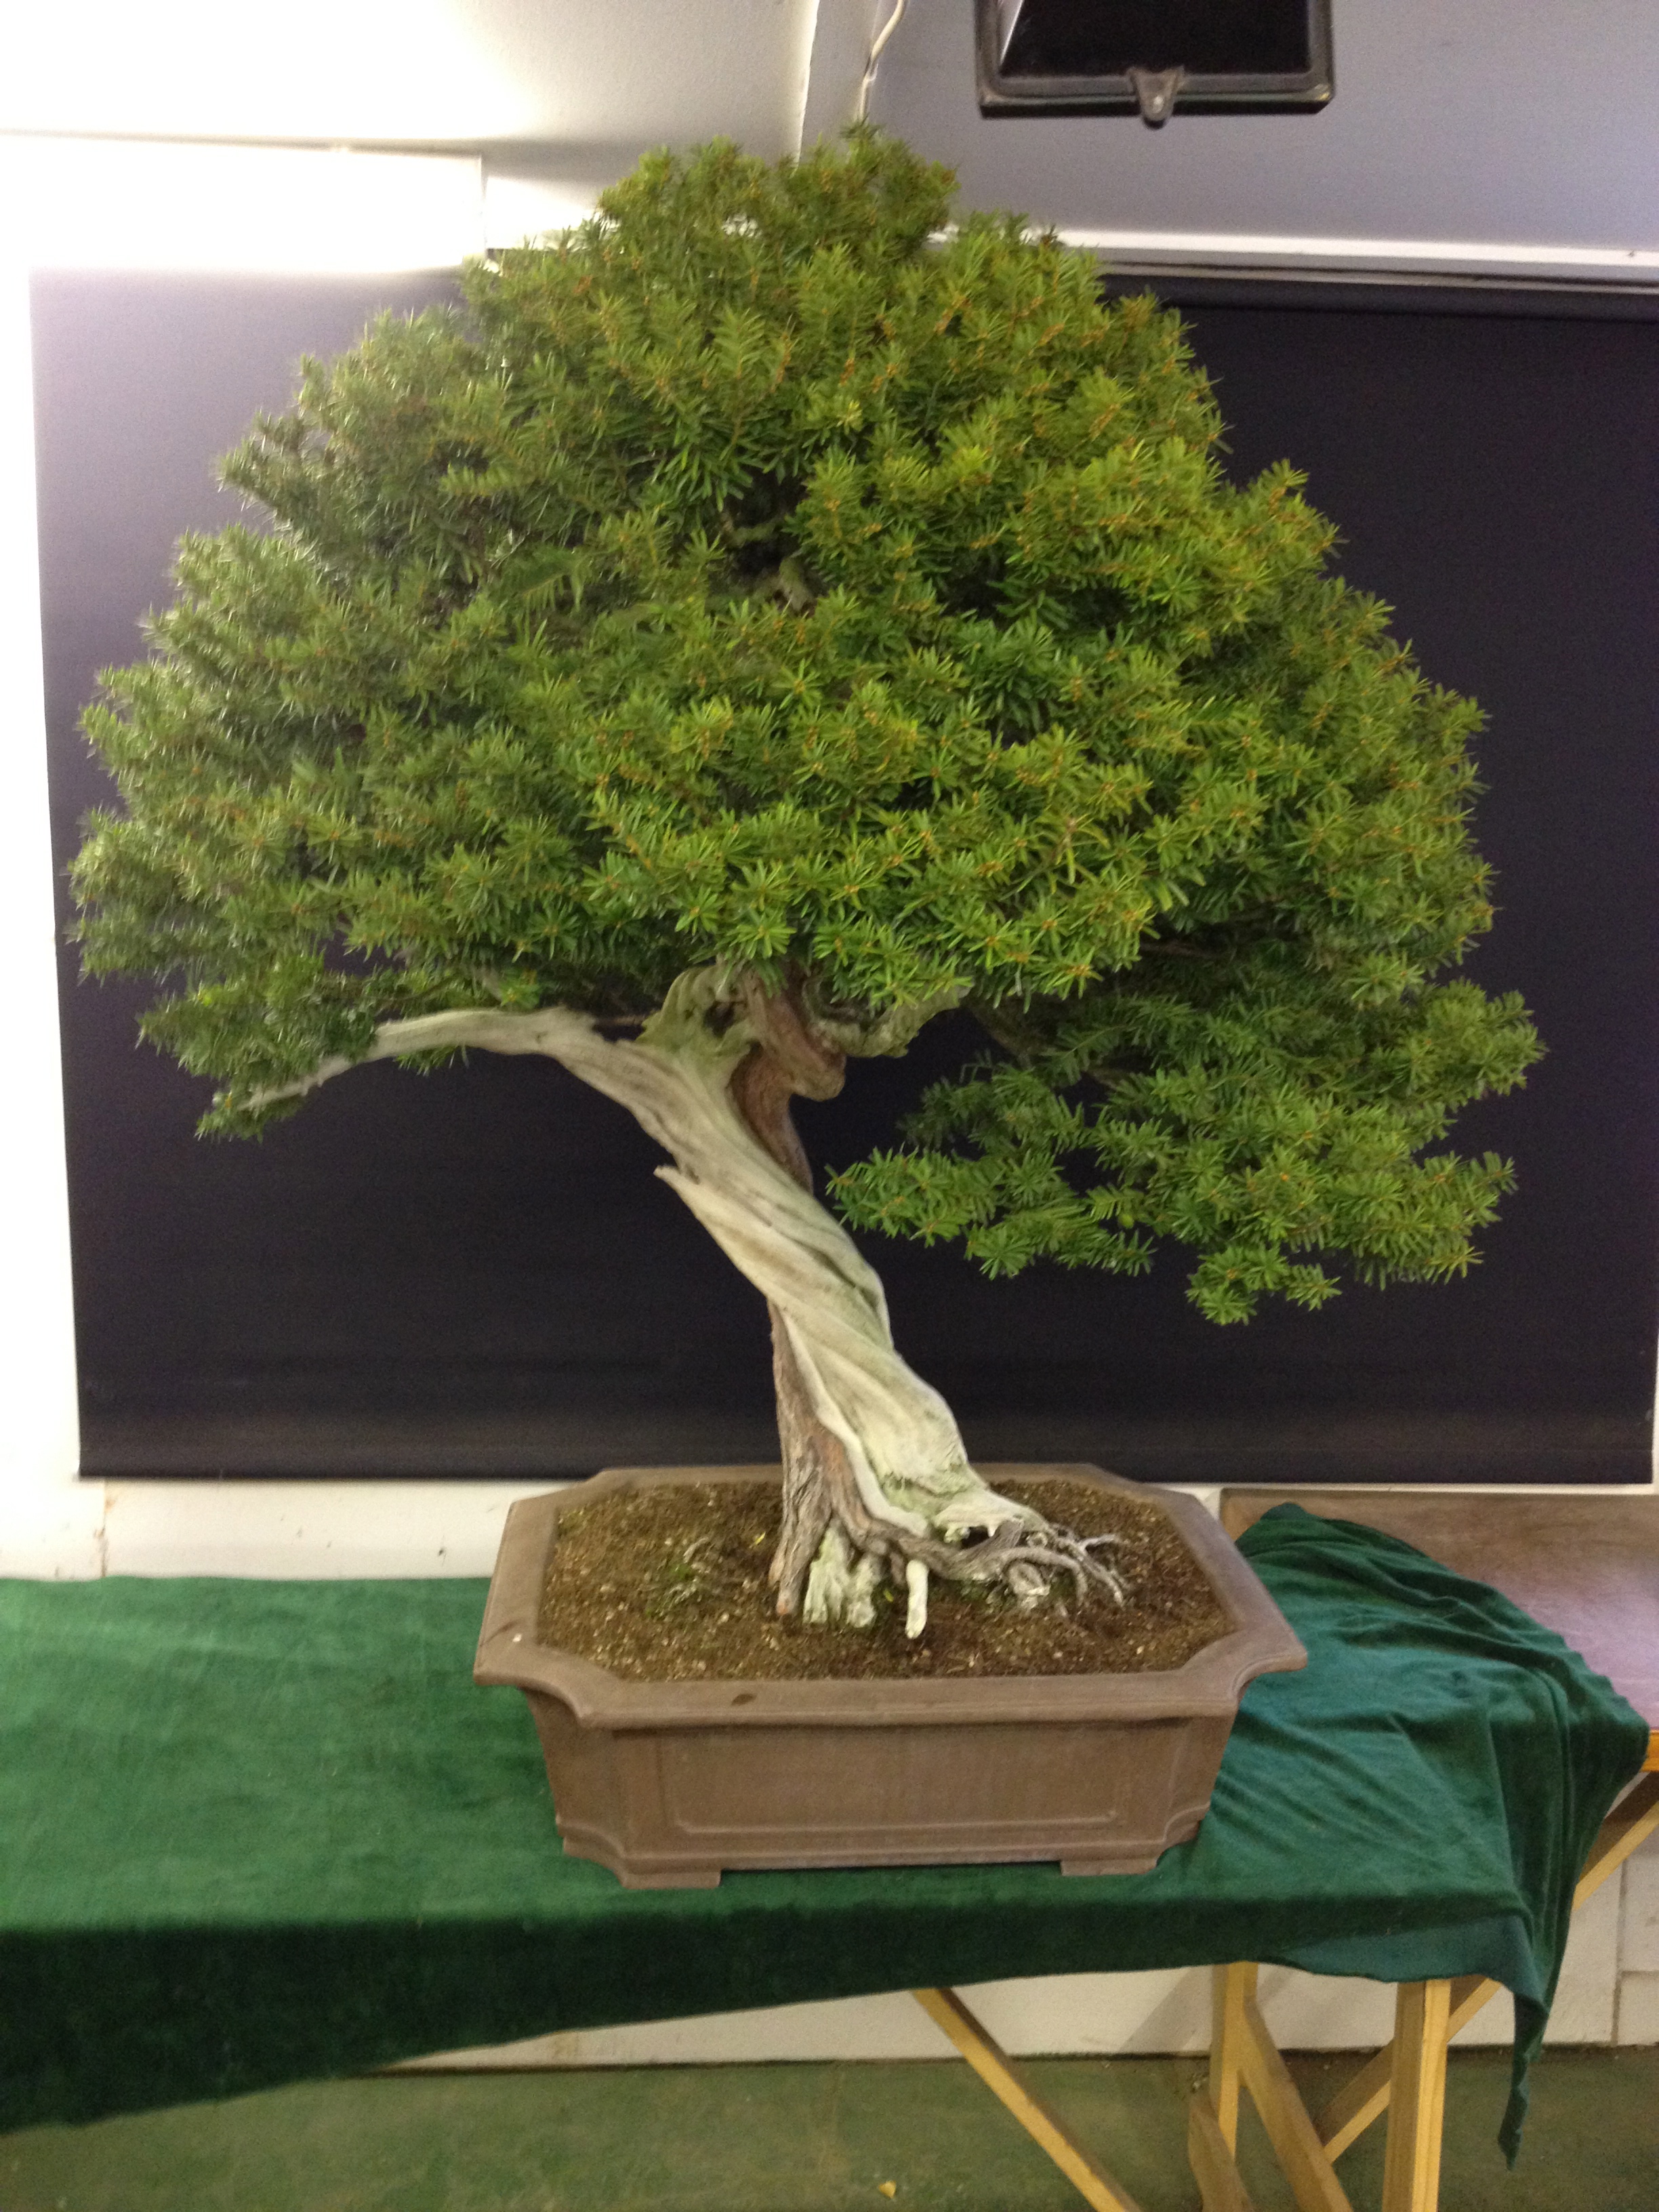
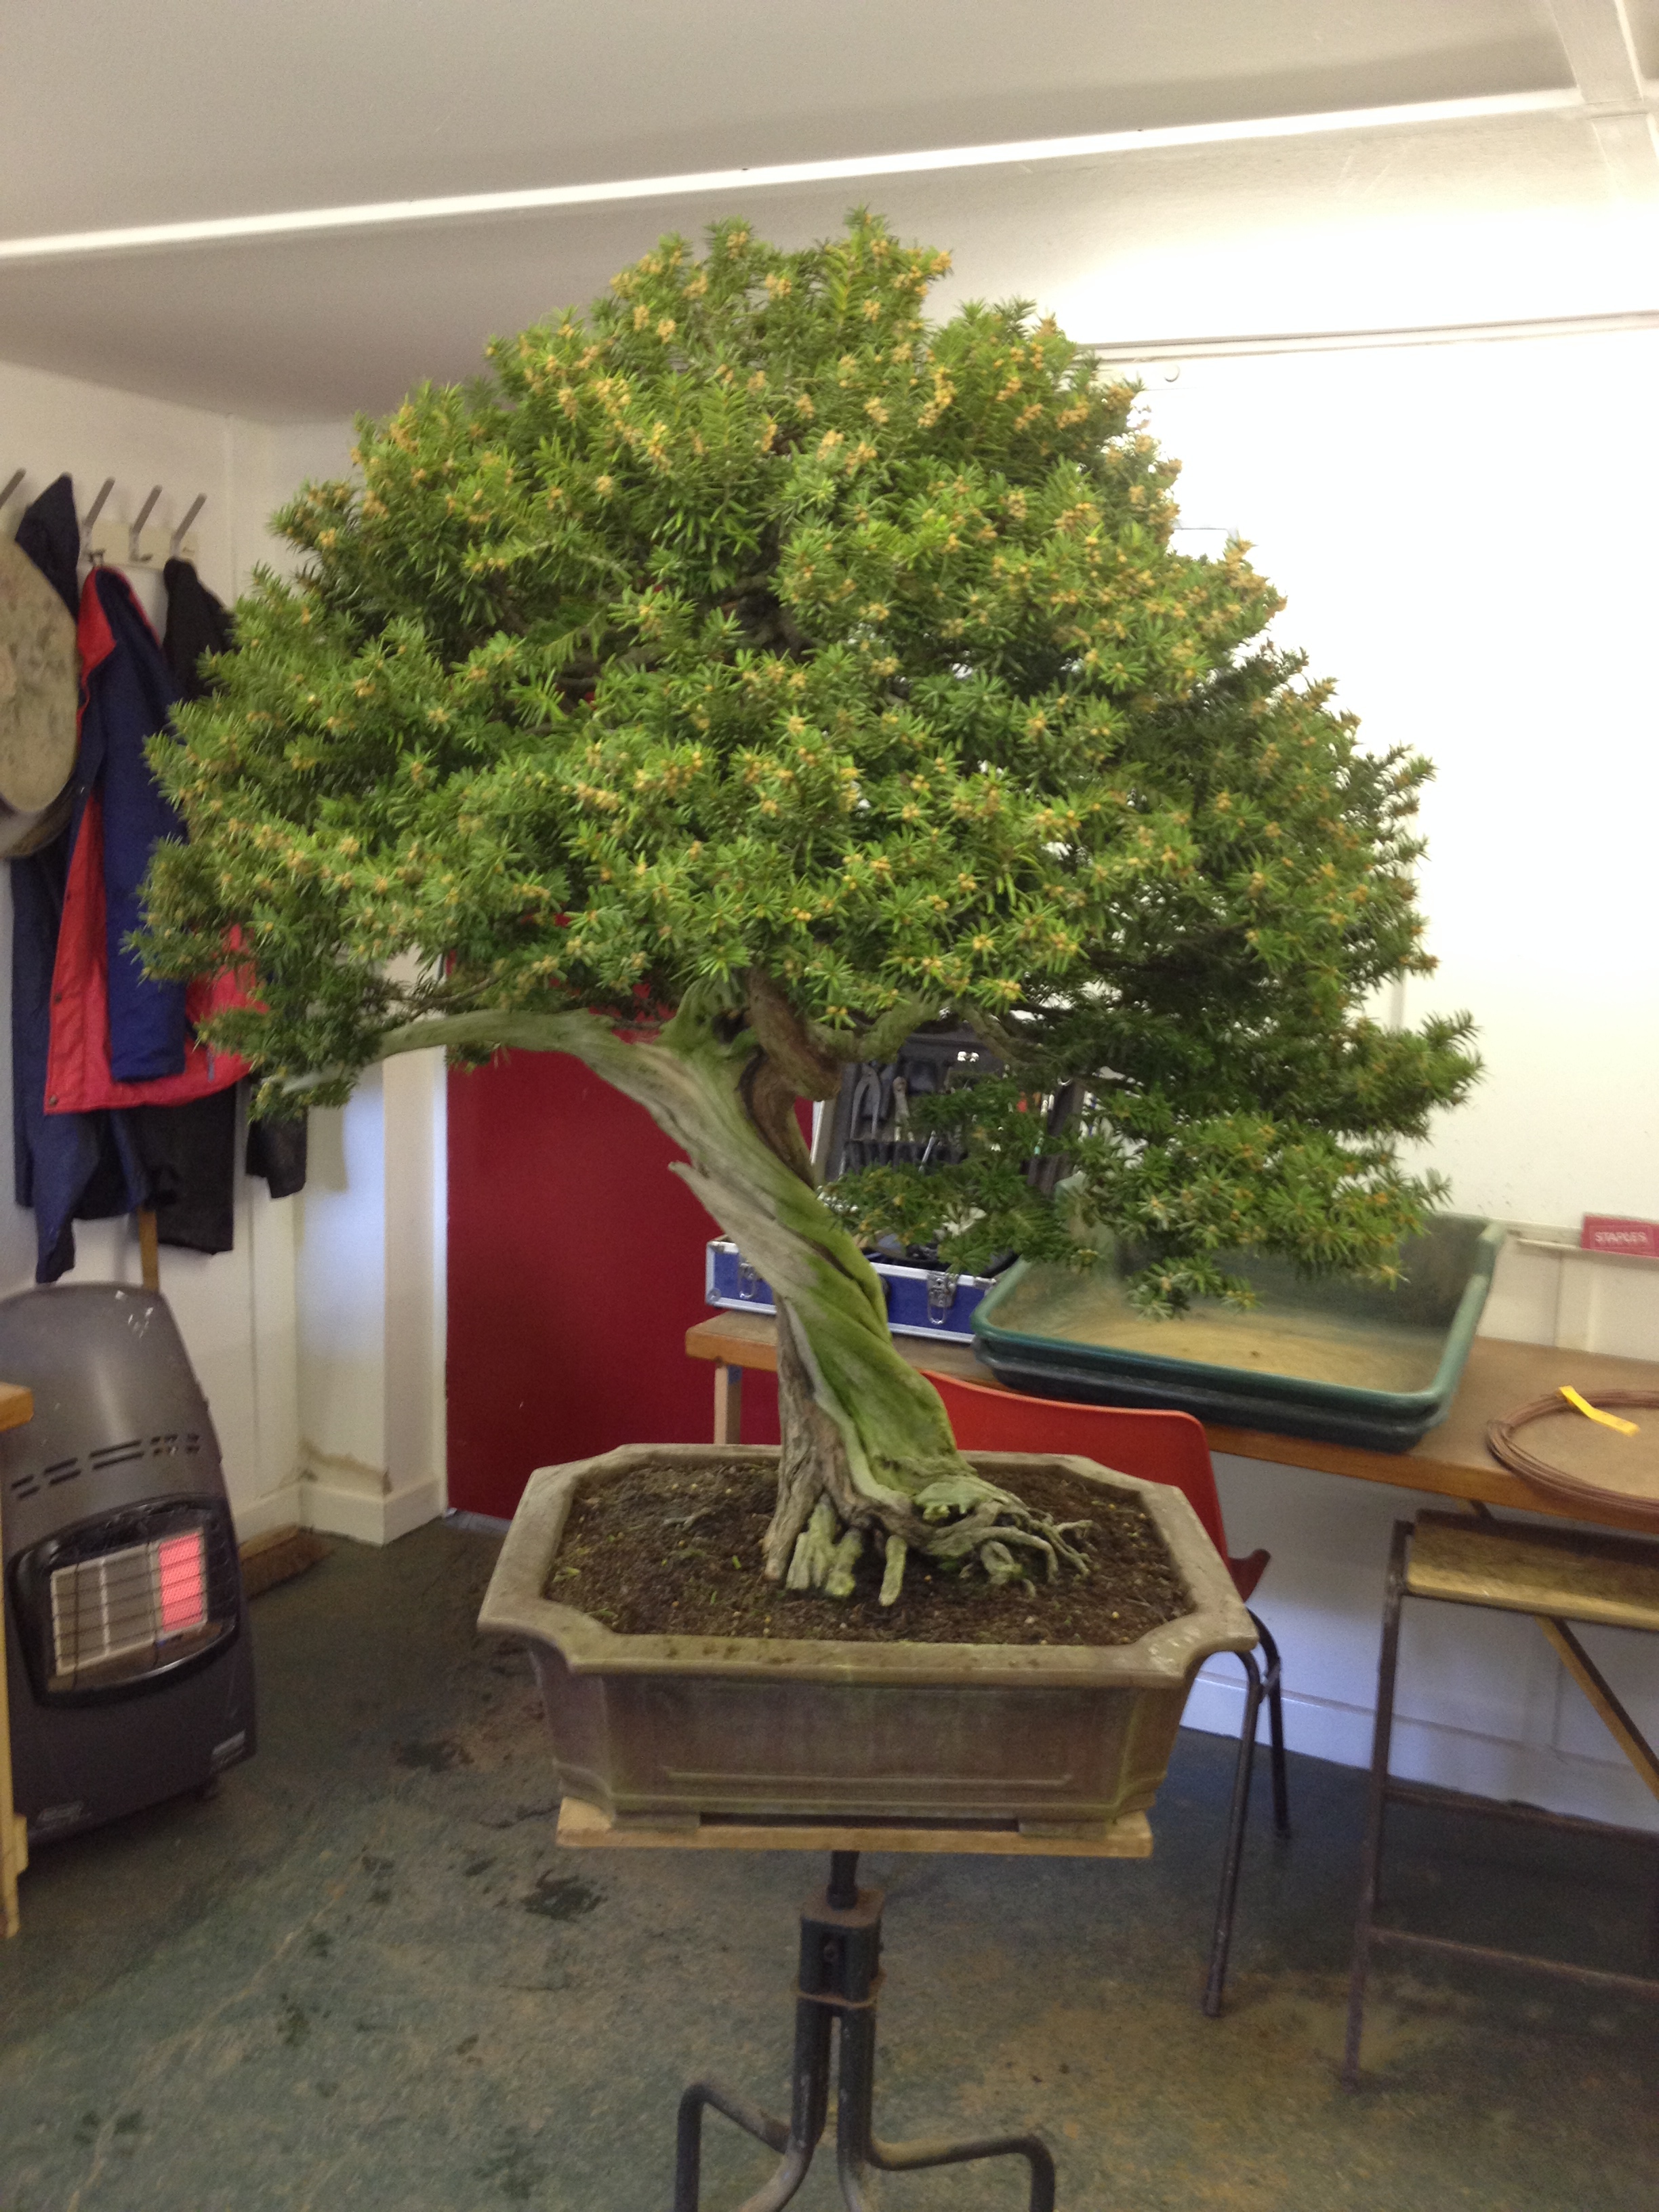
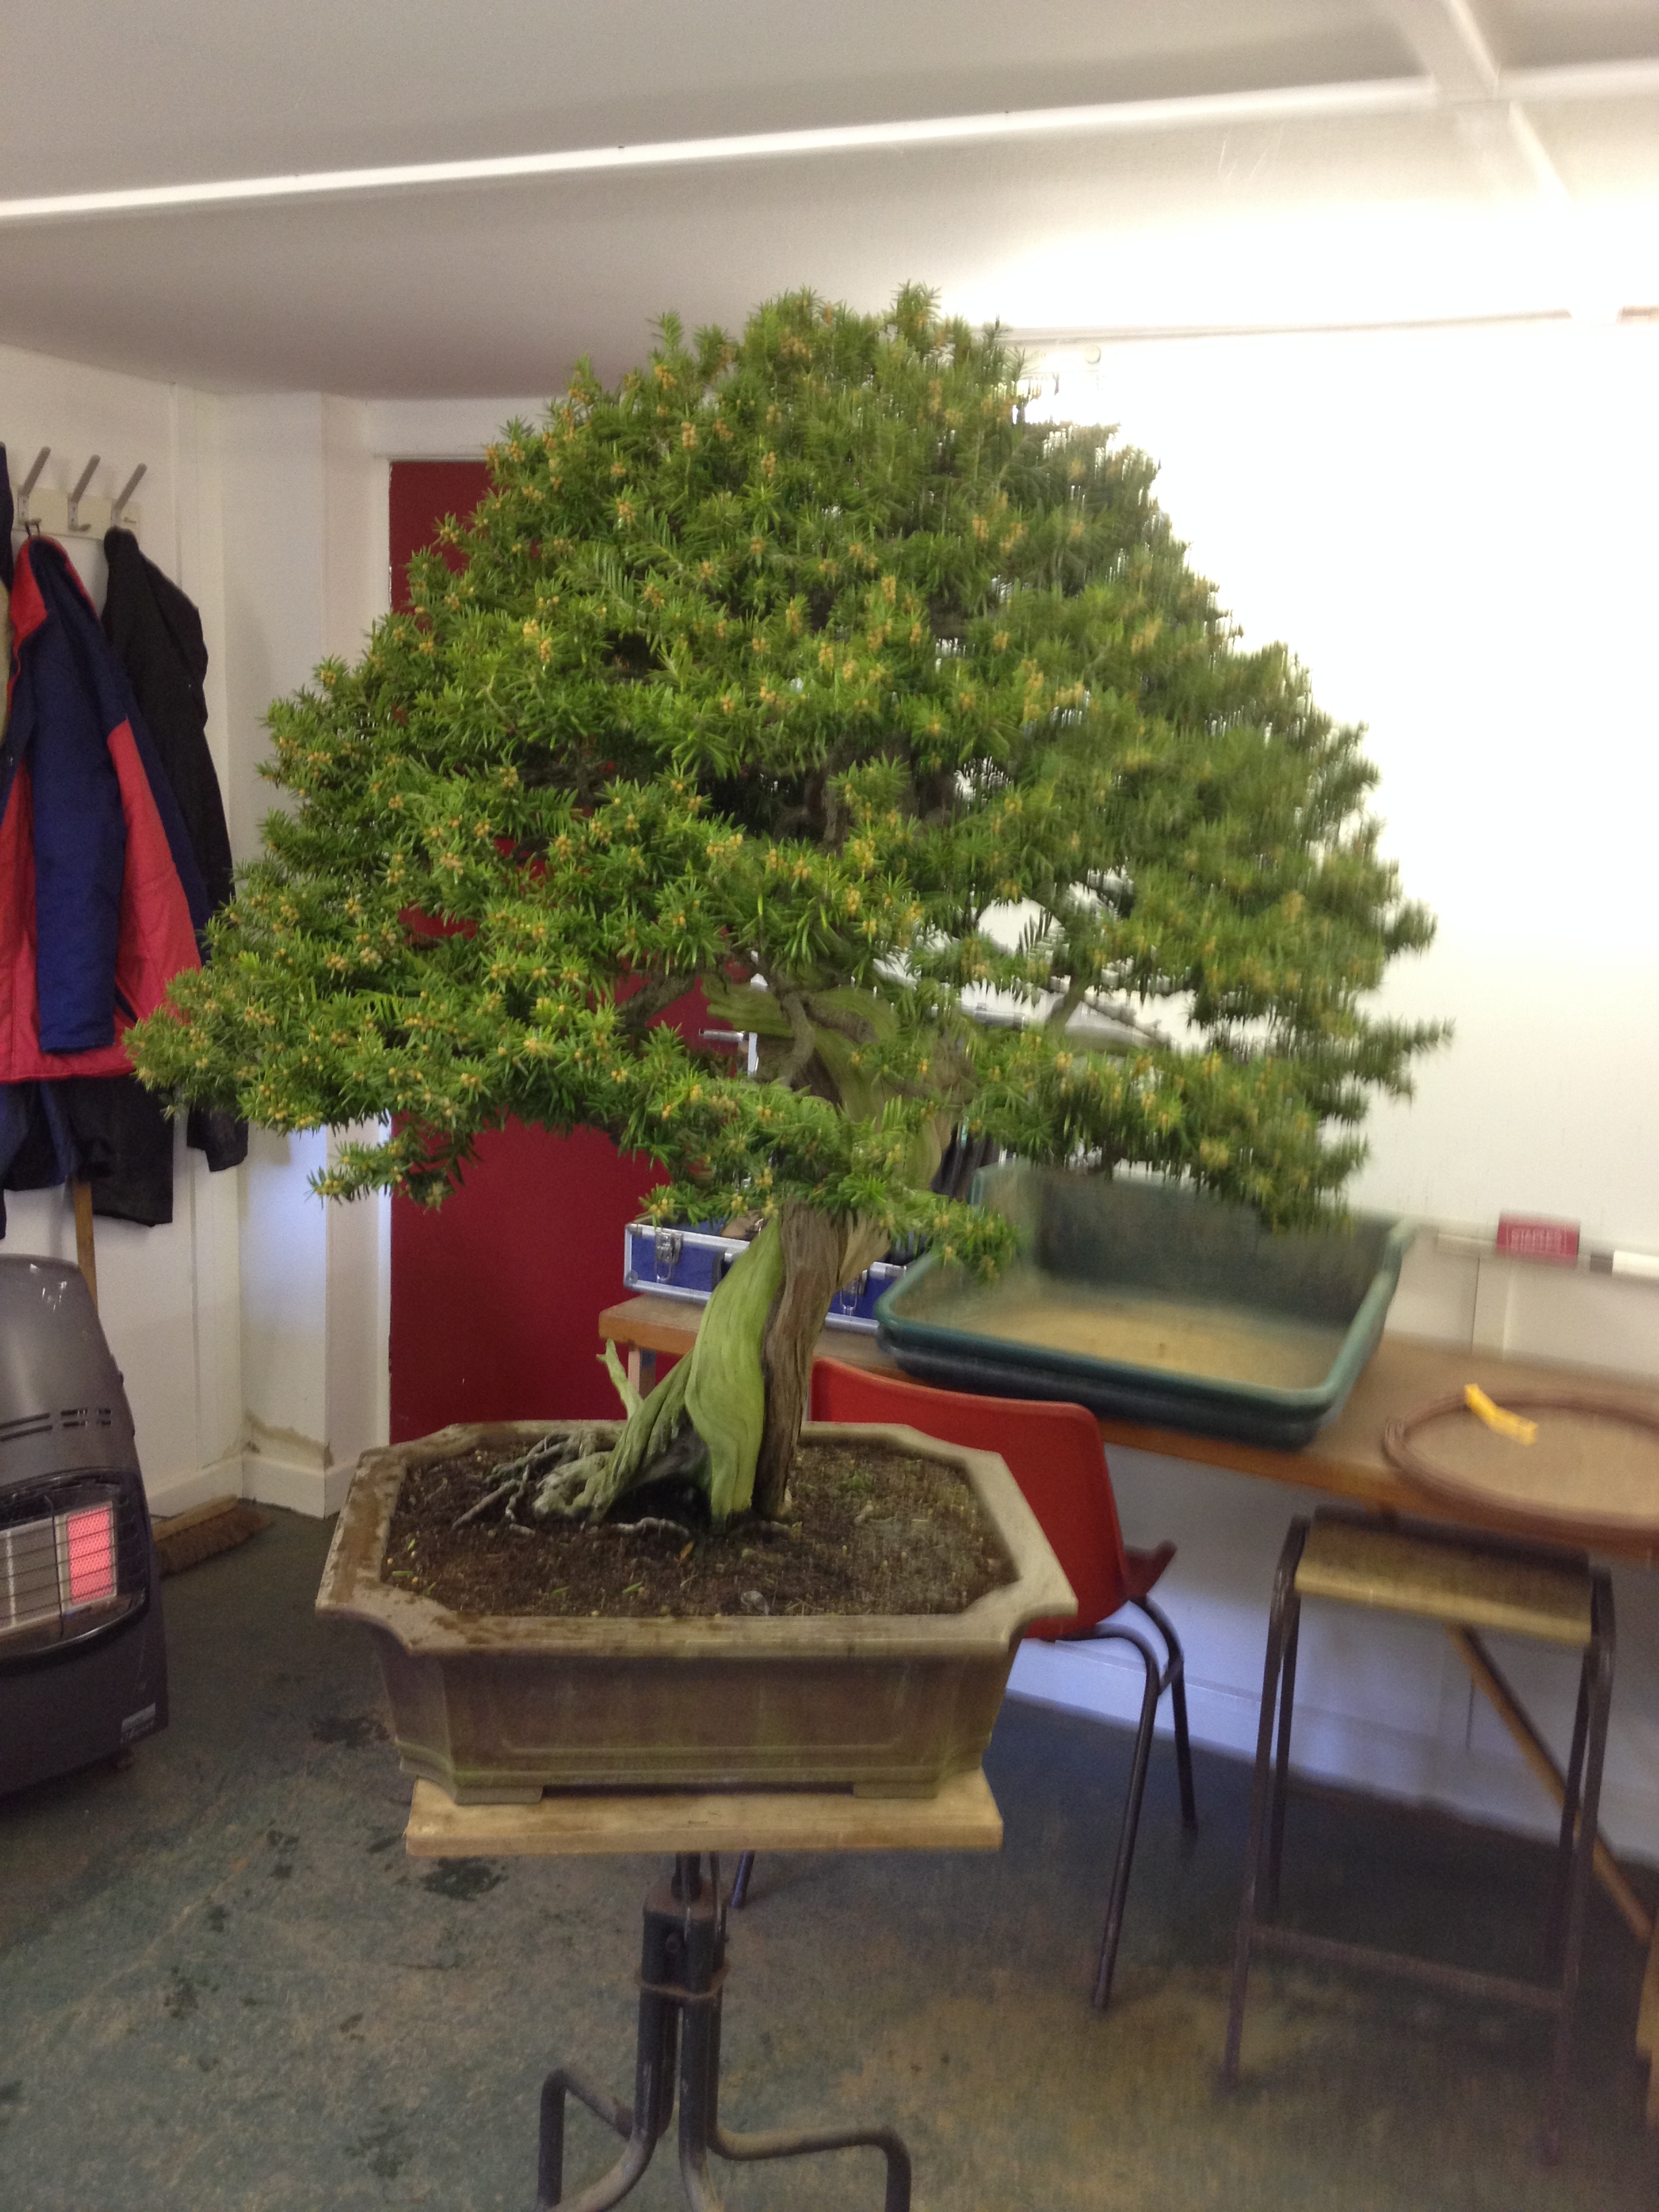
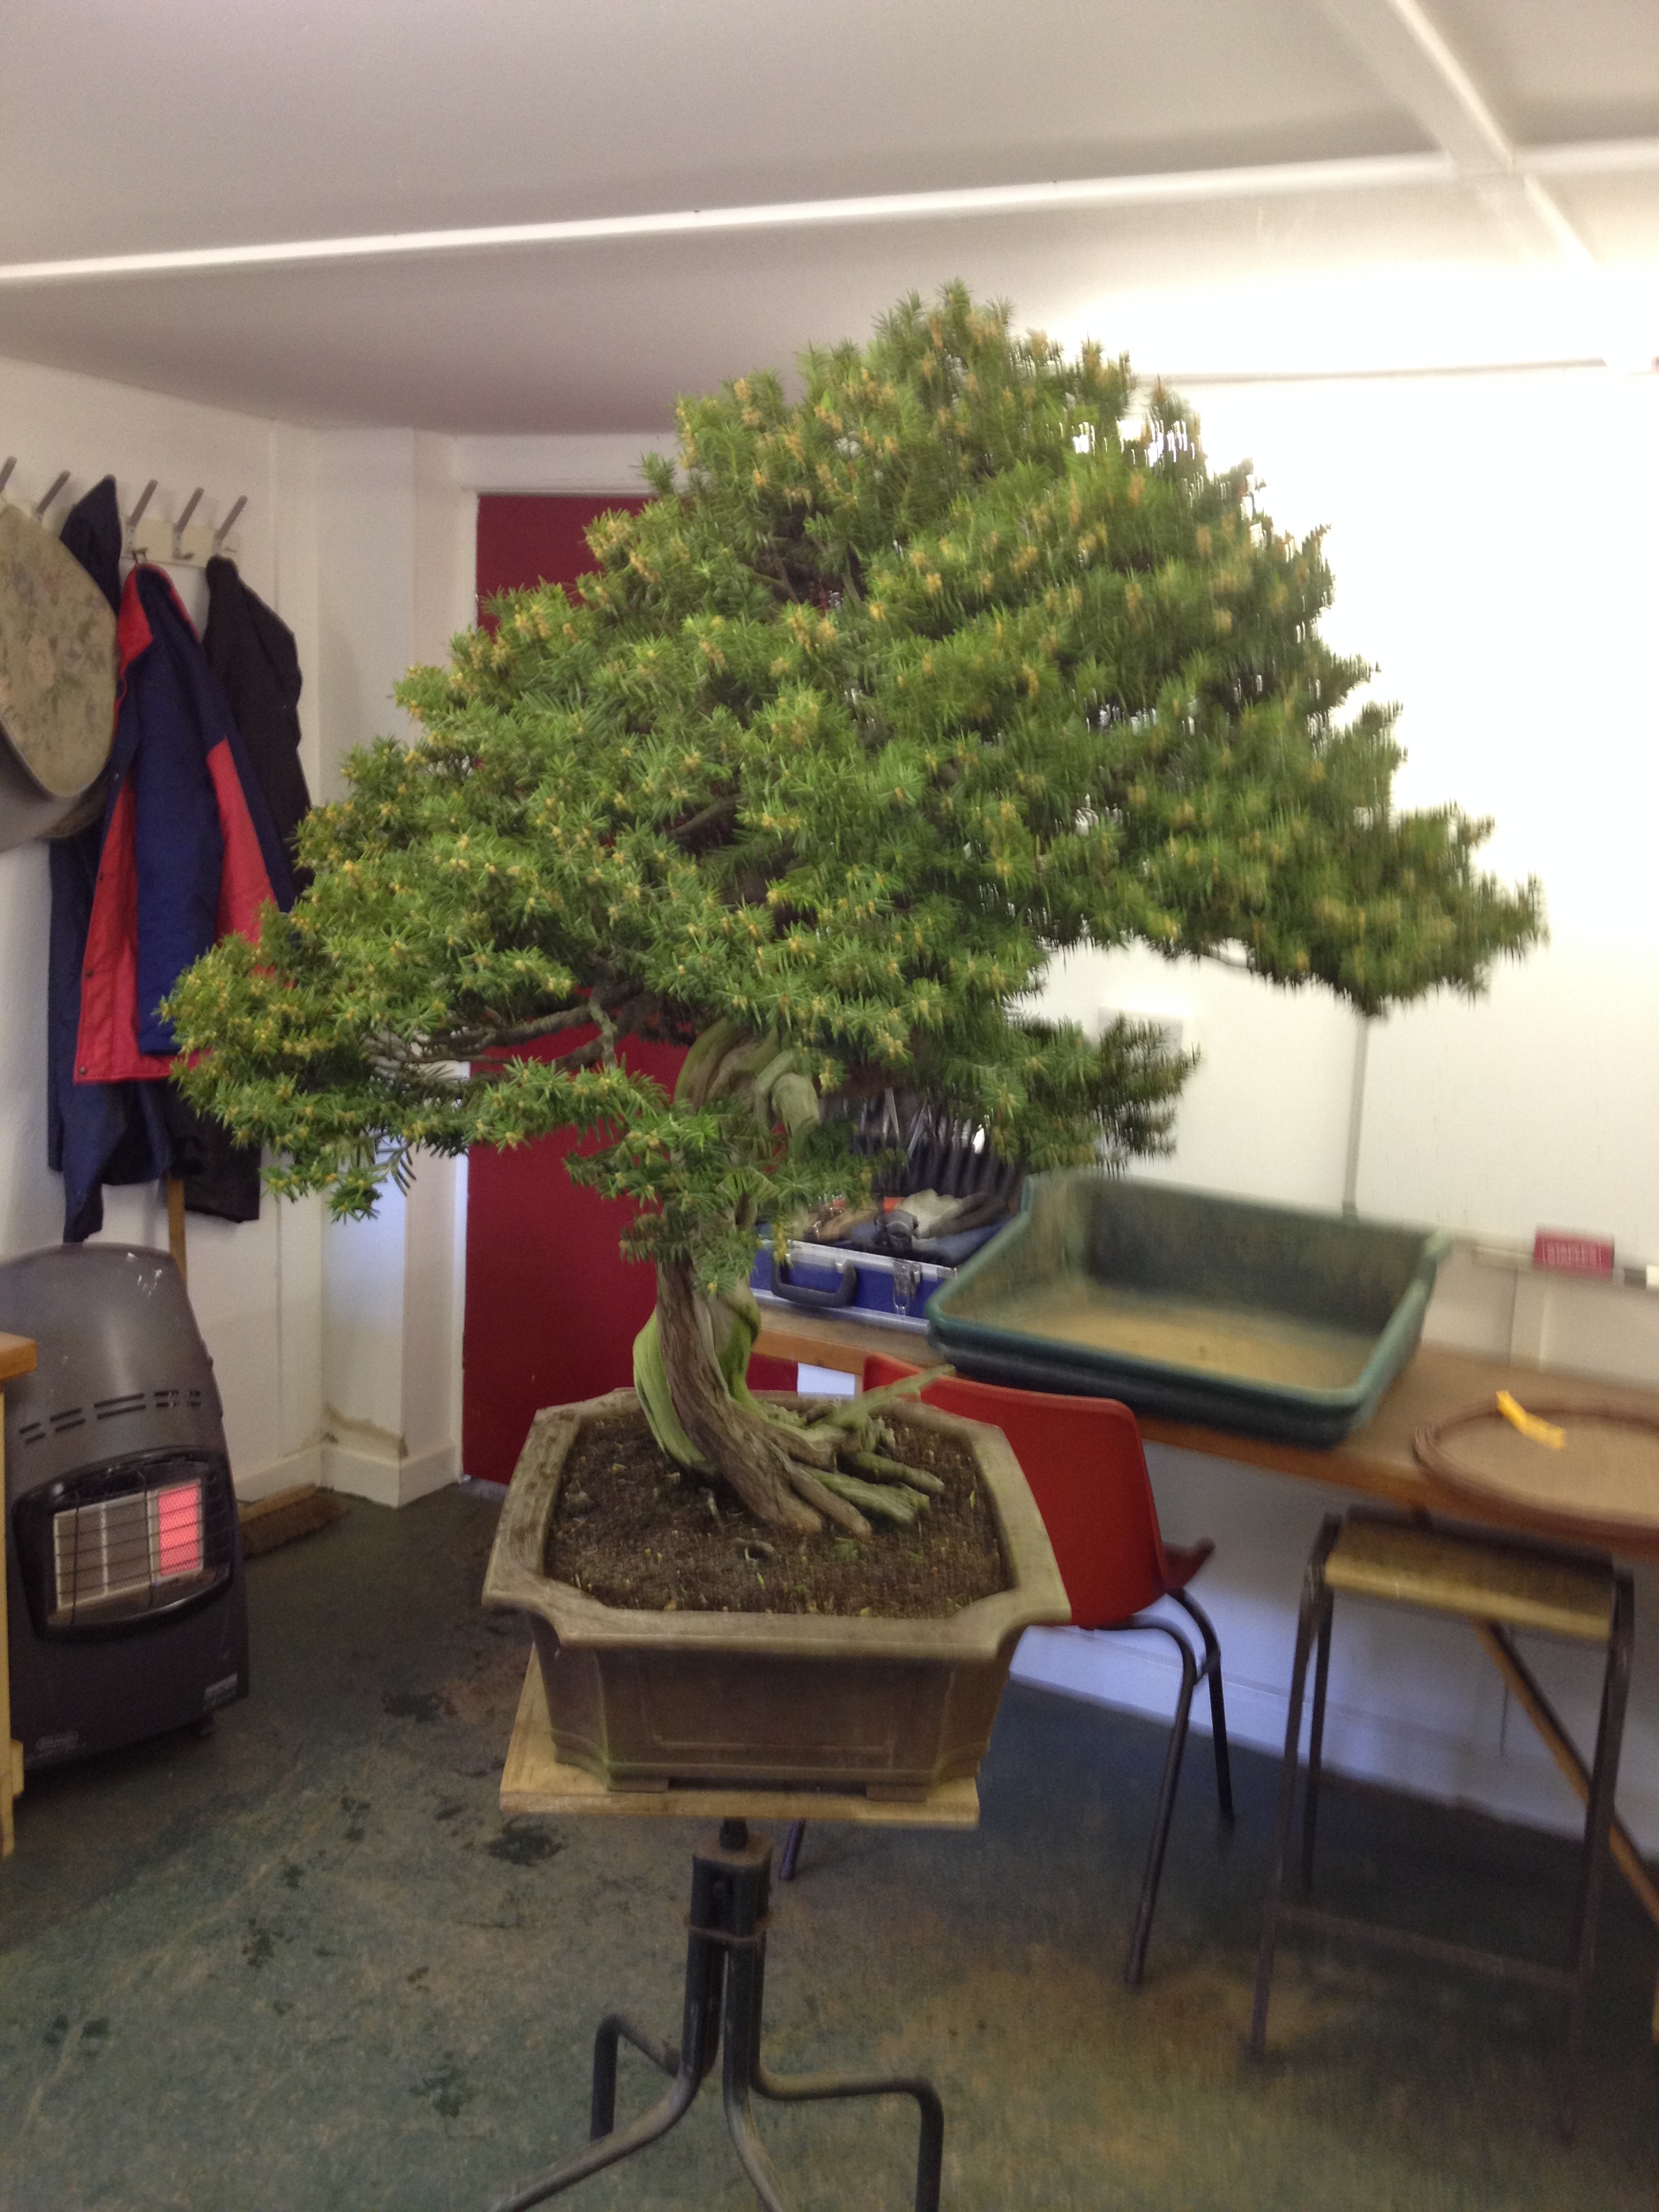
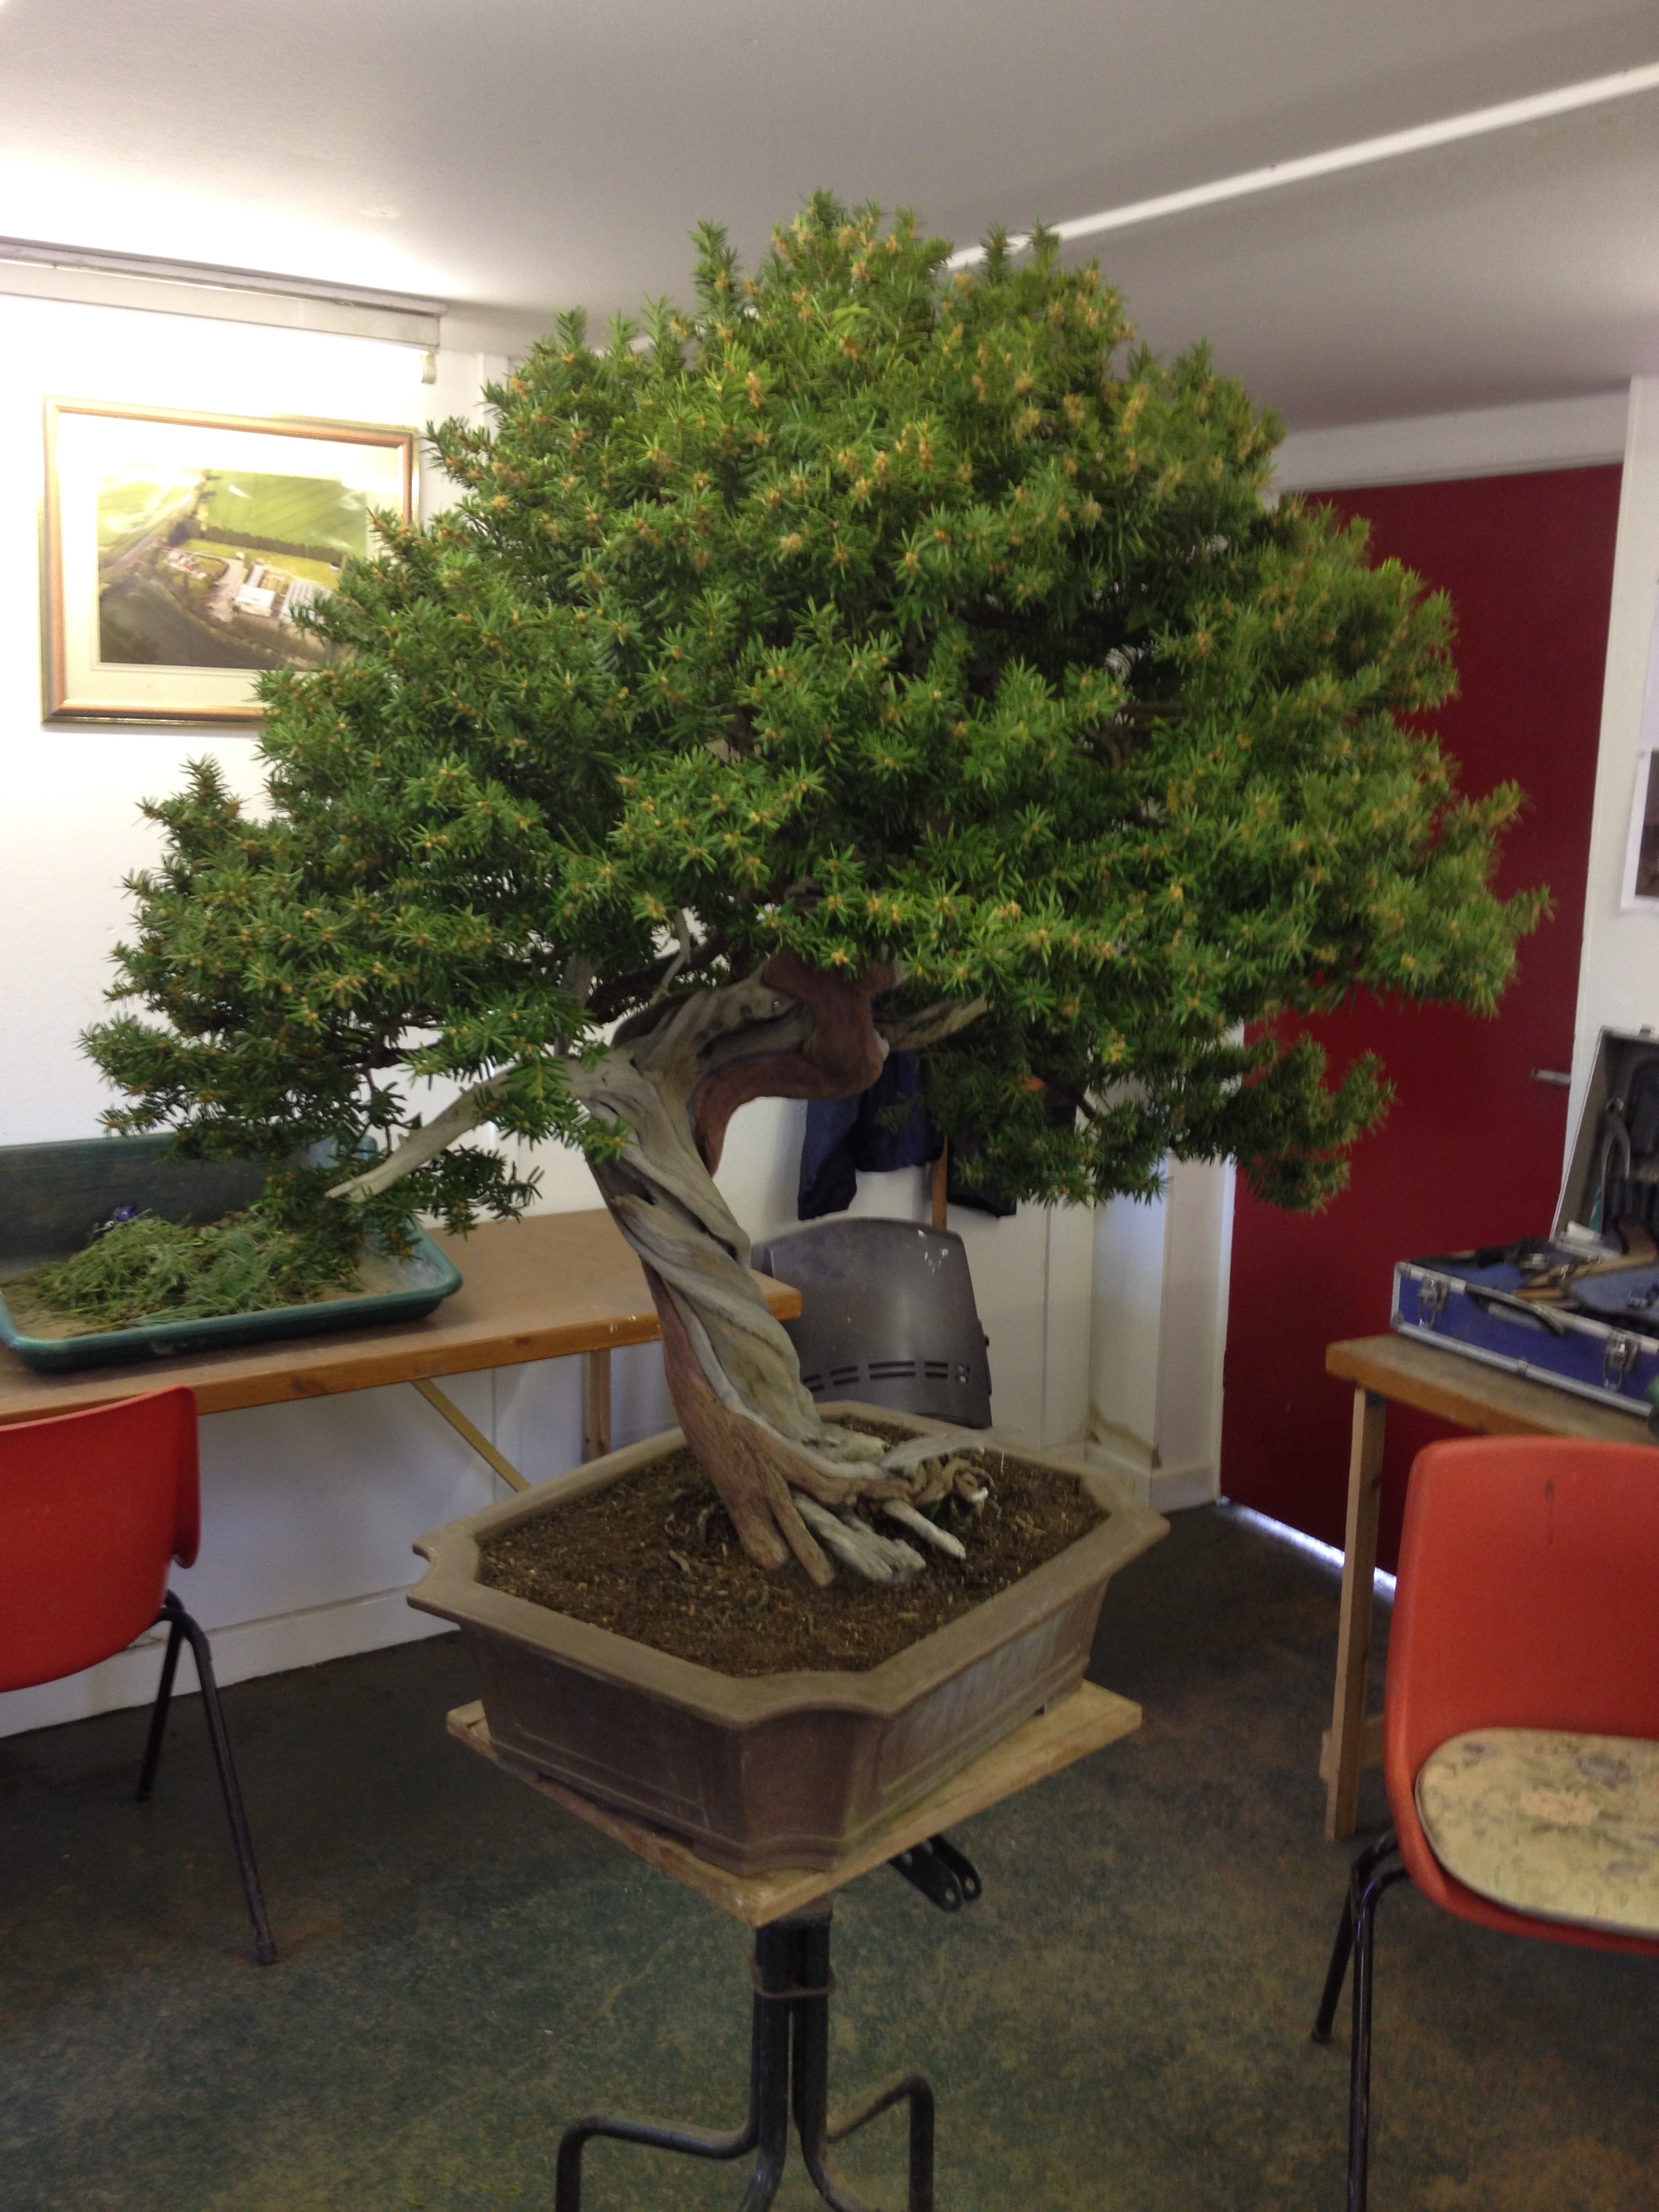
The first top picture was taken in July, the second in October 2013, and the third in February 2014. The lower three pictures also show the tree in February prior to the commencement of the restyling work. The last picture shows what I considered to be a possible new front.


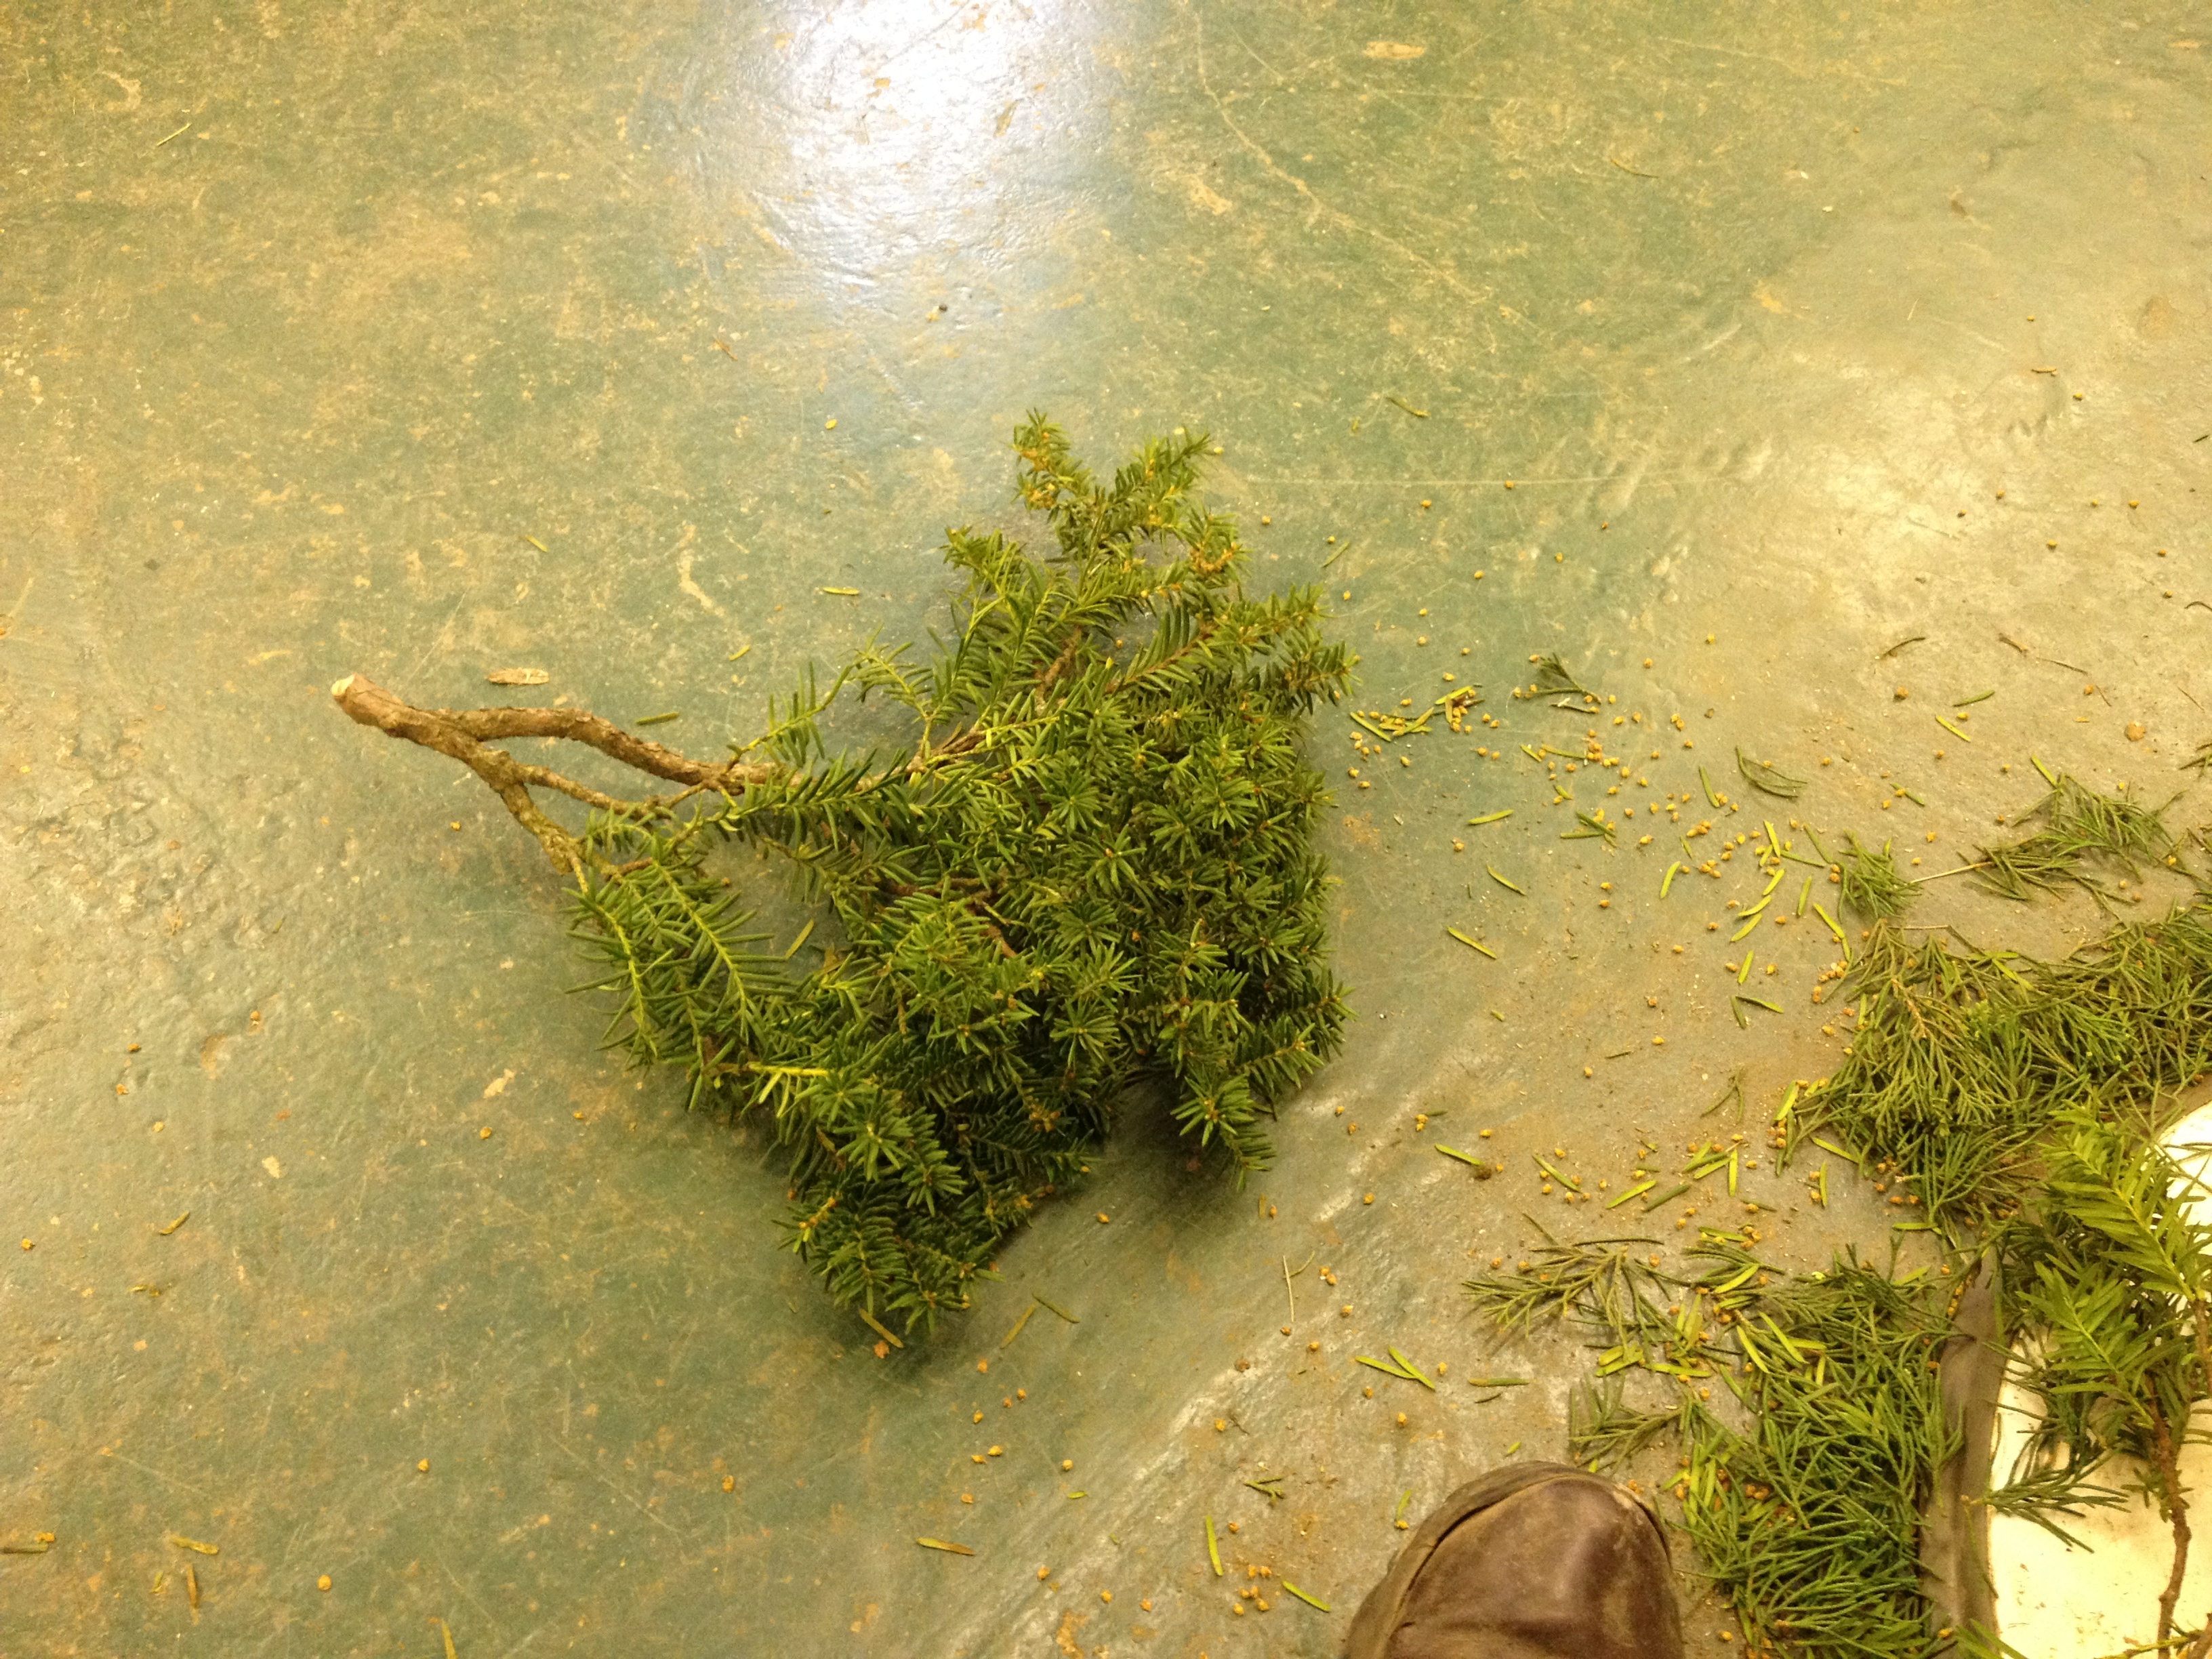
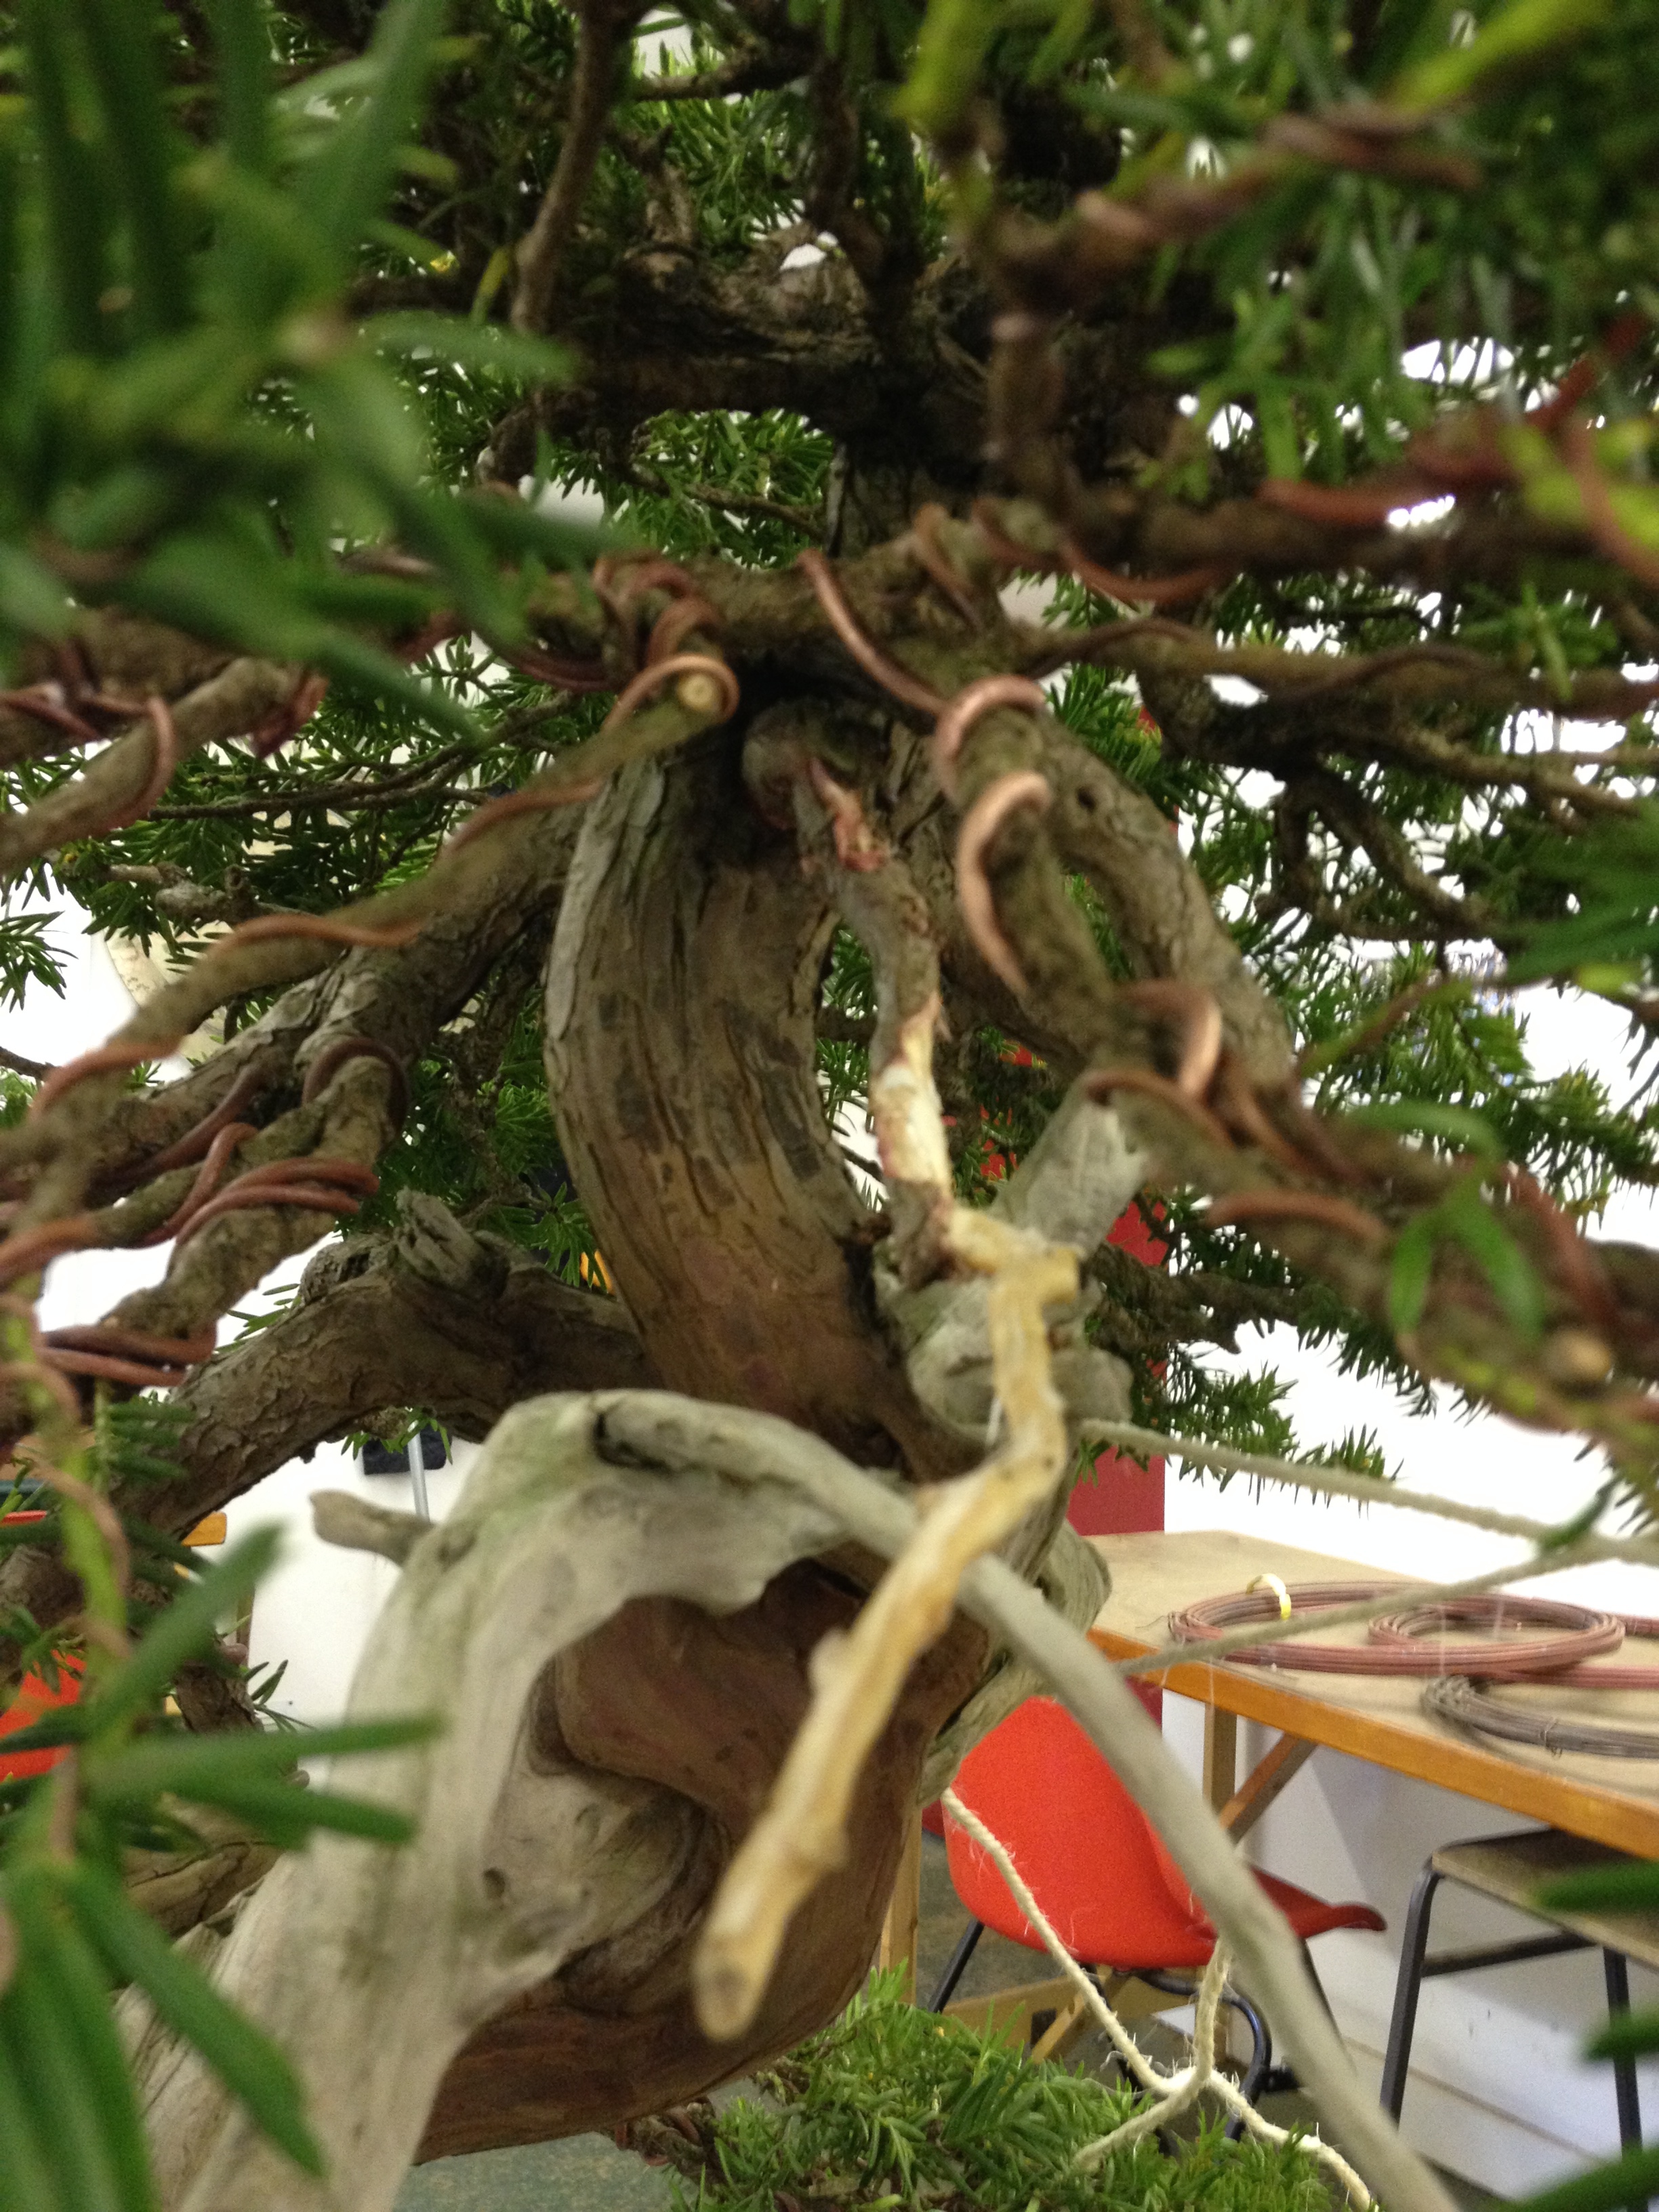
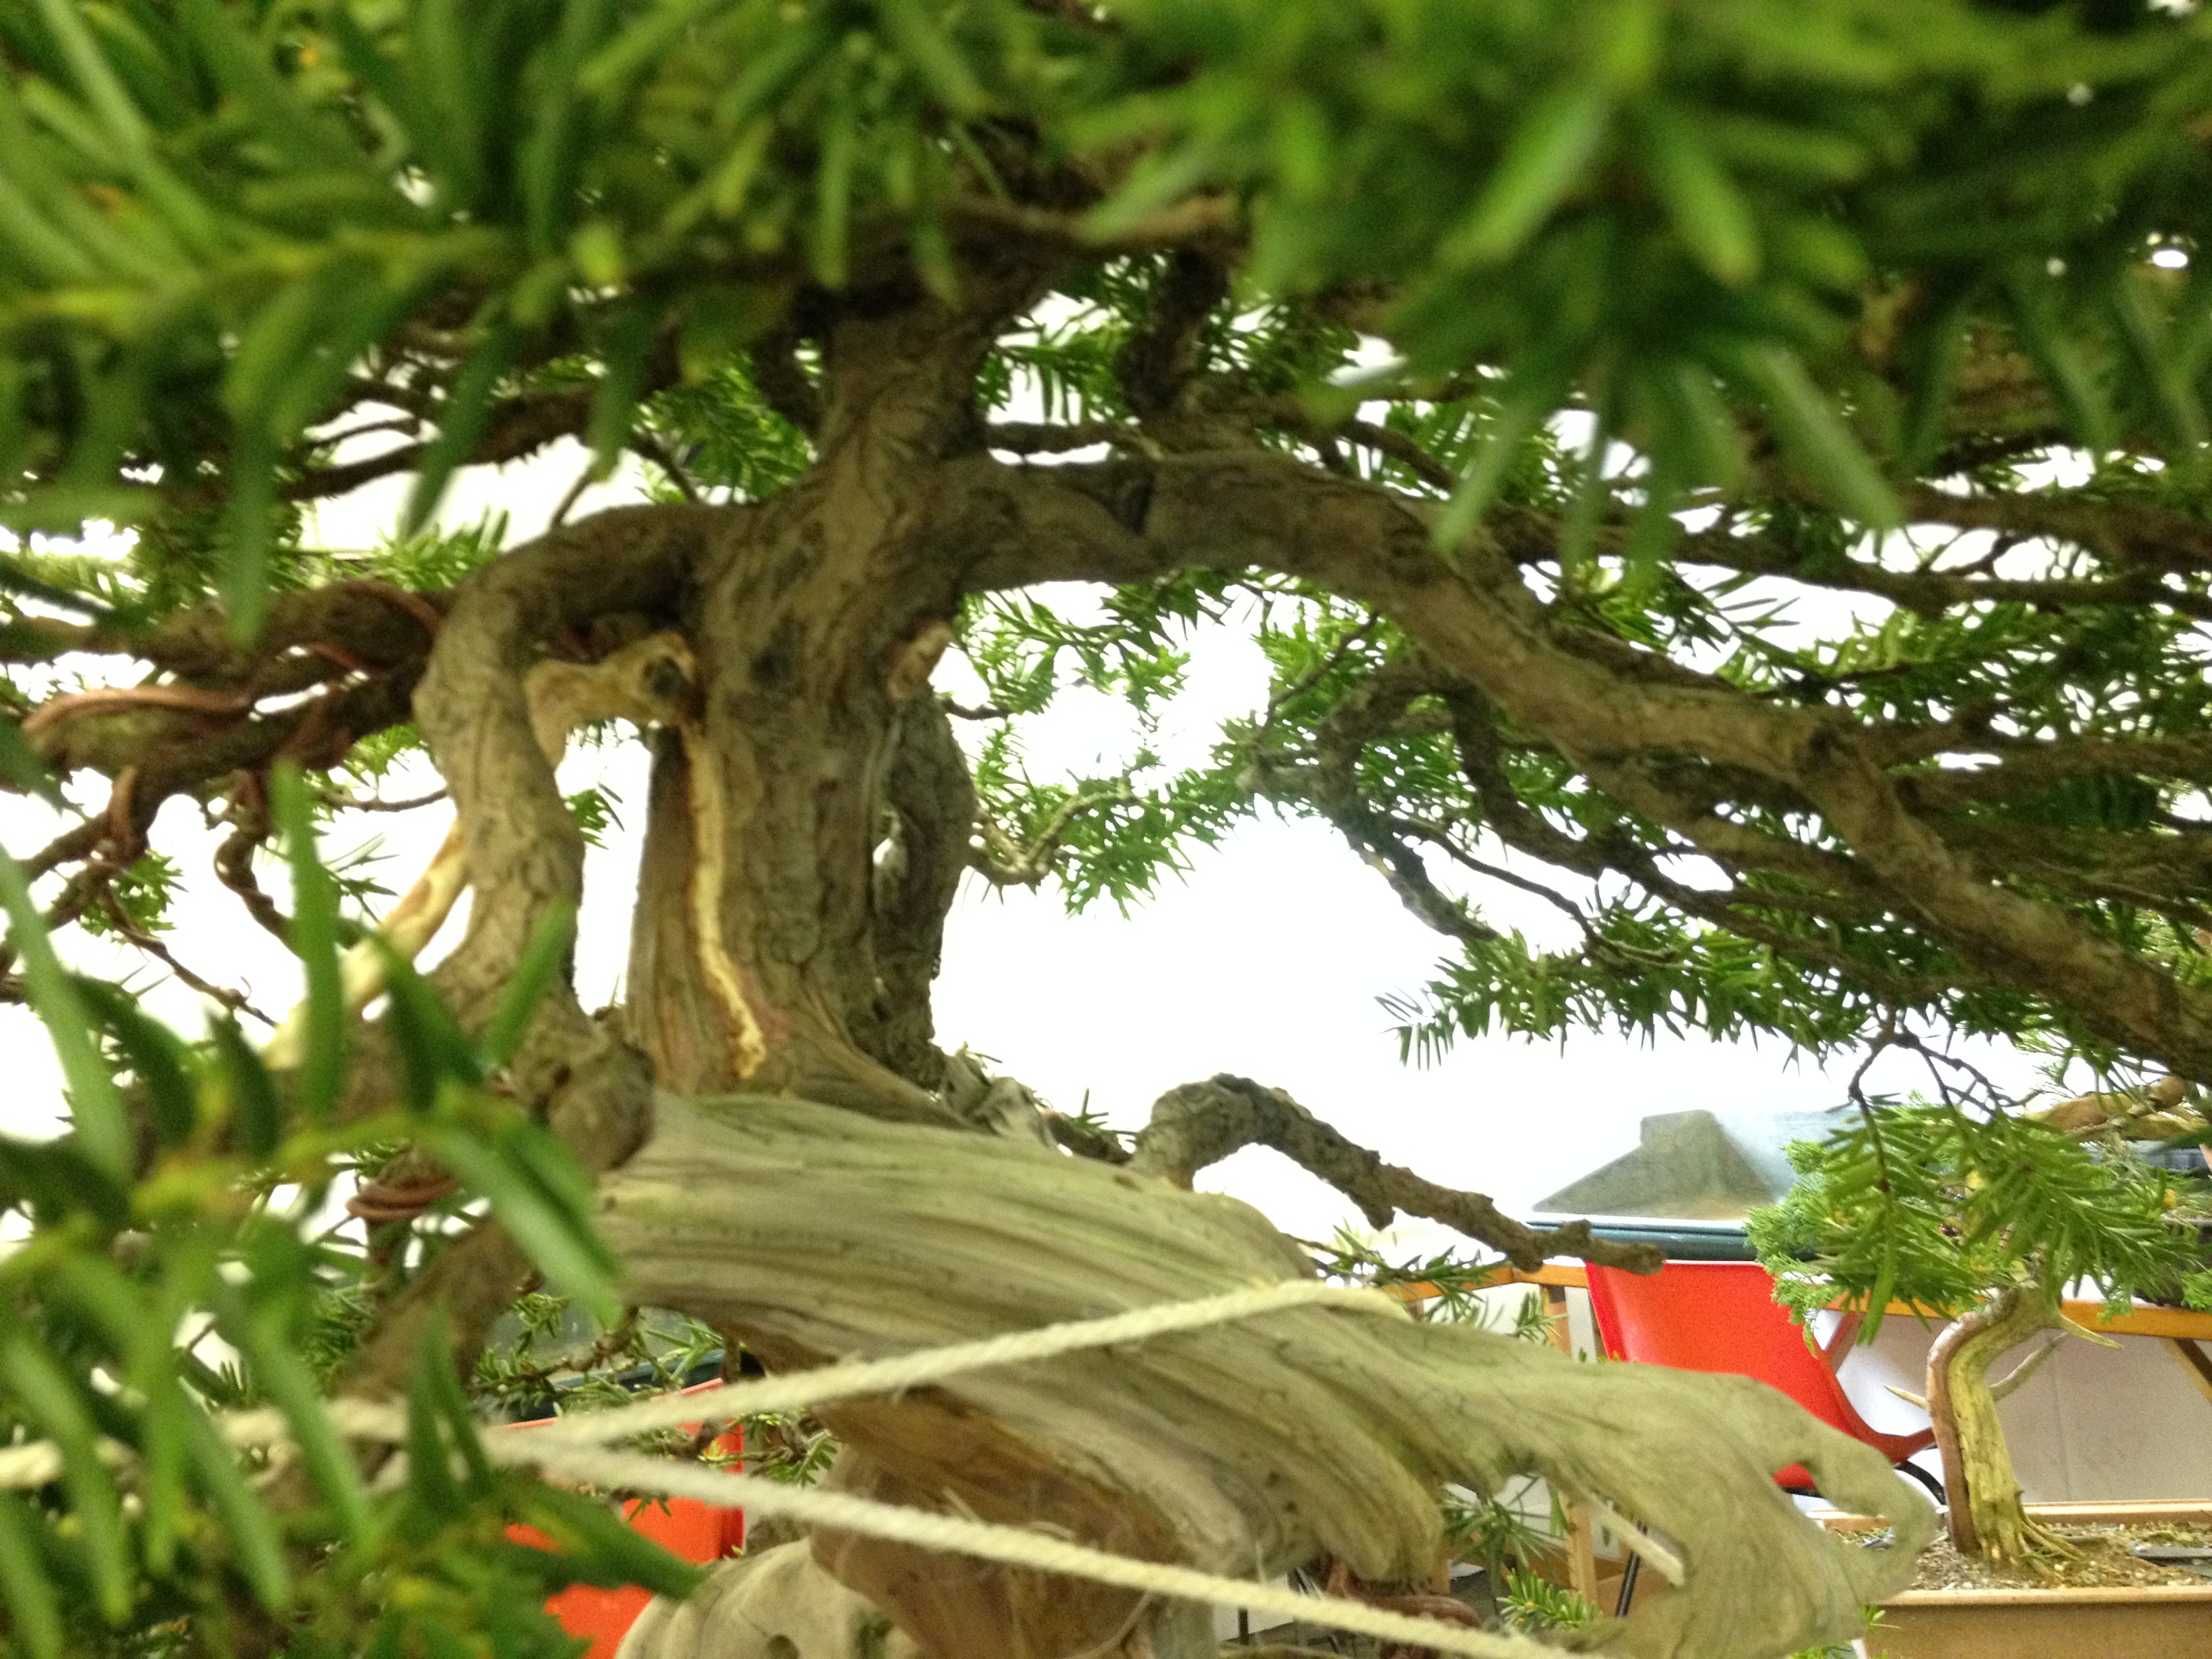
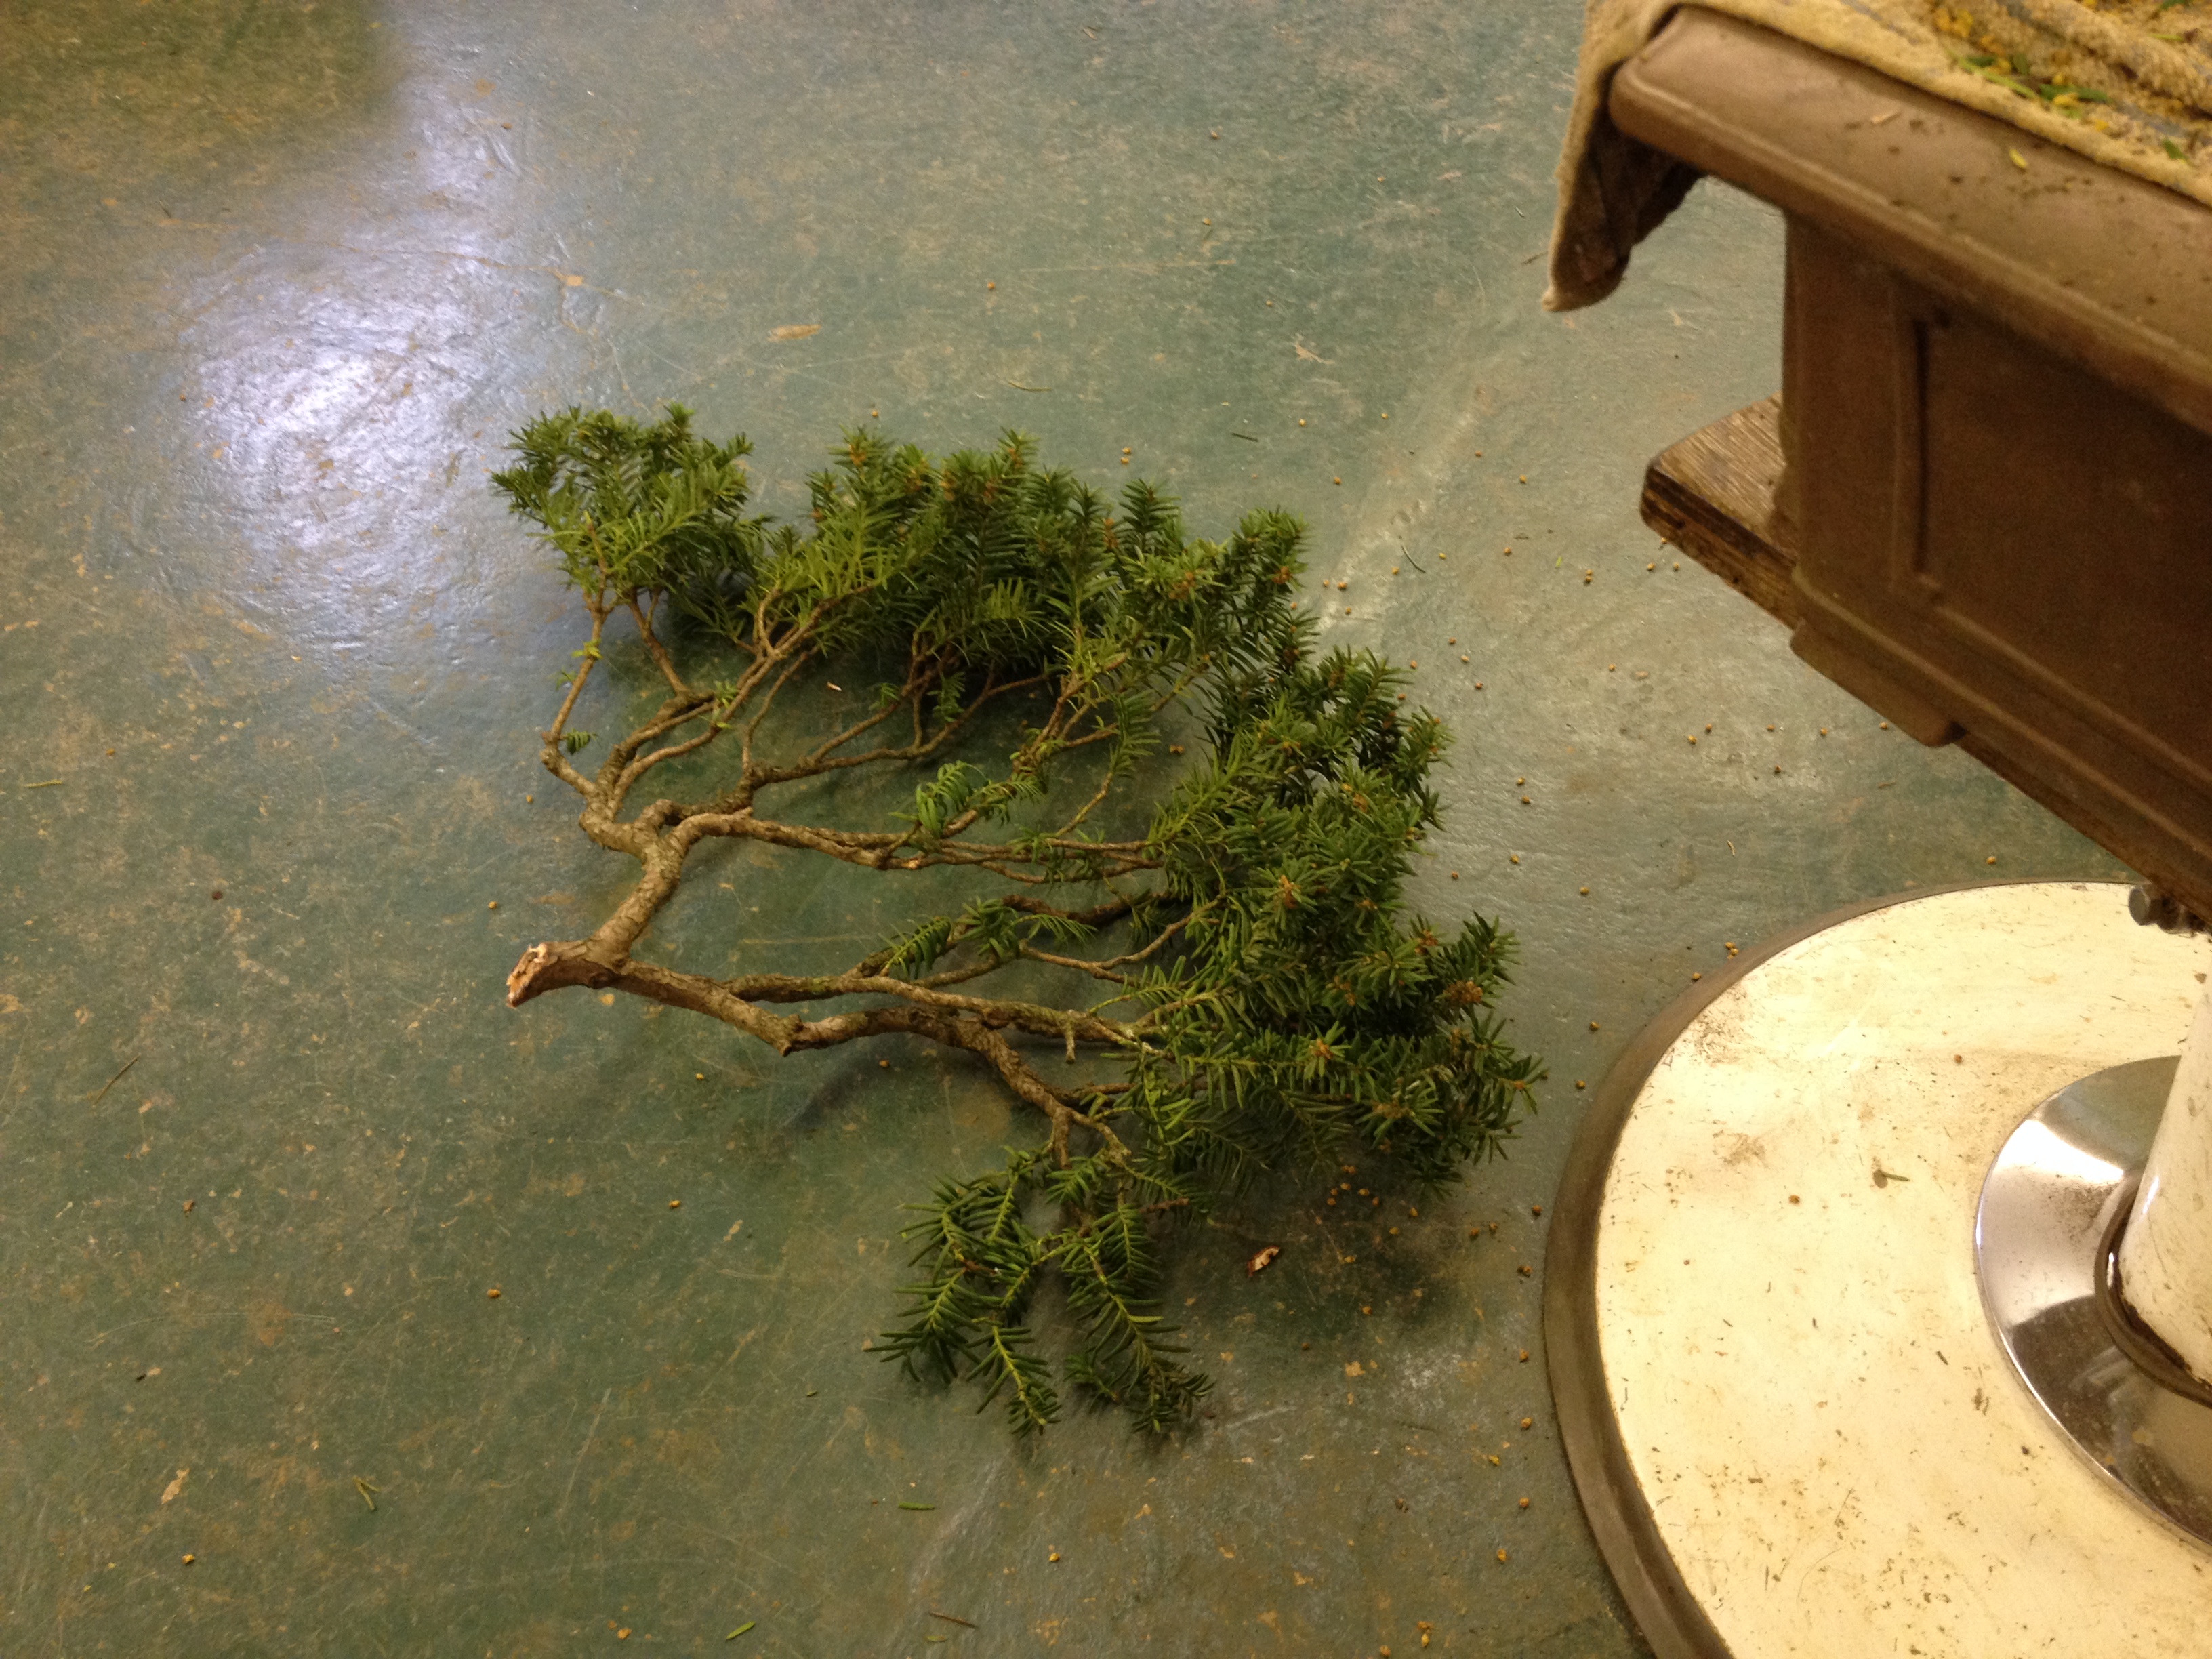

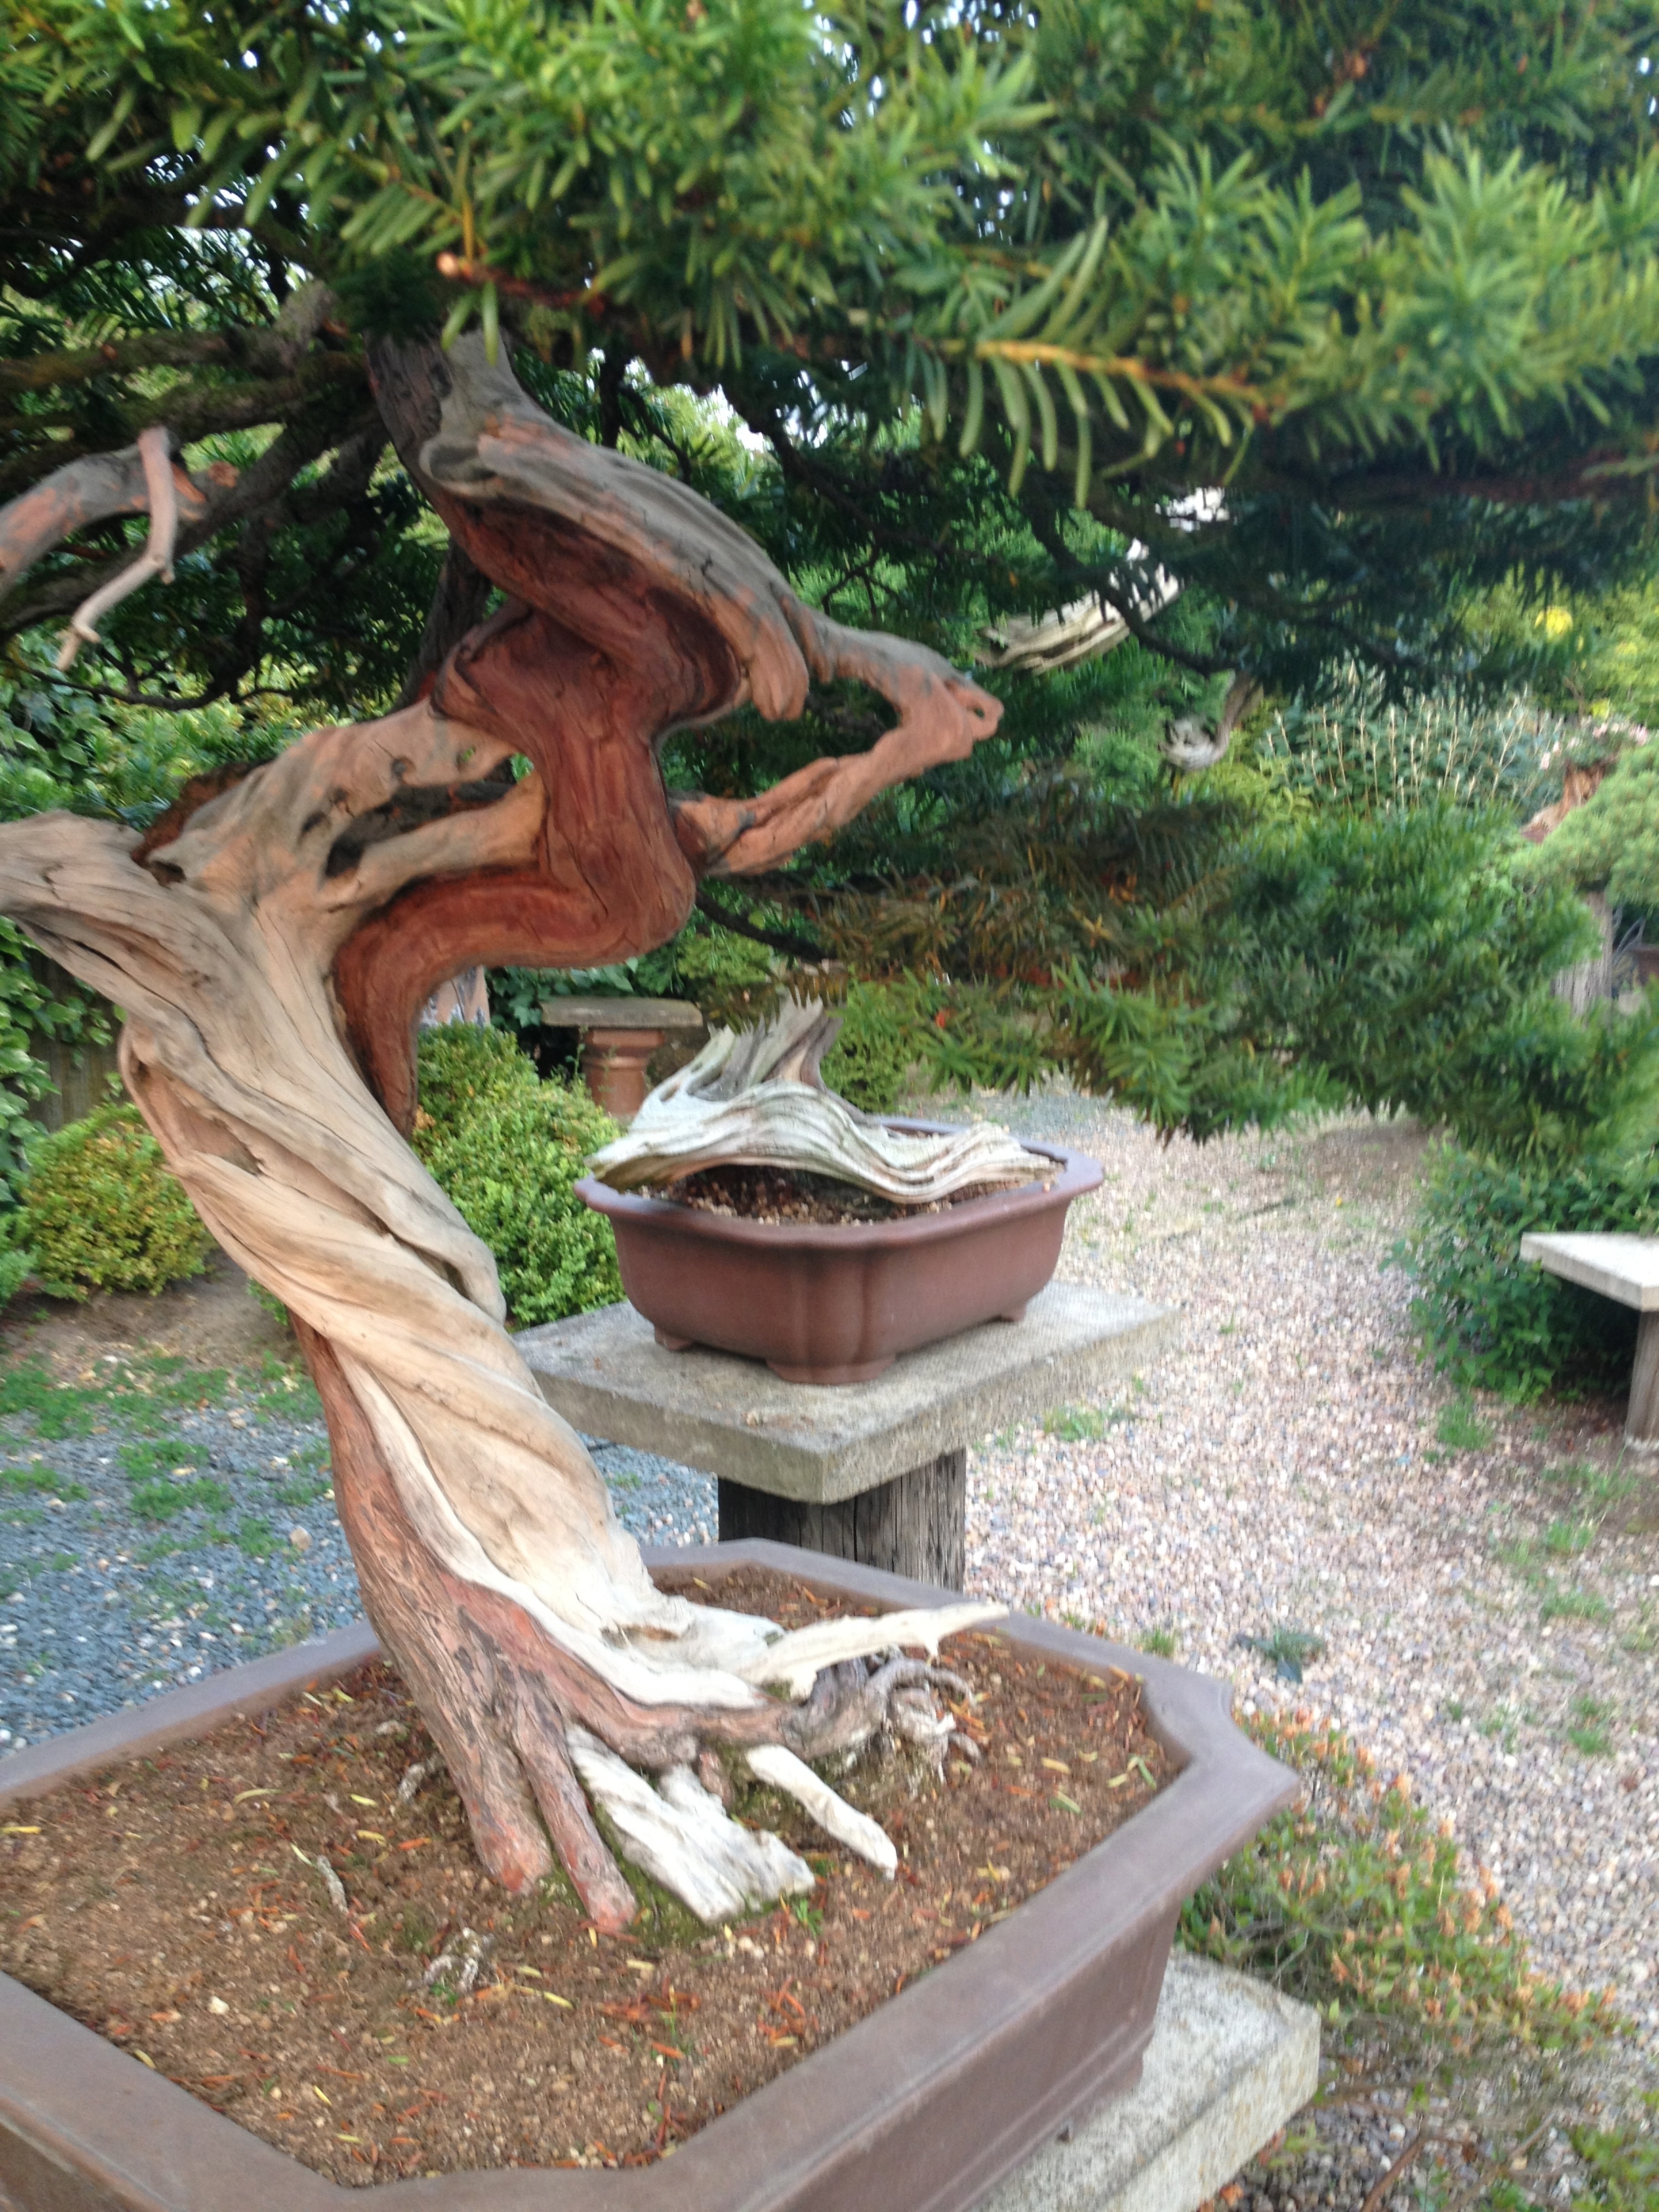
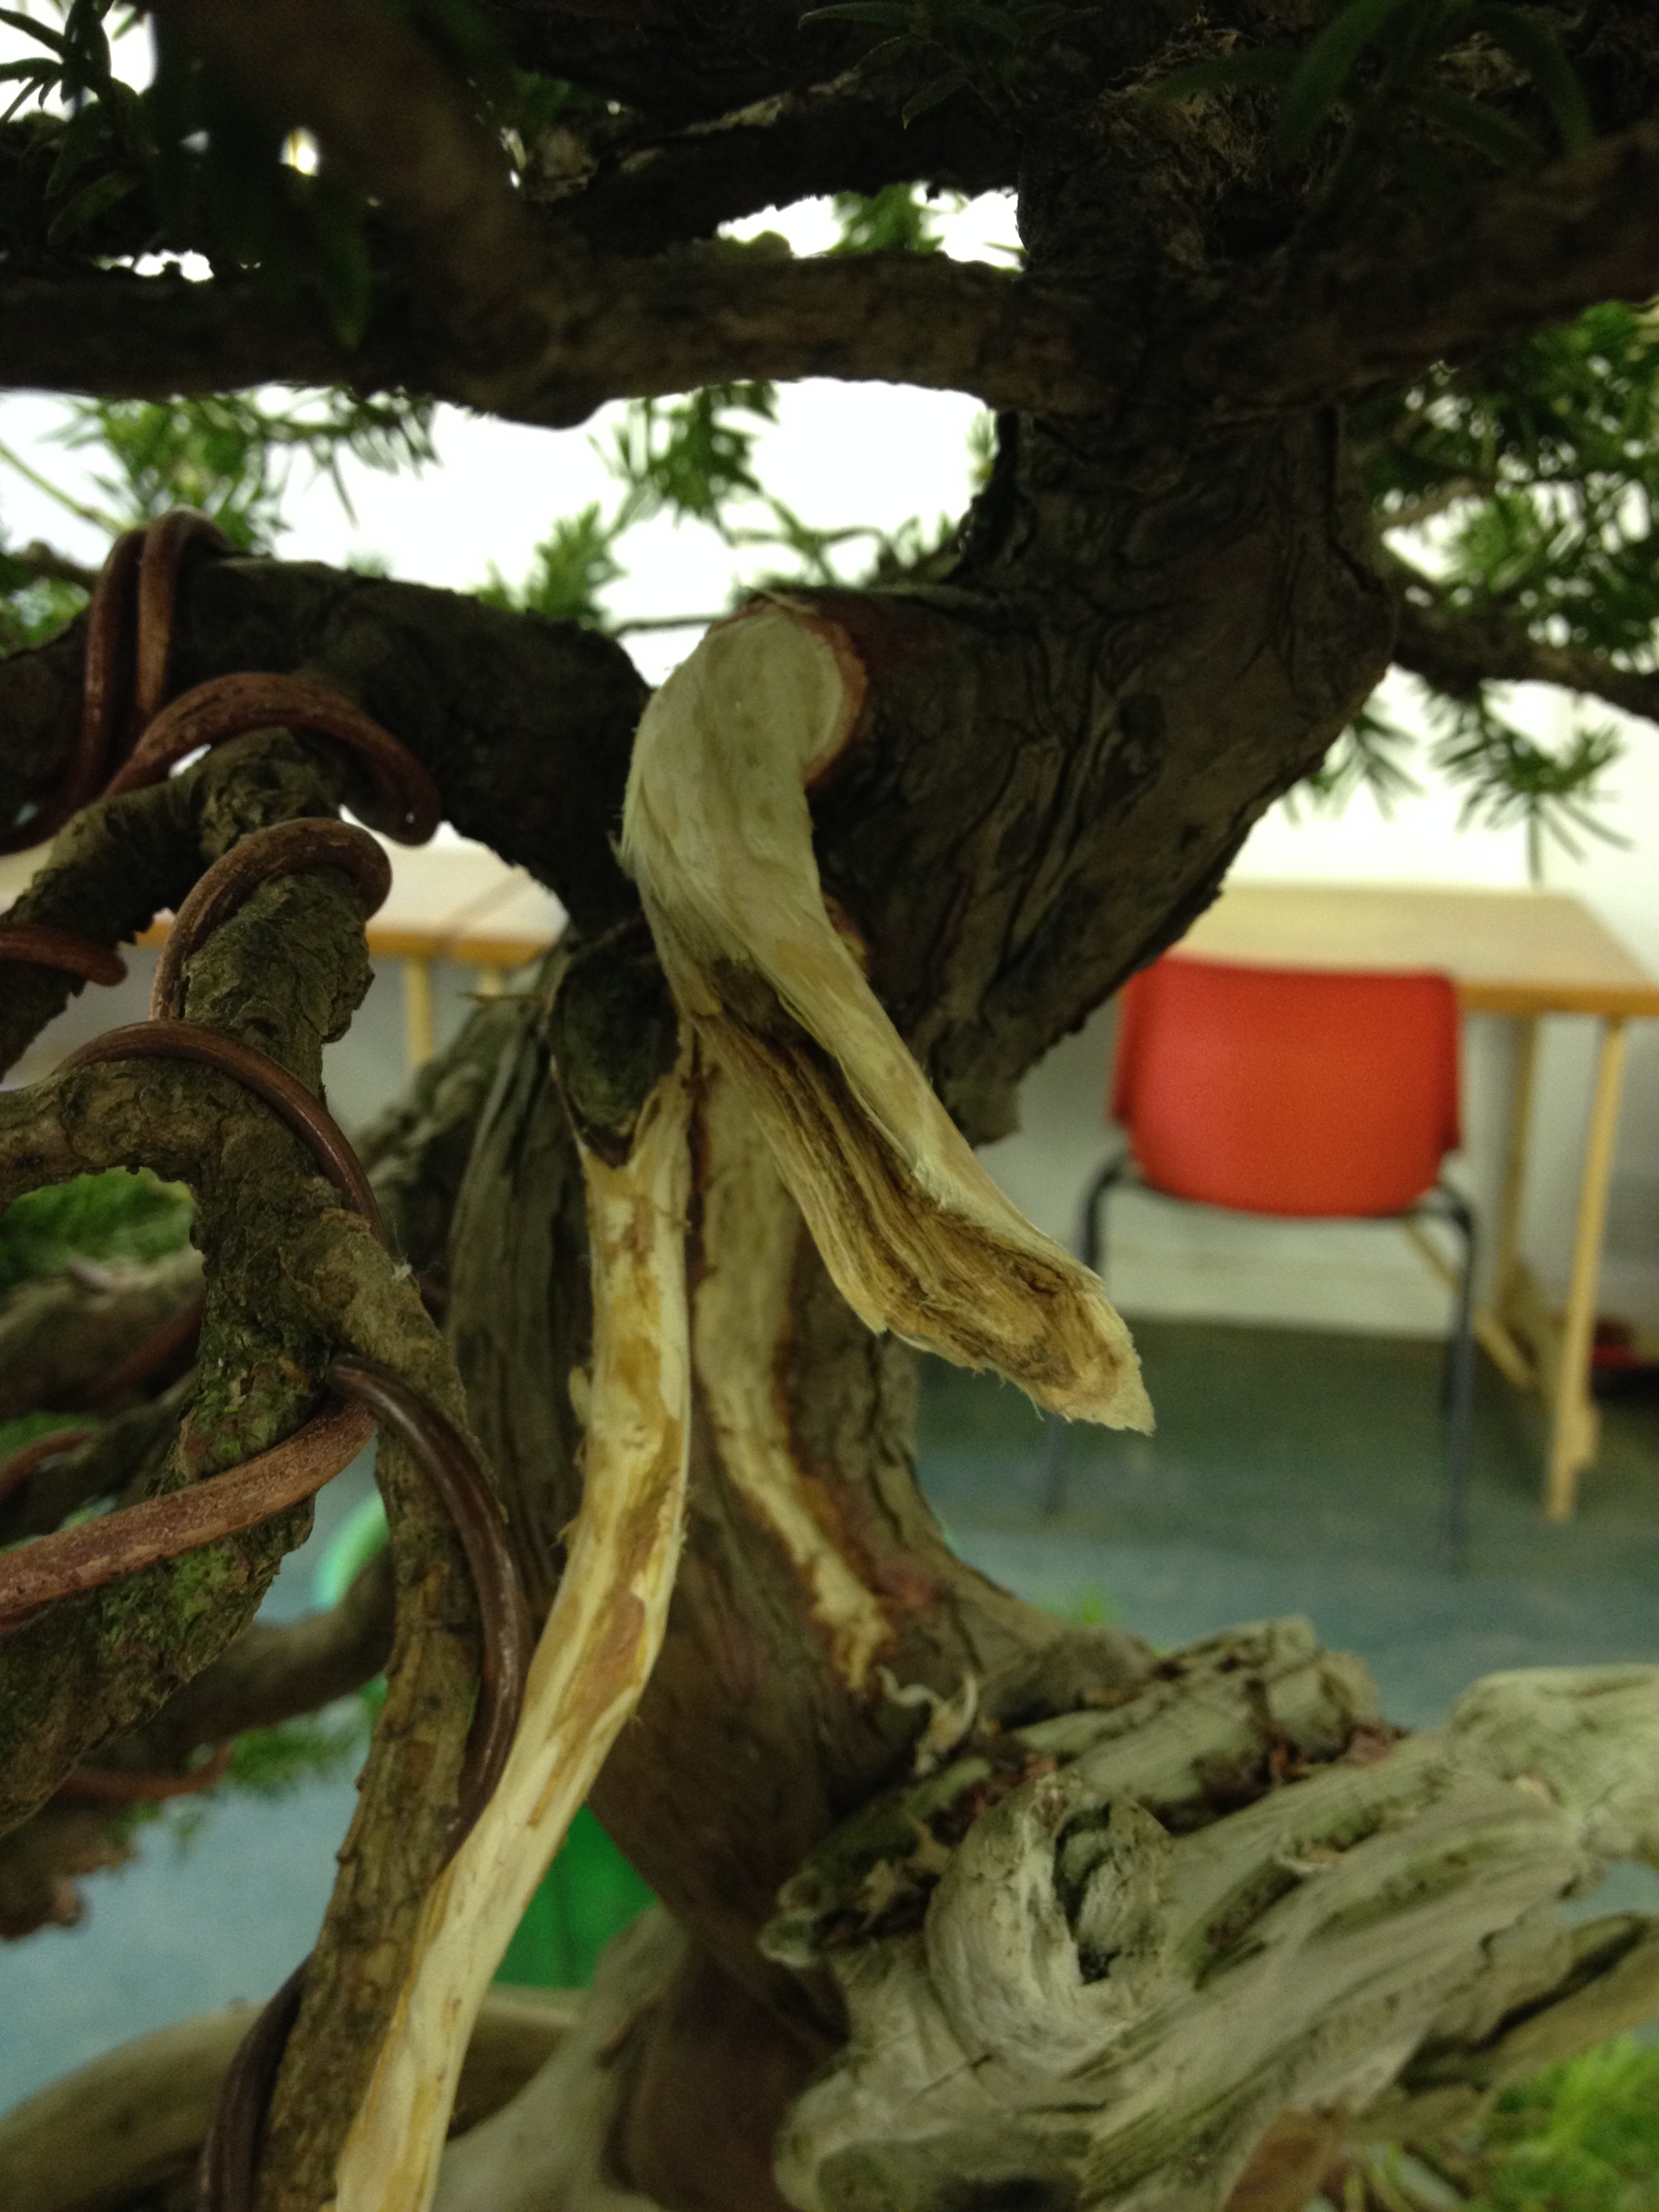
The trunk had been cleaned and lime sulphur applied to the deadwood. It was now a case of wiring every branch on the tree and then repositioning them as the work progressed. I started from the bottom and worked my way up the tree. Branches not required were removed and two of these are shown in the series of pictures above. Work is started on extending the shari and a newly created jin is bent to follow the same line as the existing deadwood. One removed branch had natural deadwood in the centre.


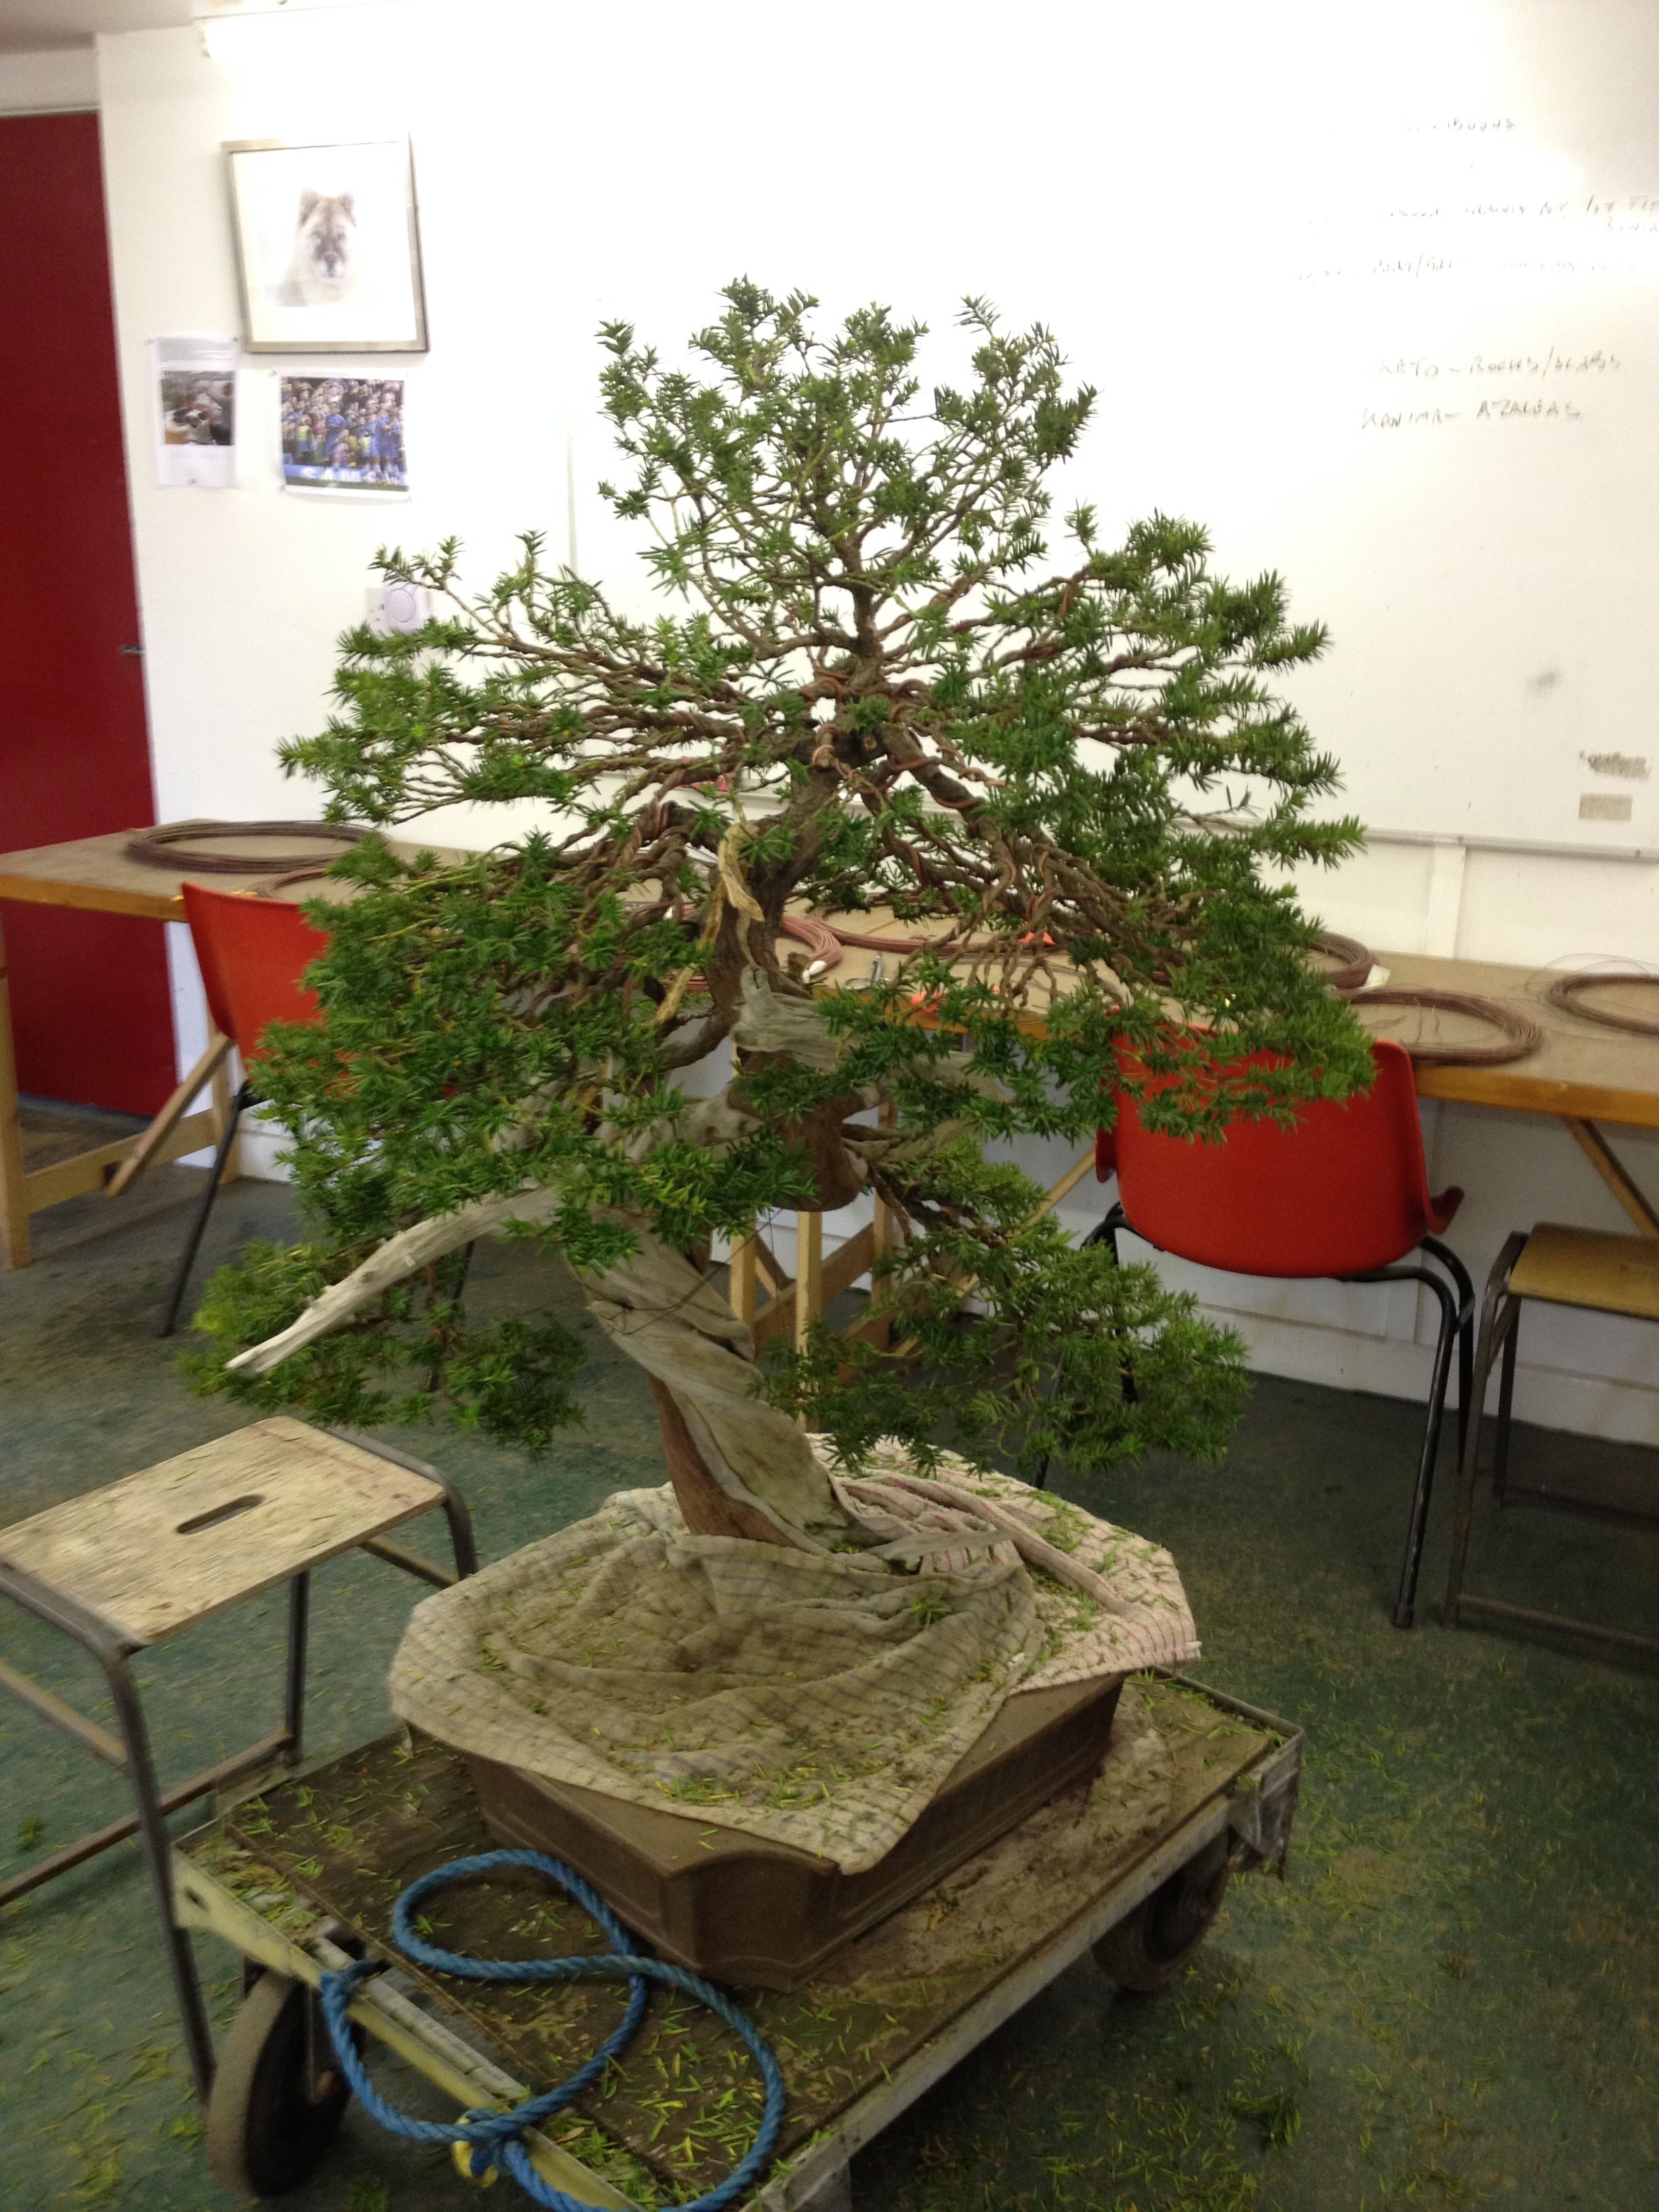
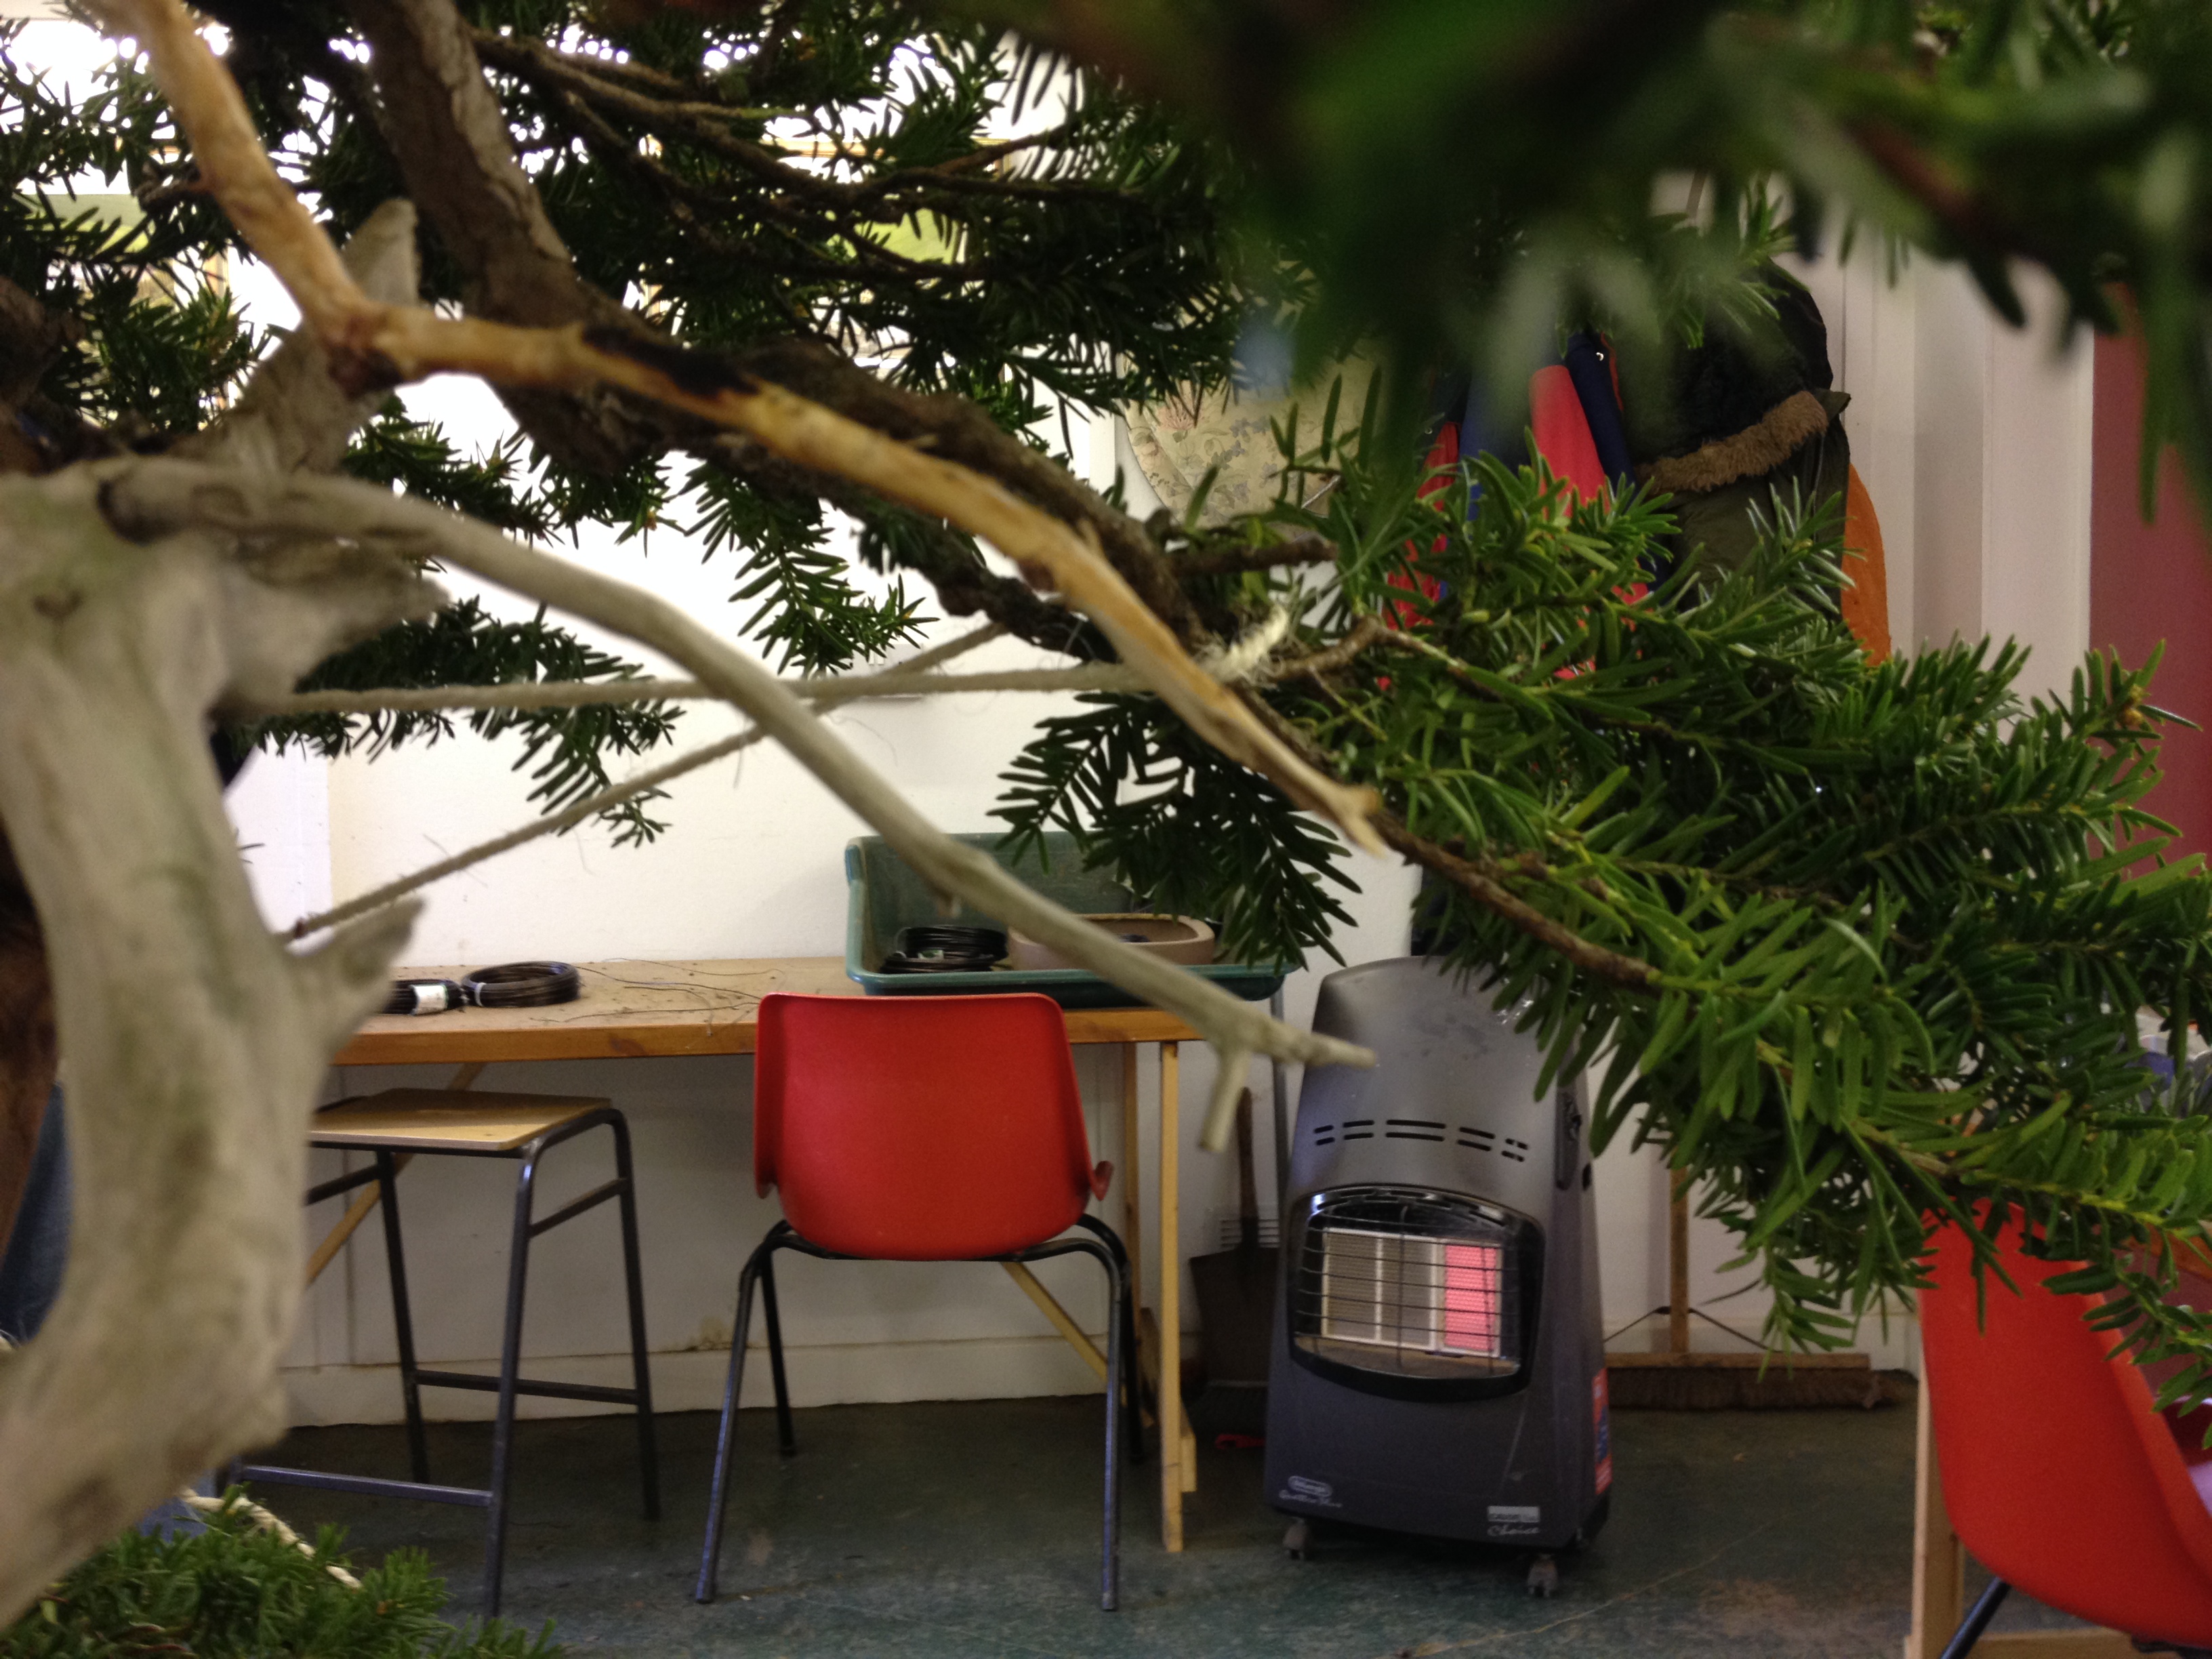
Above, the stumps of the removed branches are made into deadwood. You can see how the work is progressing and you may catch a glimpse of my two assistants who suddenly became camera shy! The top is already beginning to look daunting.
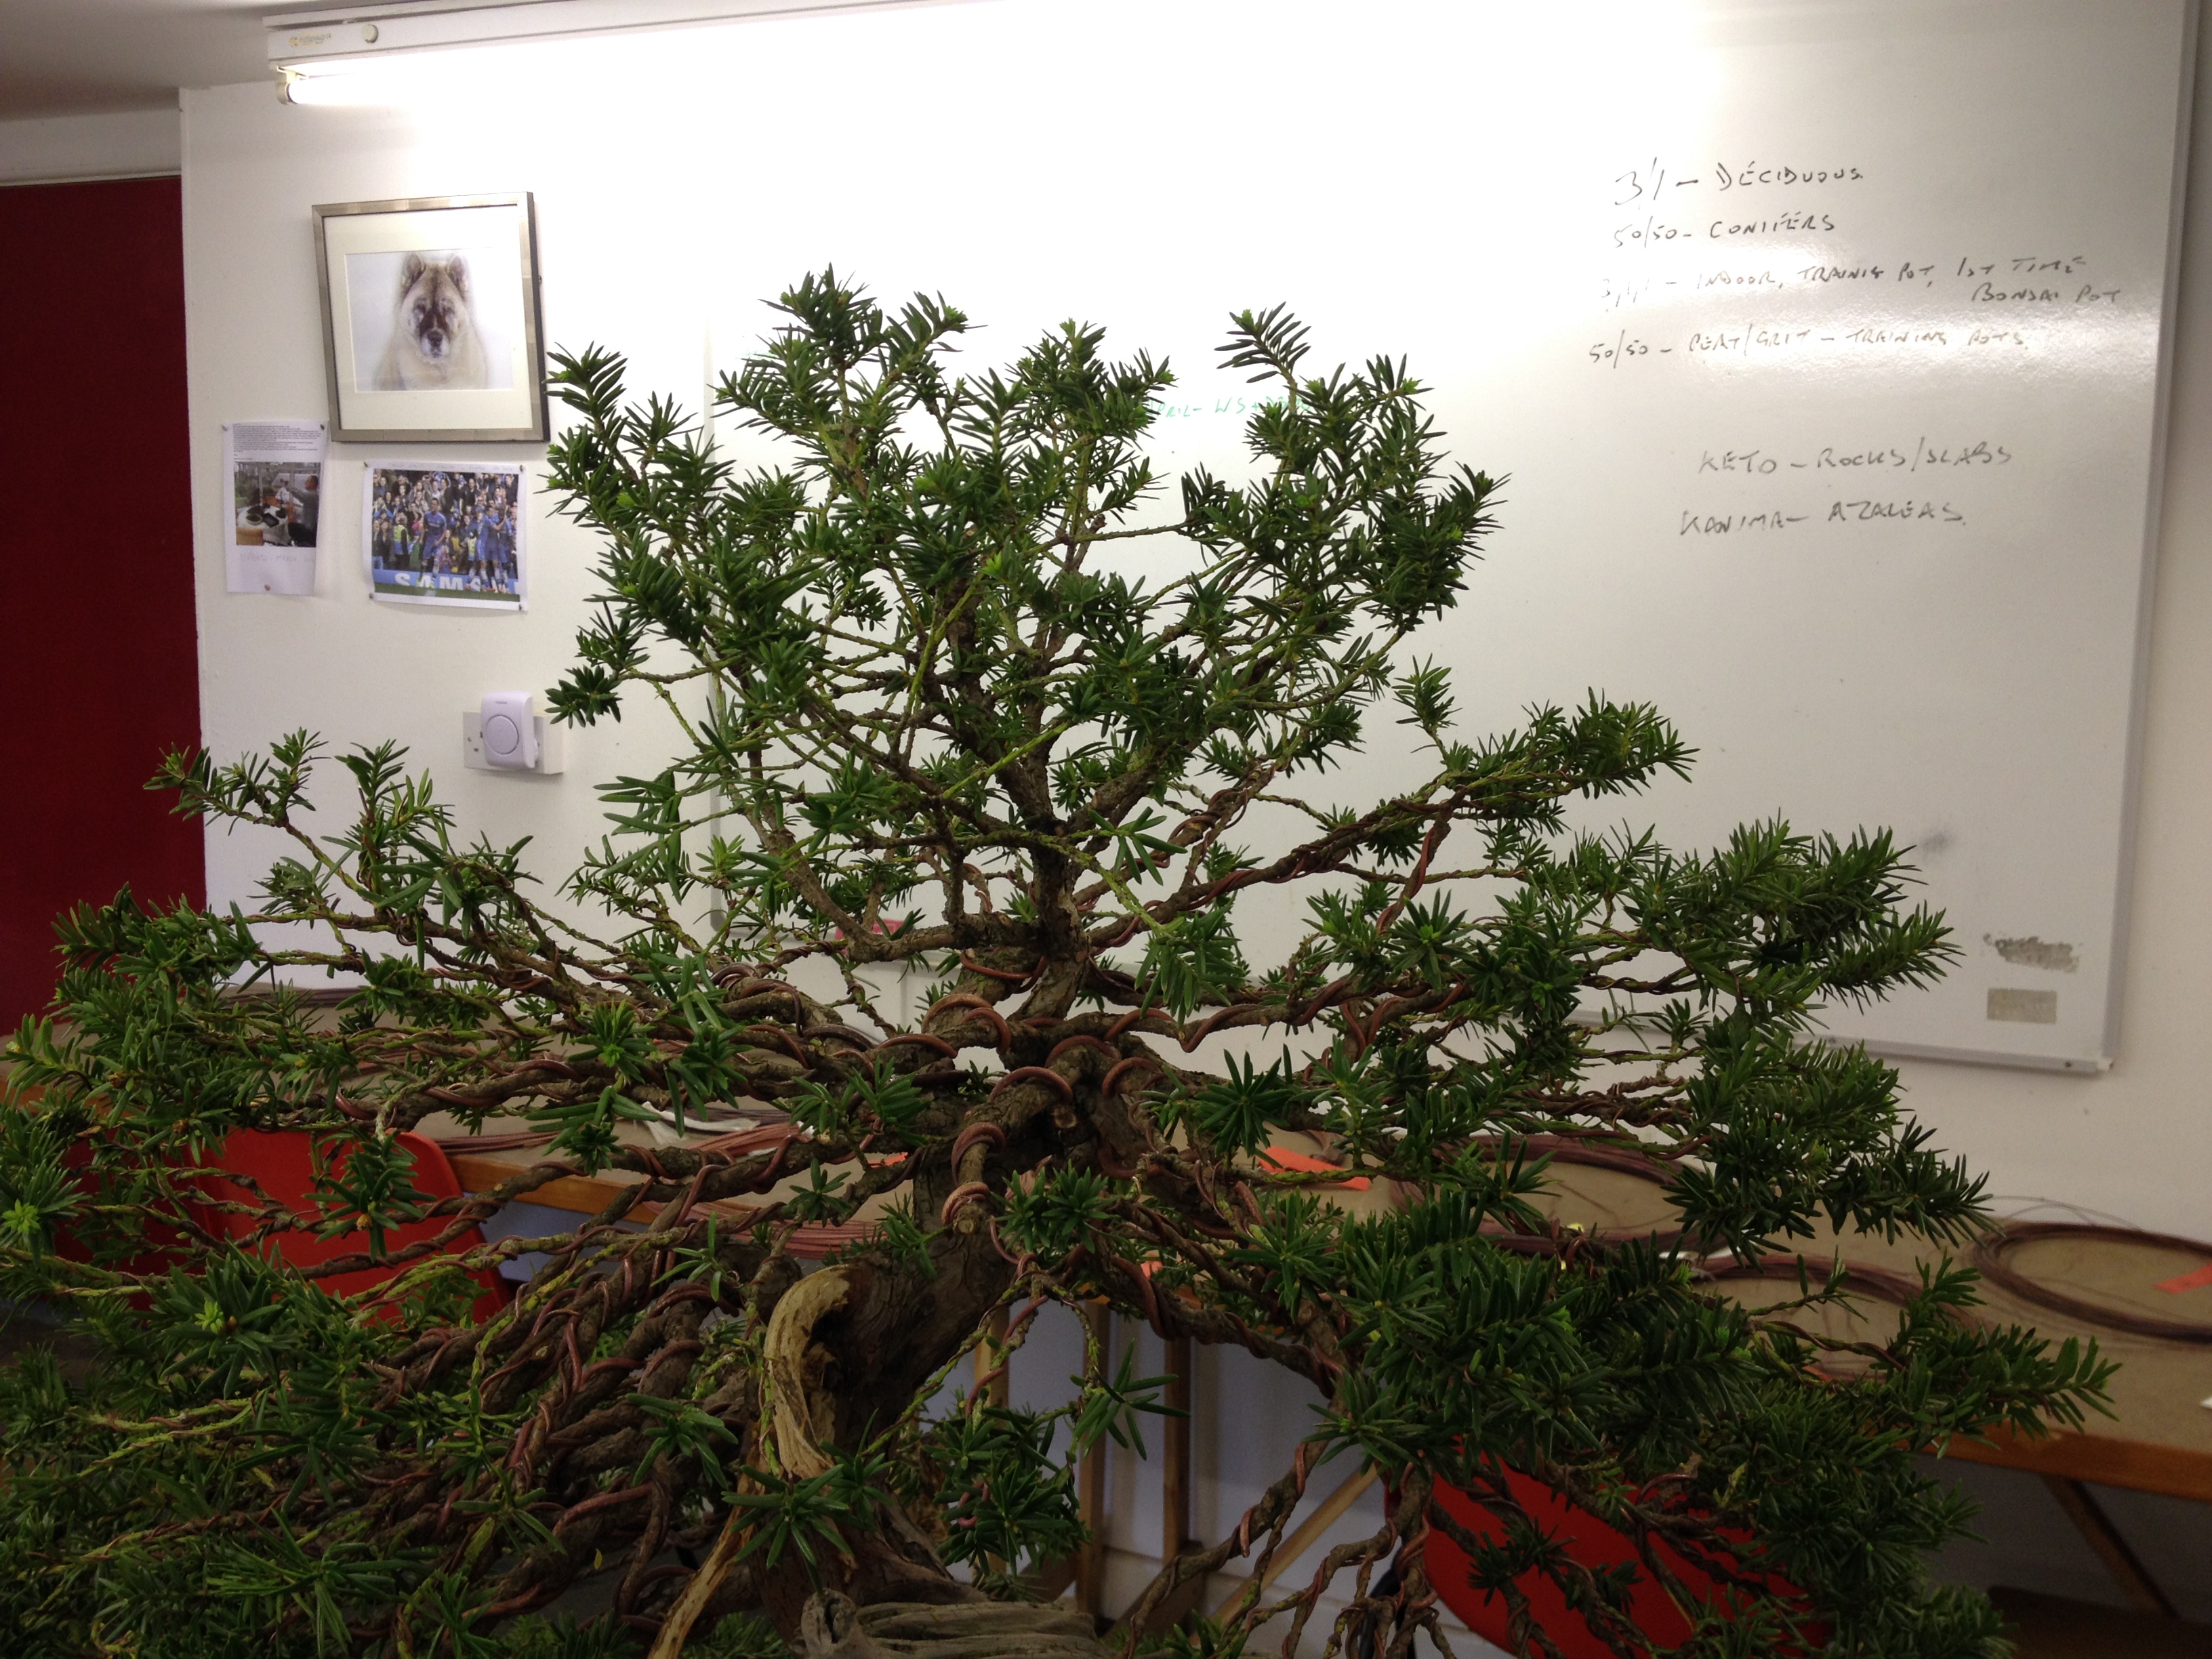
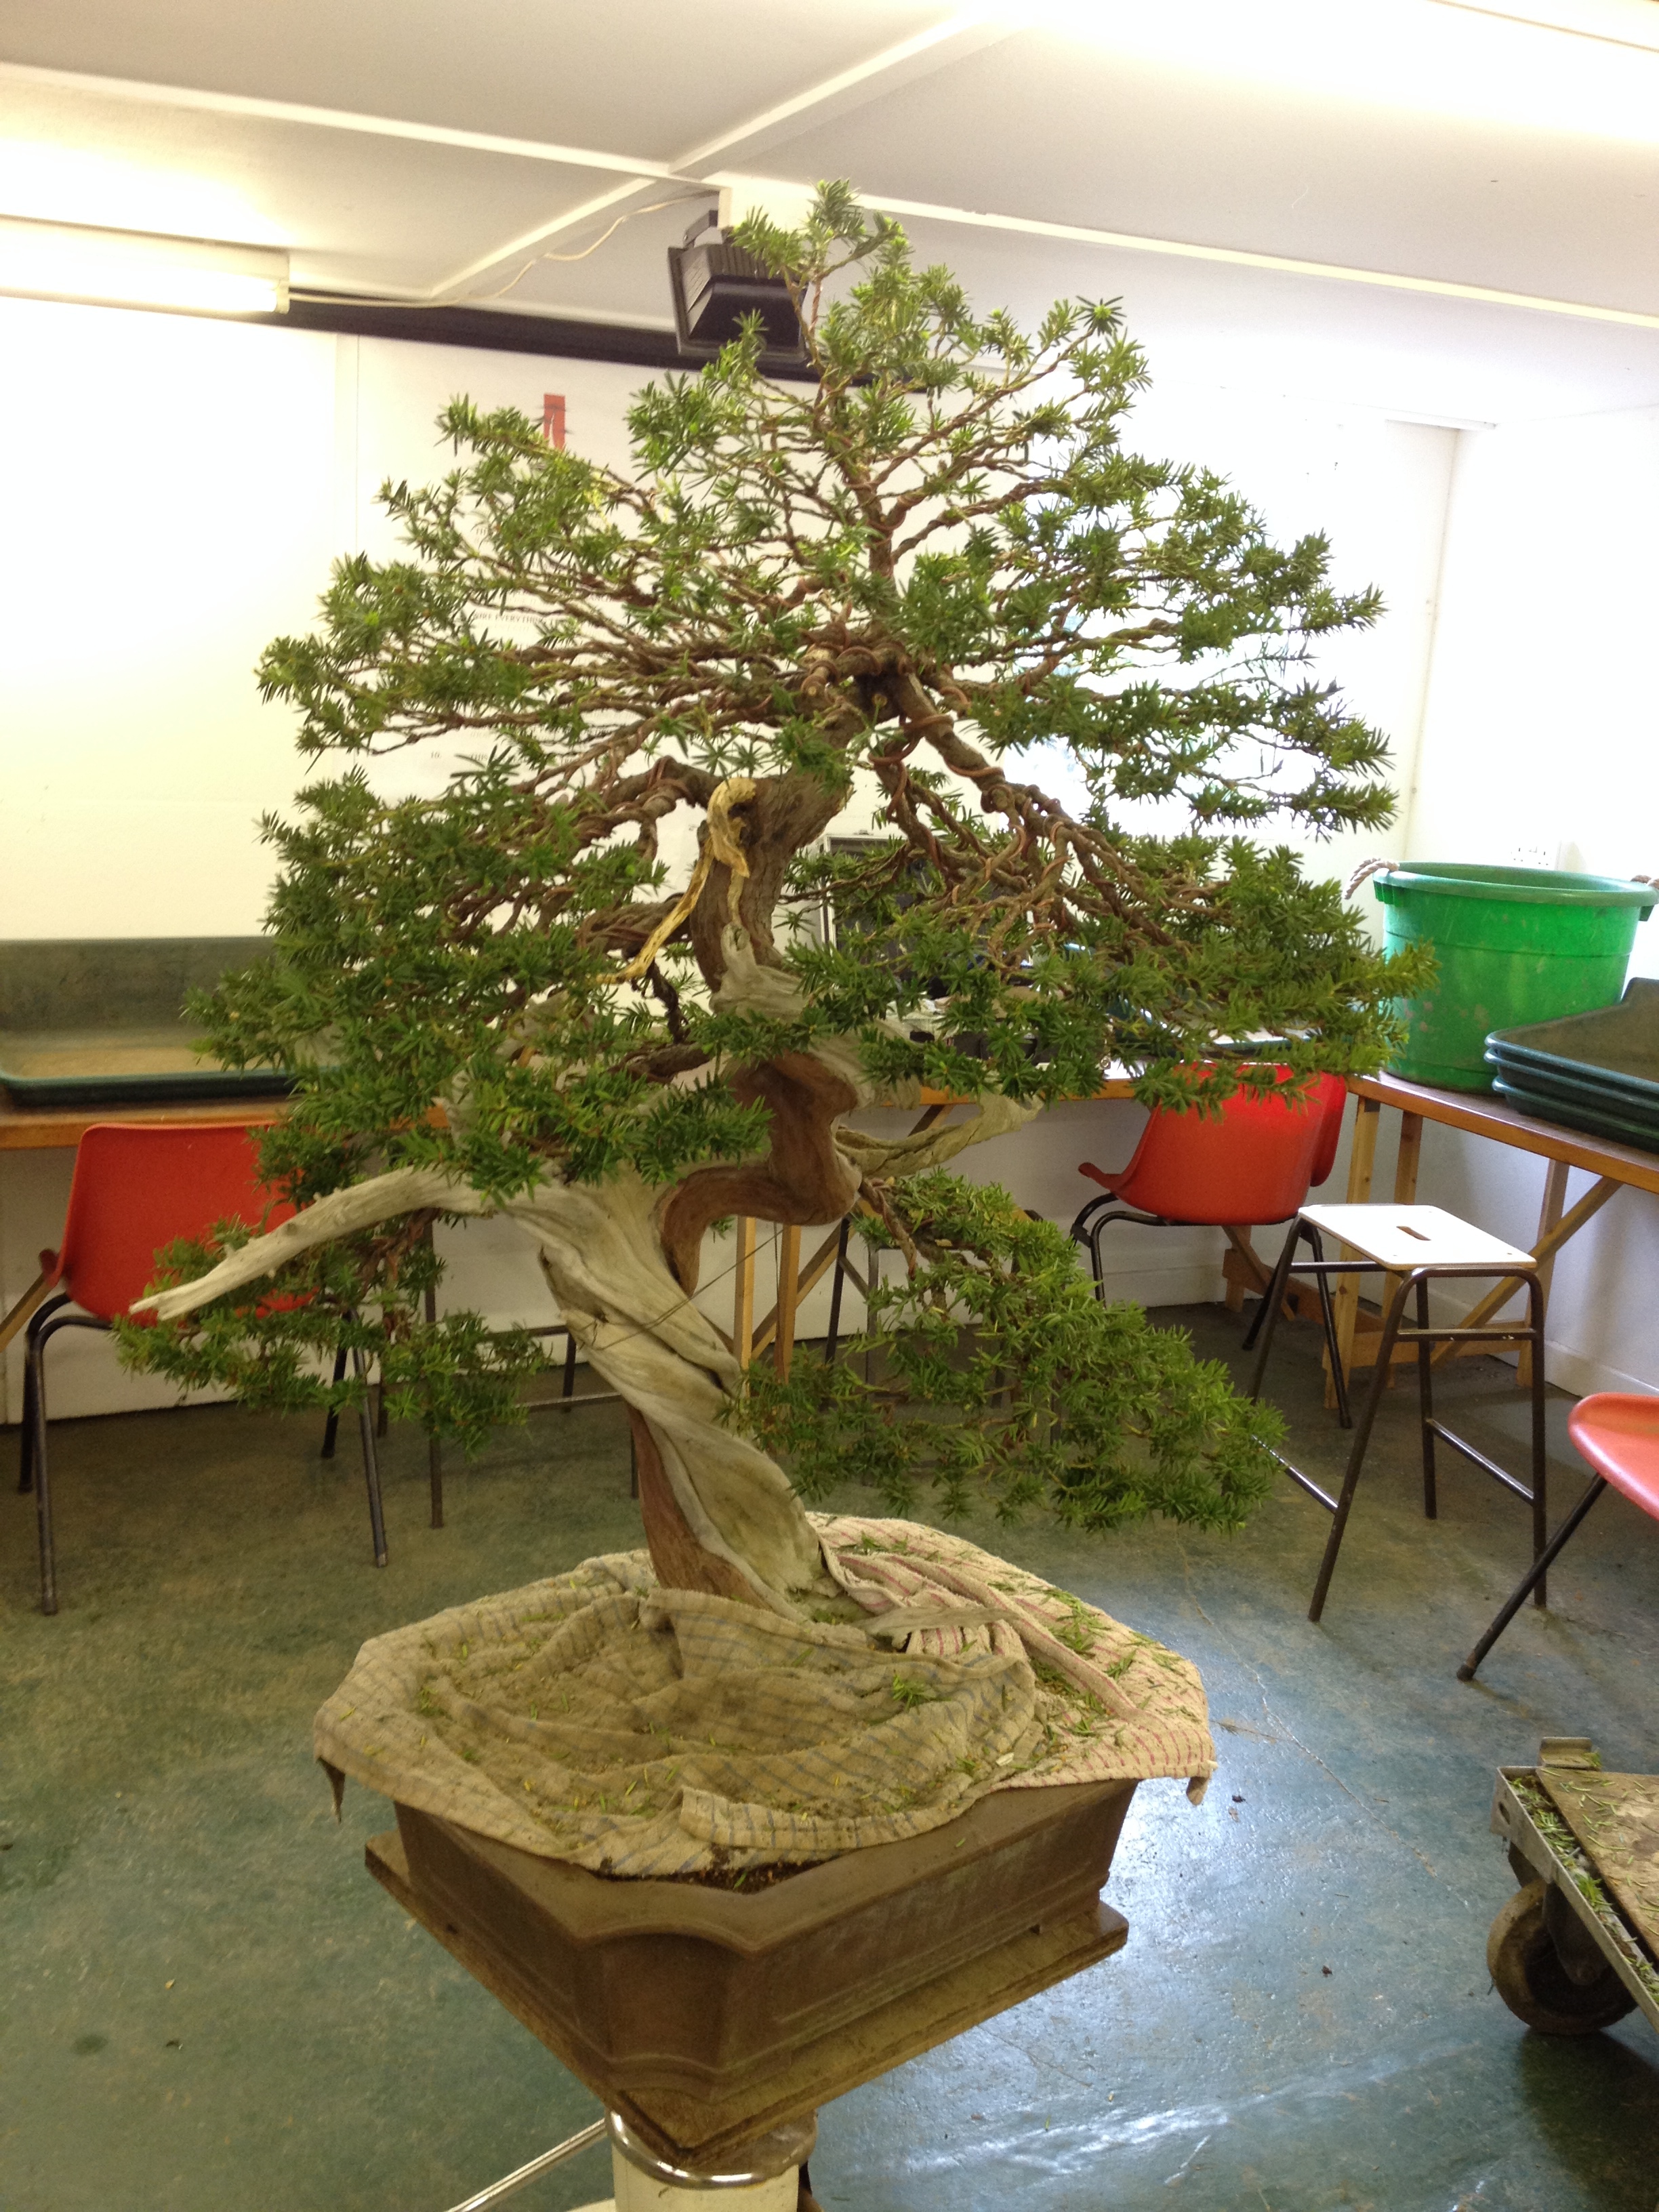
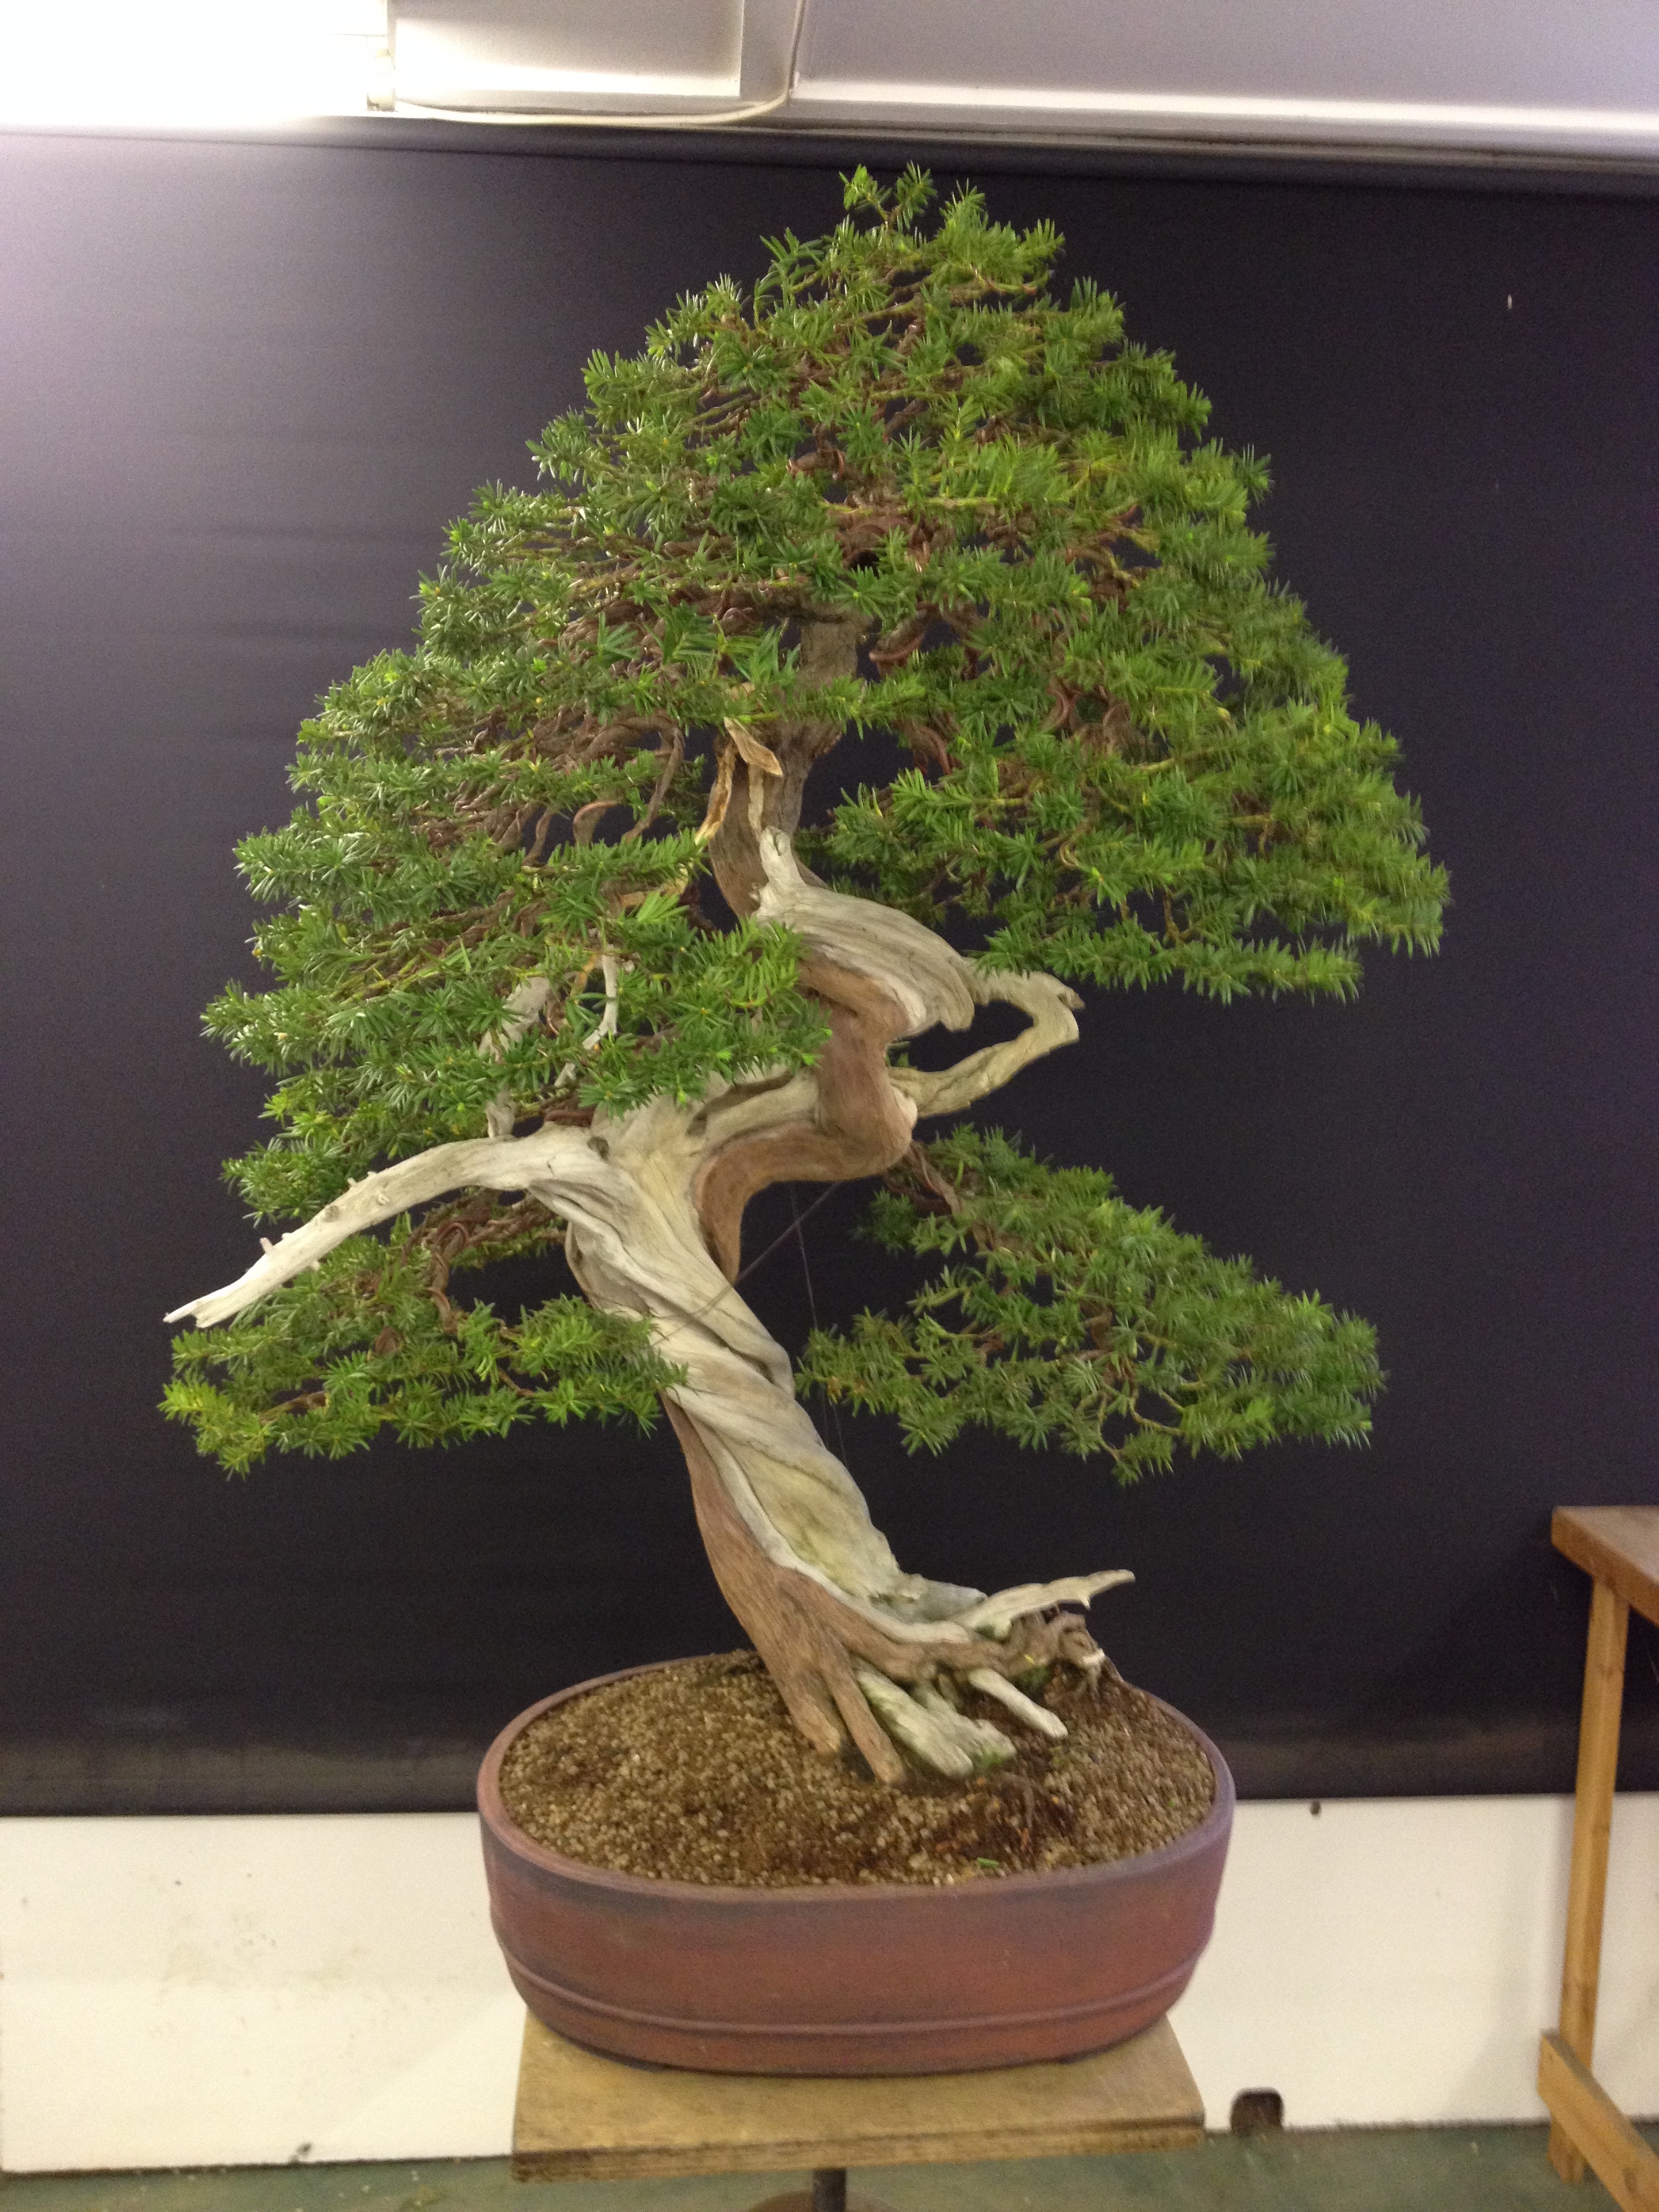
Finally the apex is brought under control and a new crown emerges from the tangled mess of unruly branches. The final image is a little sparse compared to the dense mass we started with but this is good for the tree’s health allowing ample light and air to penetrate the inner branches.
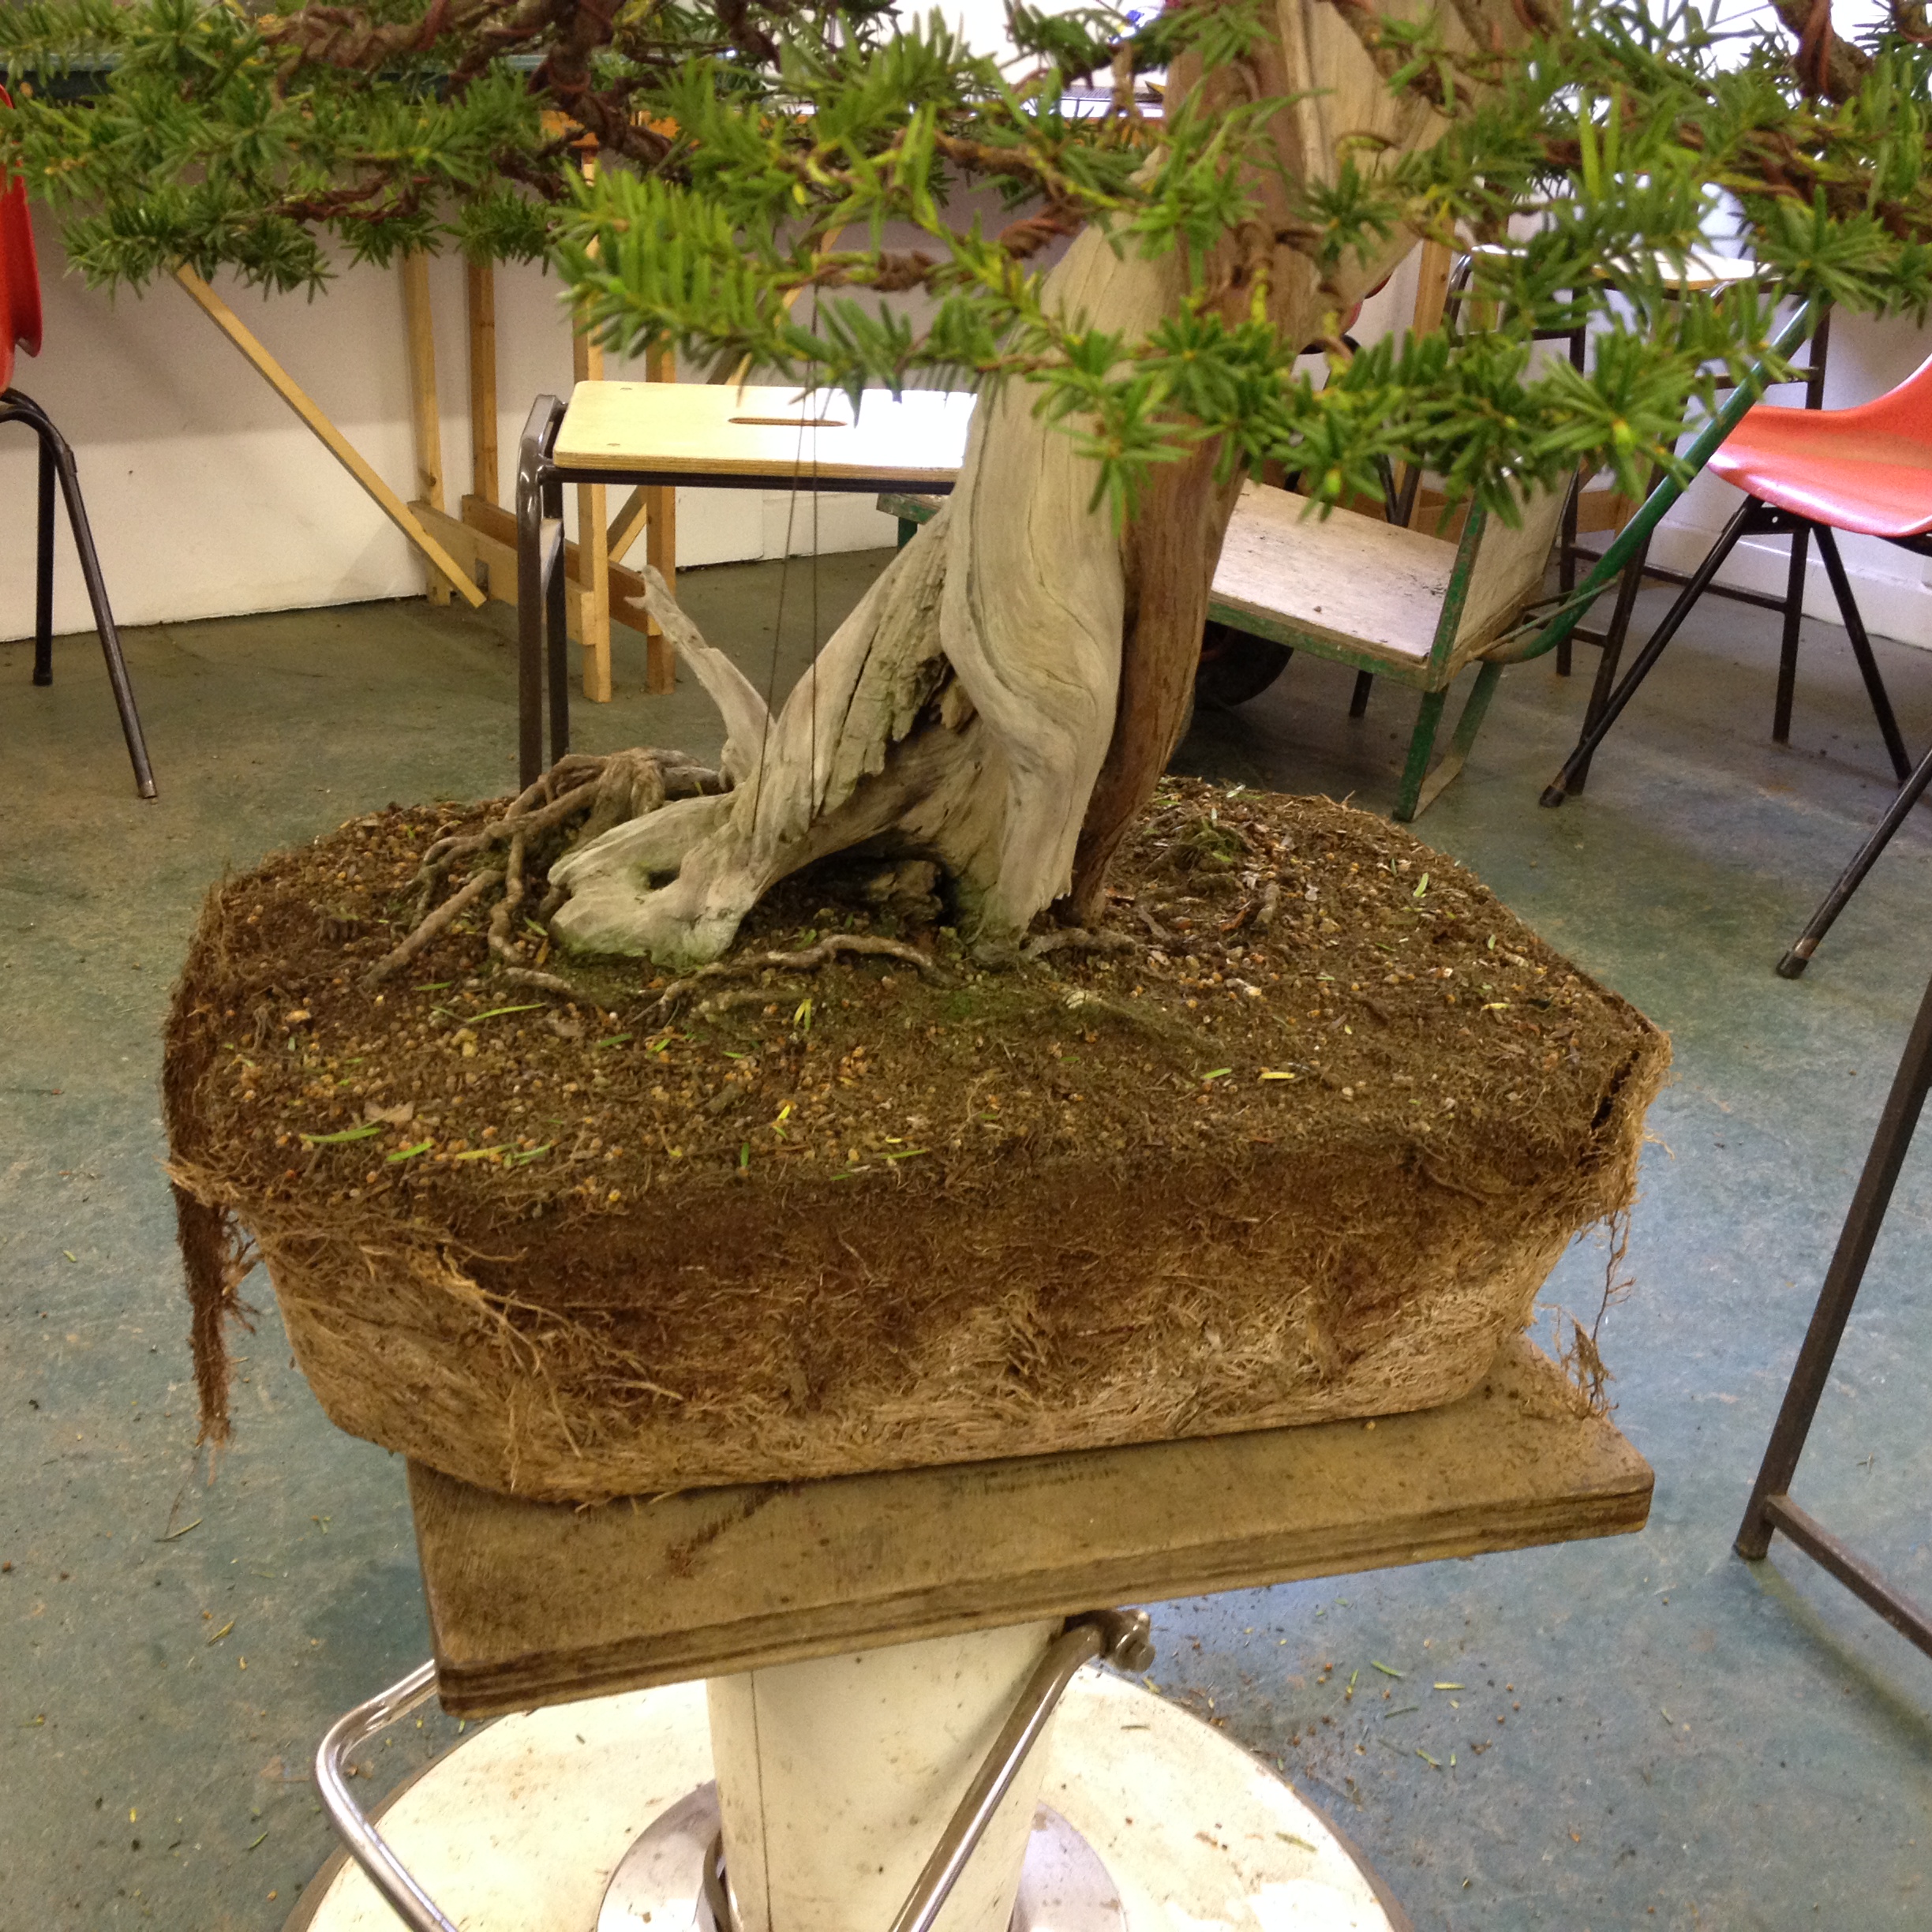
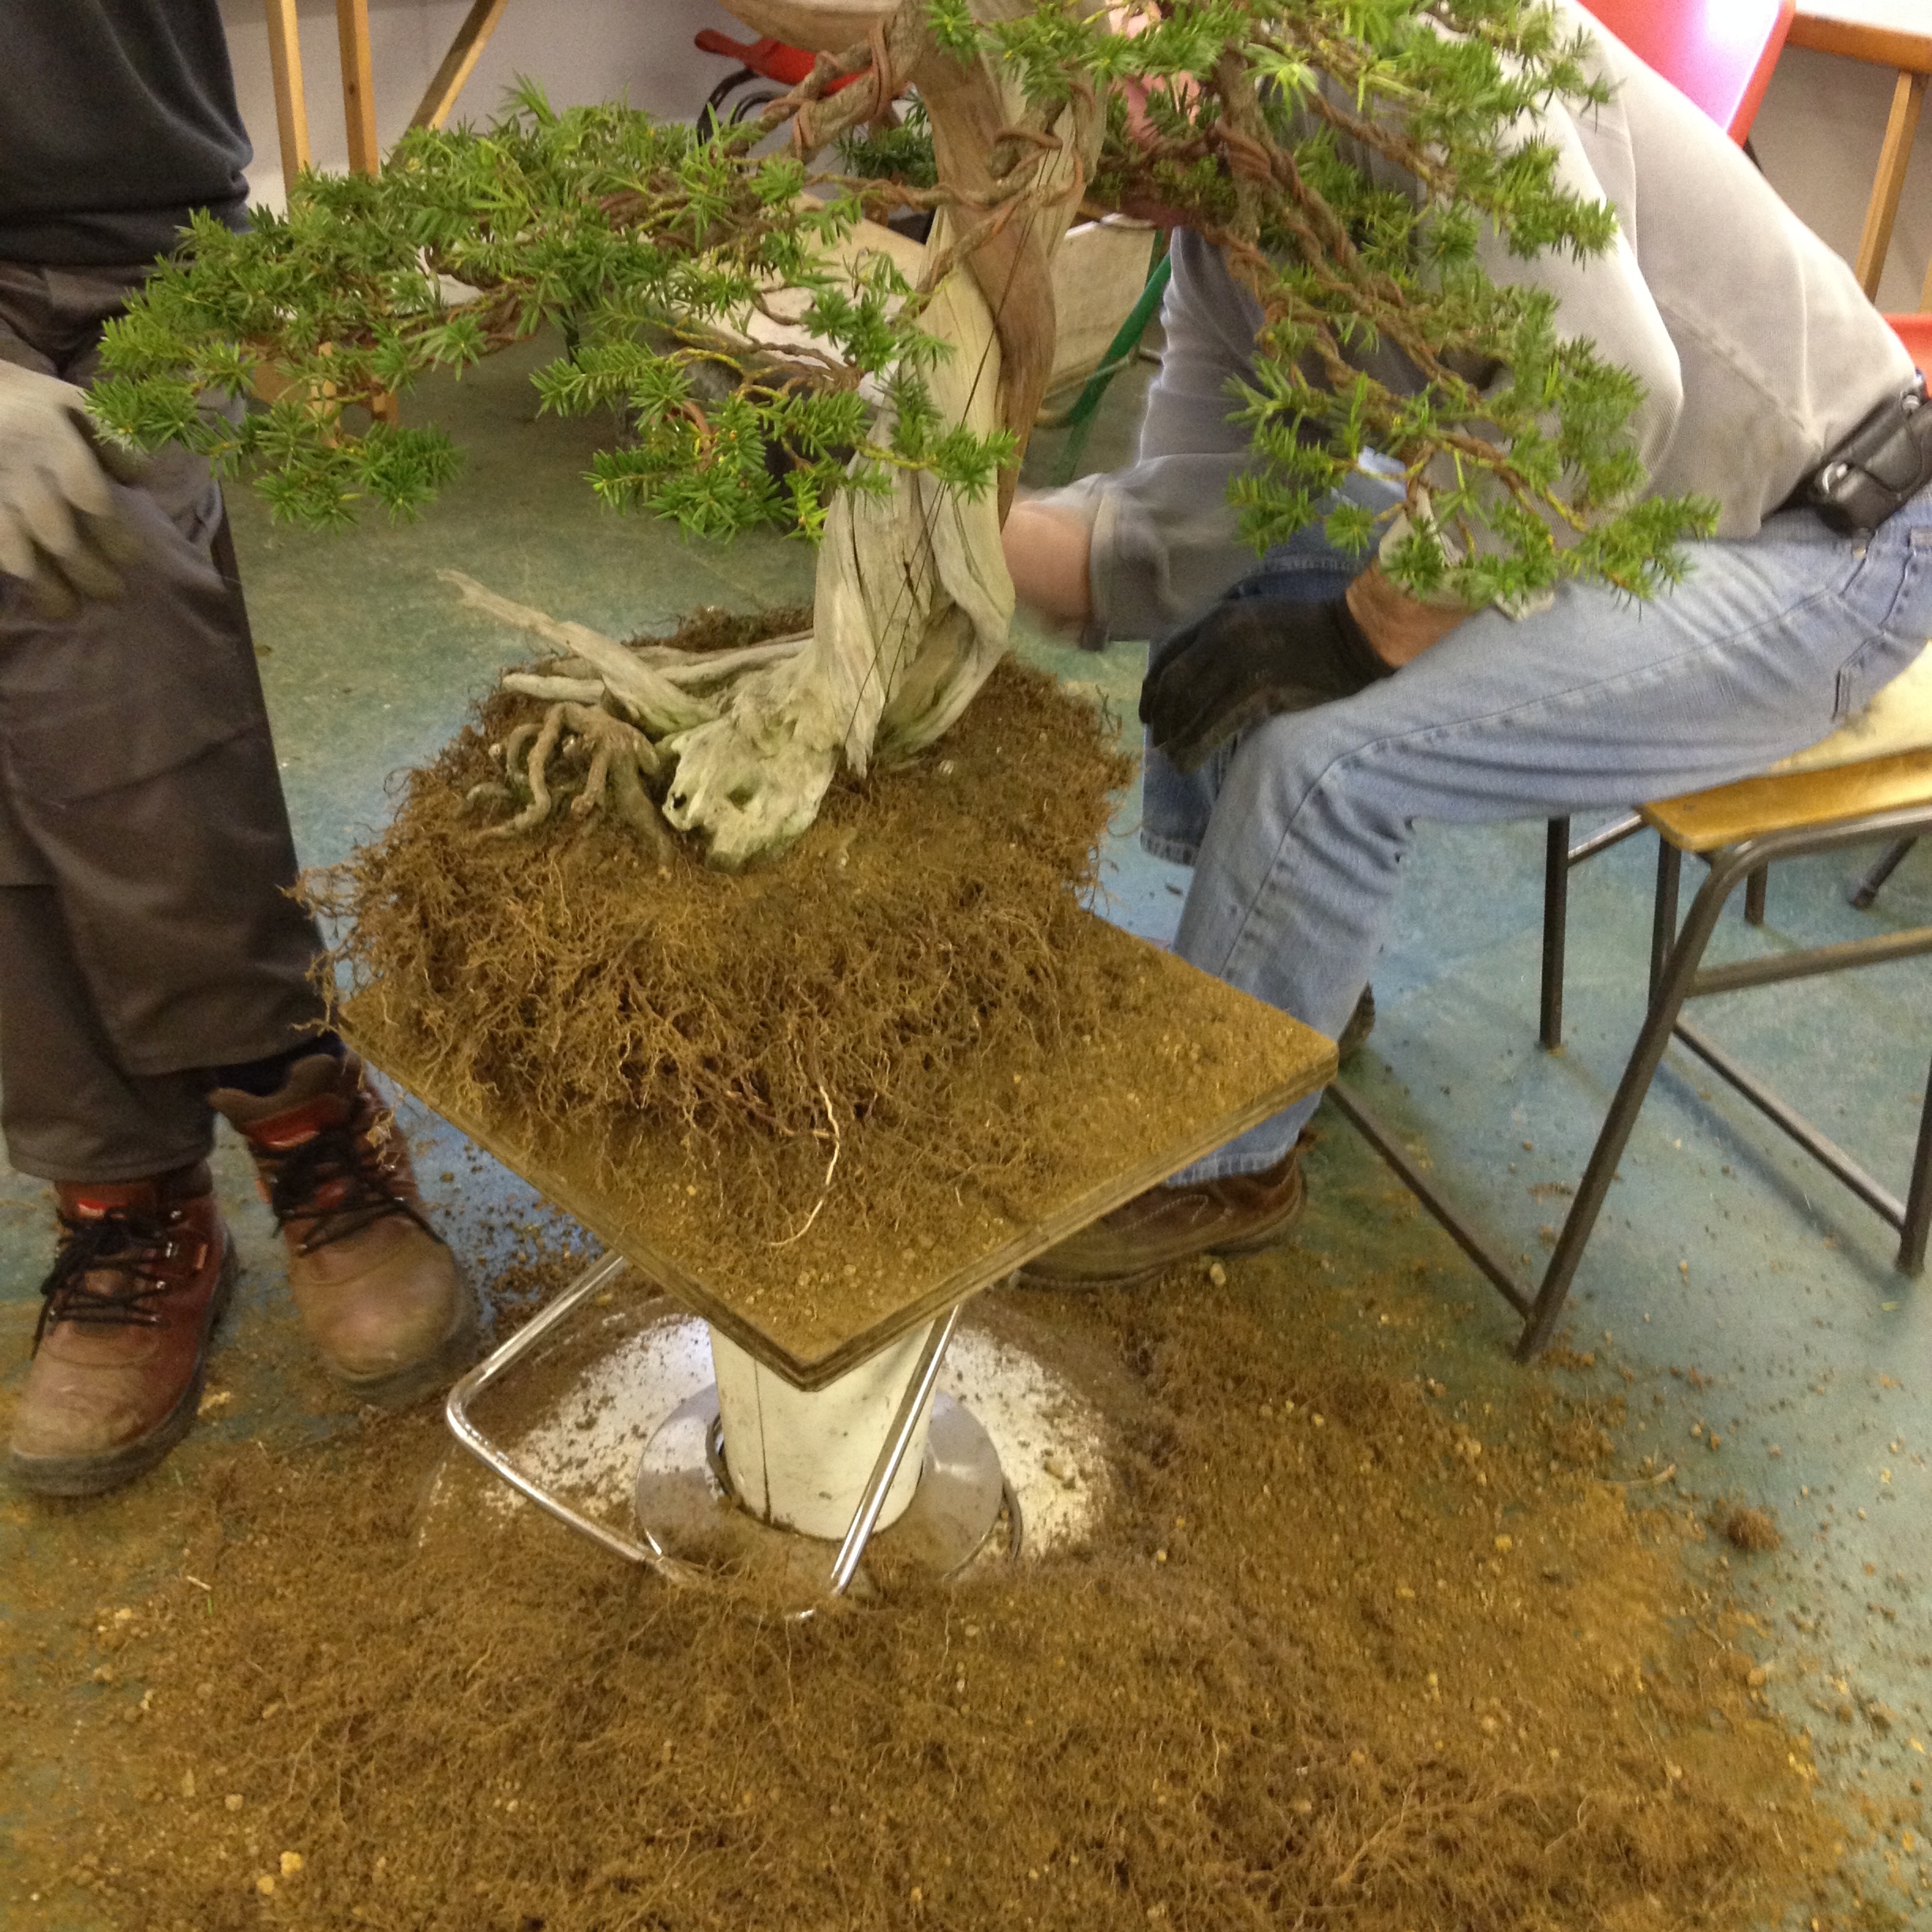
April, and the tree is repotted into it’s new pot which was made by David Jones of Walsall Studio Ceramics and a great job he did too! The tree had not been repotted for some 11 years and was moving down to a much smaller pot so the operation was carried out with great care. The compost used was 50/50 akadama/bims with larger size granules in the lower section of the pot.
For several years I have been wanting to create a taller image with this tree. It was a case of waiting for the growth/vigour and the right time. I now had the branches I needed to select and pull down to create the tree. It is now recovering well in a sheltered spot in my bonsai garden.
I hope you have enjoyed the four part history of this tree….it’s been a bit of a trek but I am happy to have got where I wanted to be in the end. The desire to get to the end quickly makes us impatient but as they say in bonsai “you should also enjoy the journey”…..I can honestly say I have really enjoyed being a “travelling” companion to this remarkable tree at this stage of his life. I am really looking forward to continuing this journey with him because when I look at him now….for sure……the best is yet to come!!!