
Sometimes I work on nursery trees, sometimes I work on client’s trees……and sometimes if I’ve been a really good boy I get to work on my own trees. Hopefully these regular visits will give you an insight into what goes on behind closed doors……….
Studio Stories – “The Dragon’s Tail”…..the story of a White Pine (Part Three)
Parts one and two of this series were respectively posted on the 22nd November and the 5th December under the Studio Stories section.
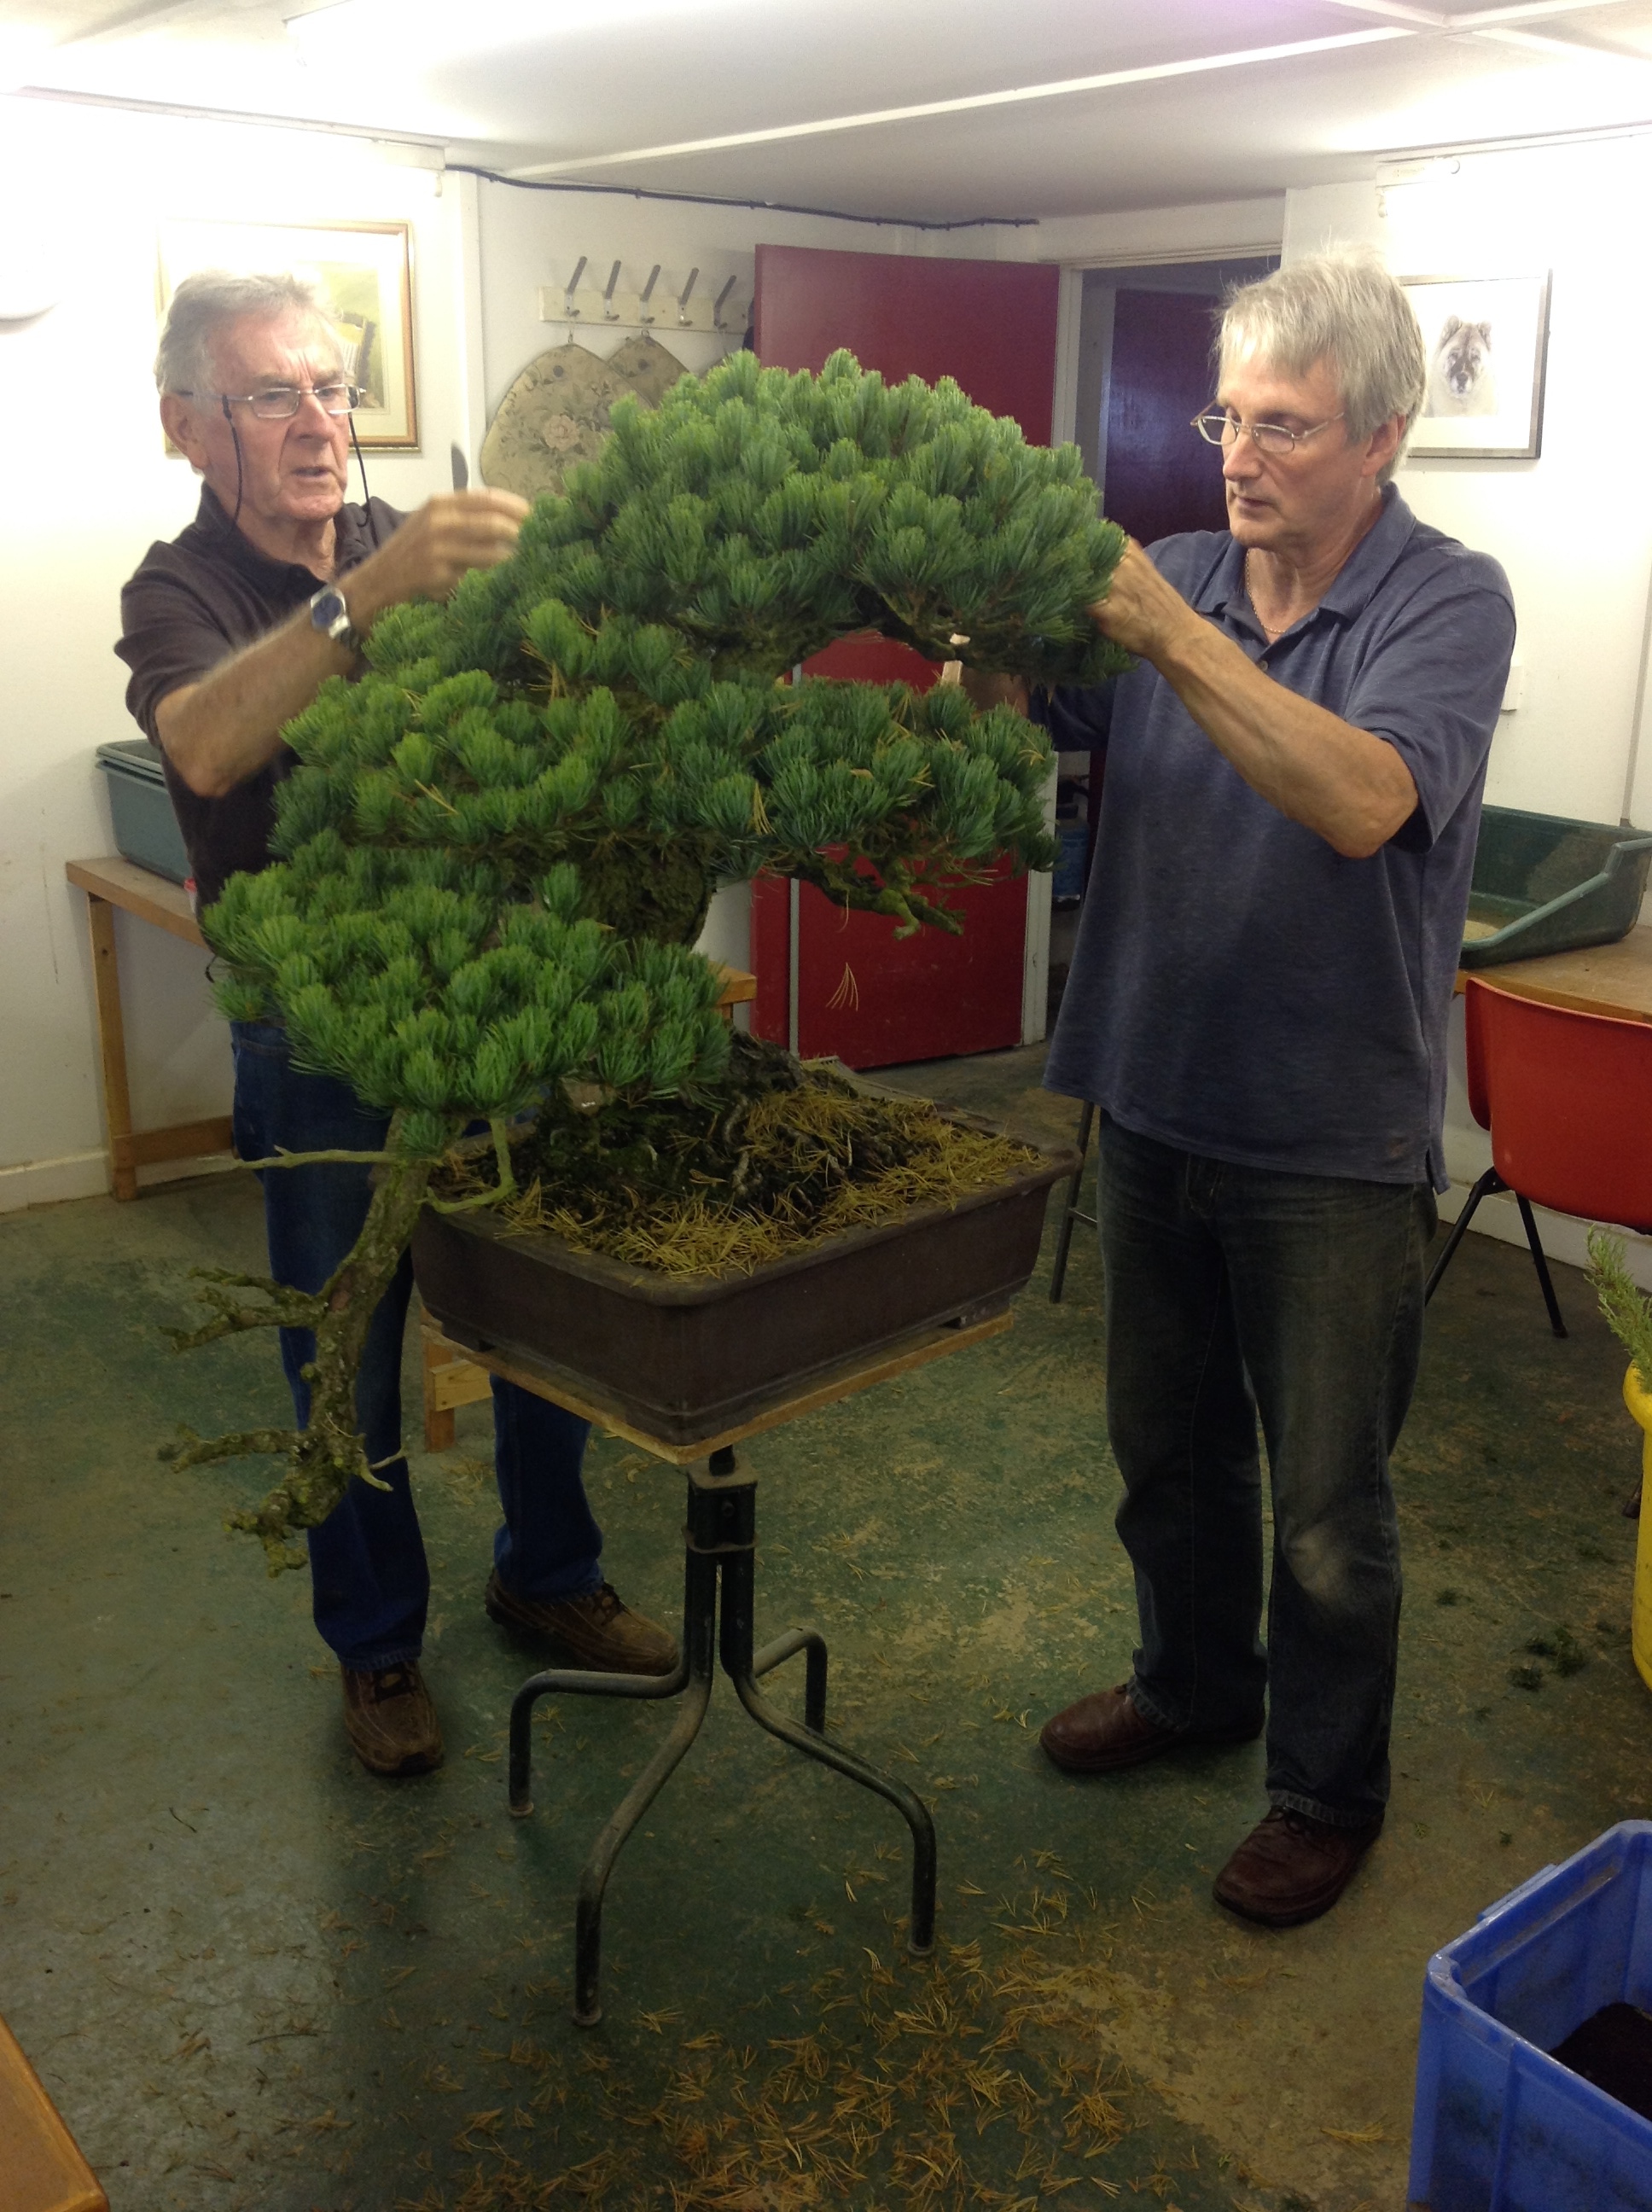
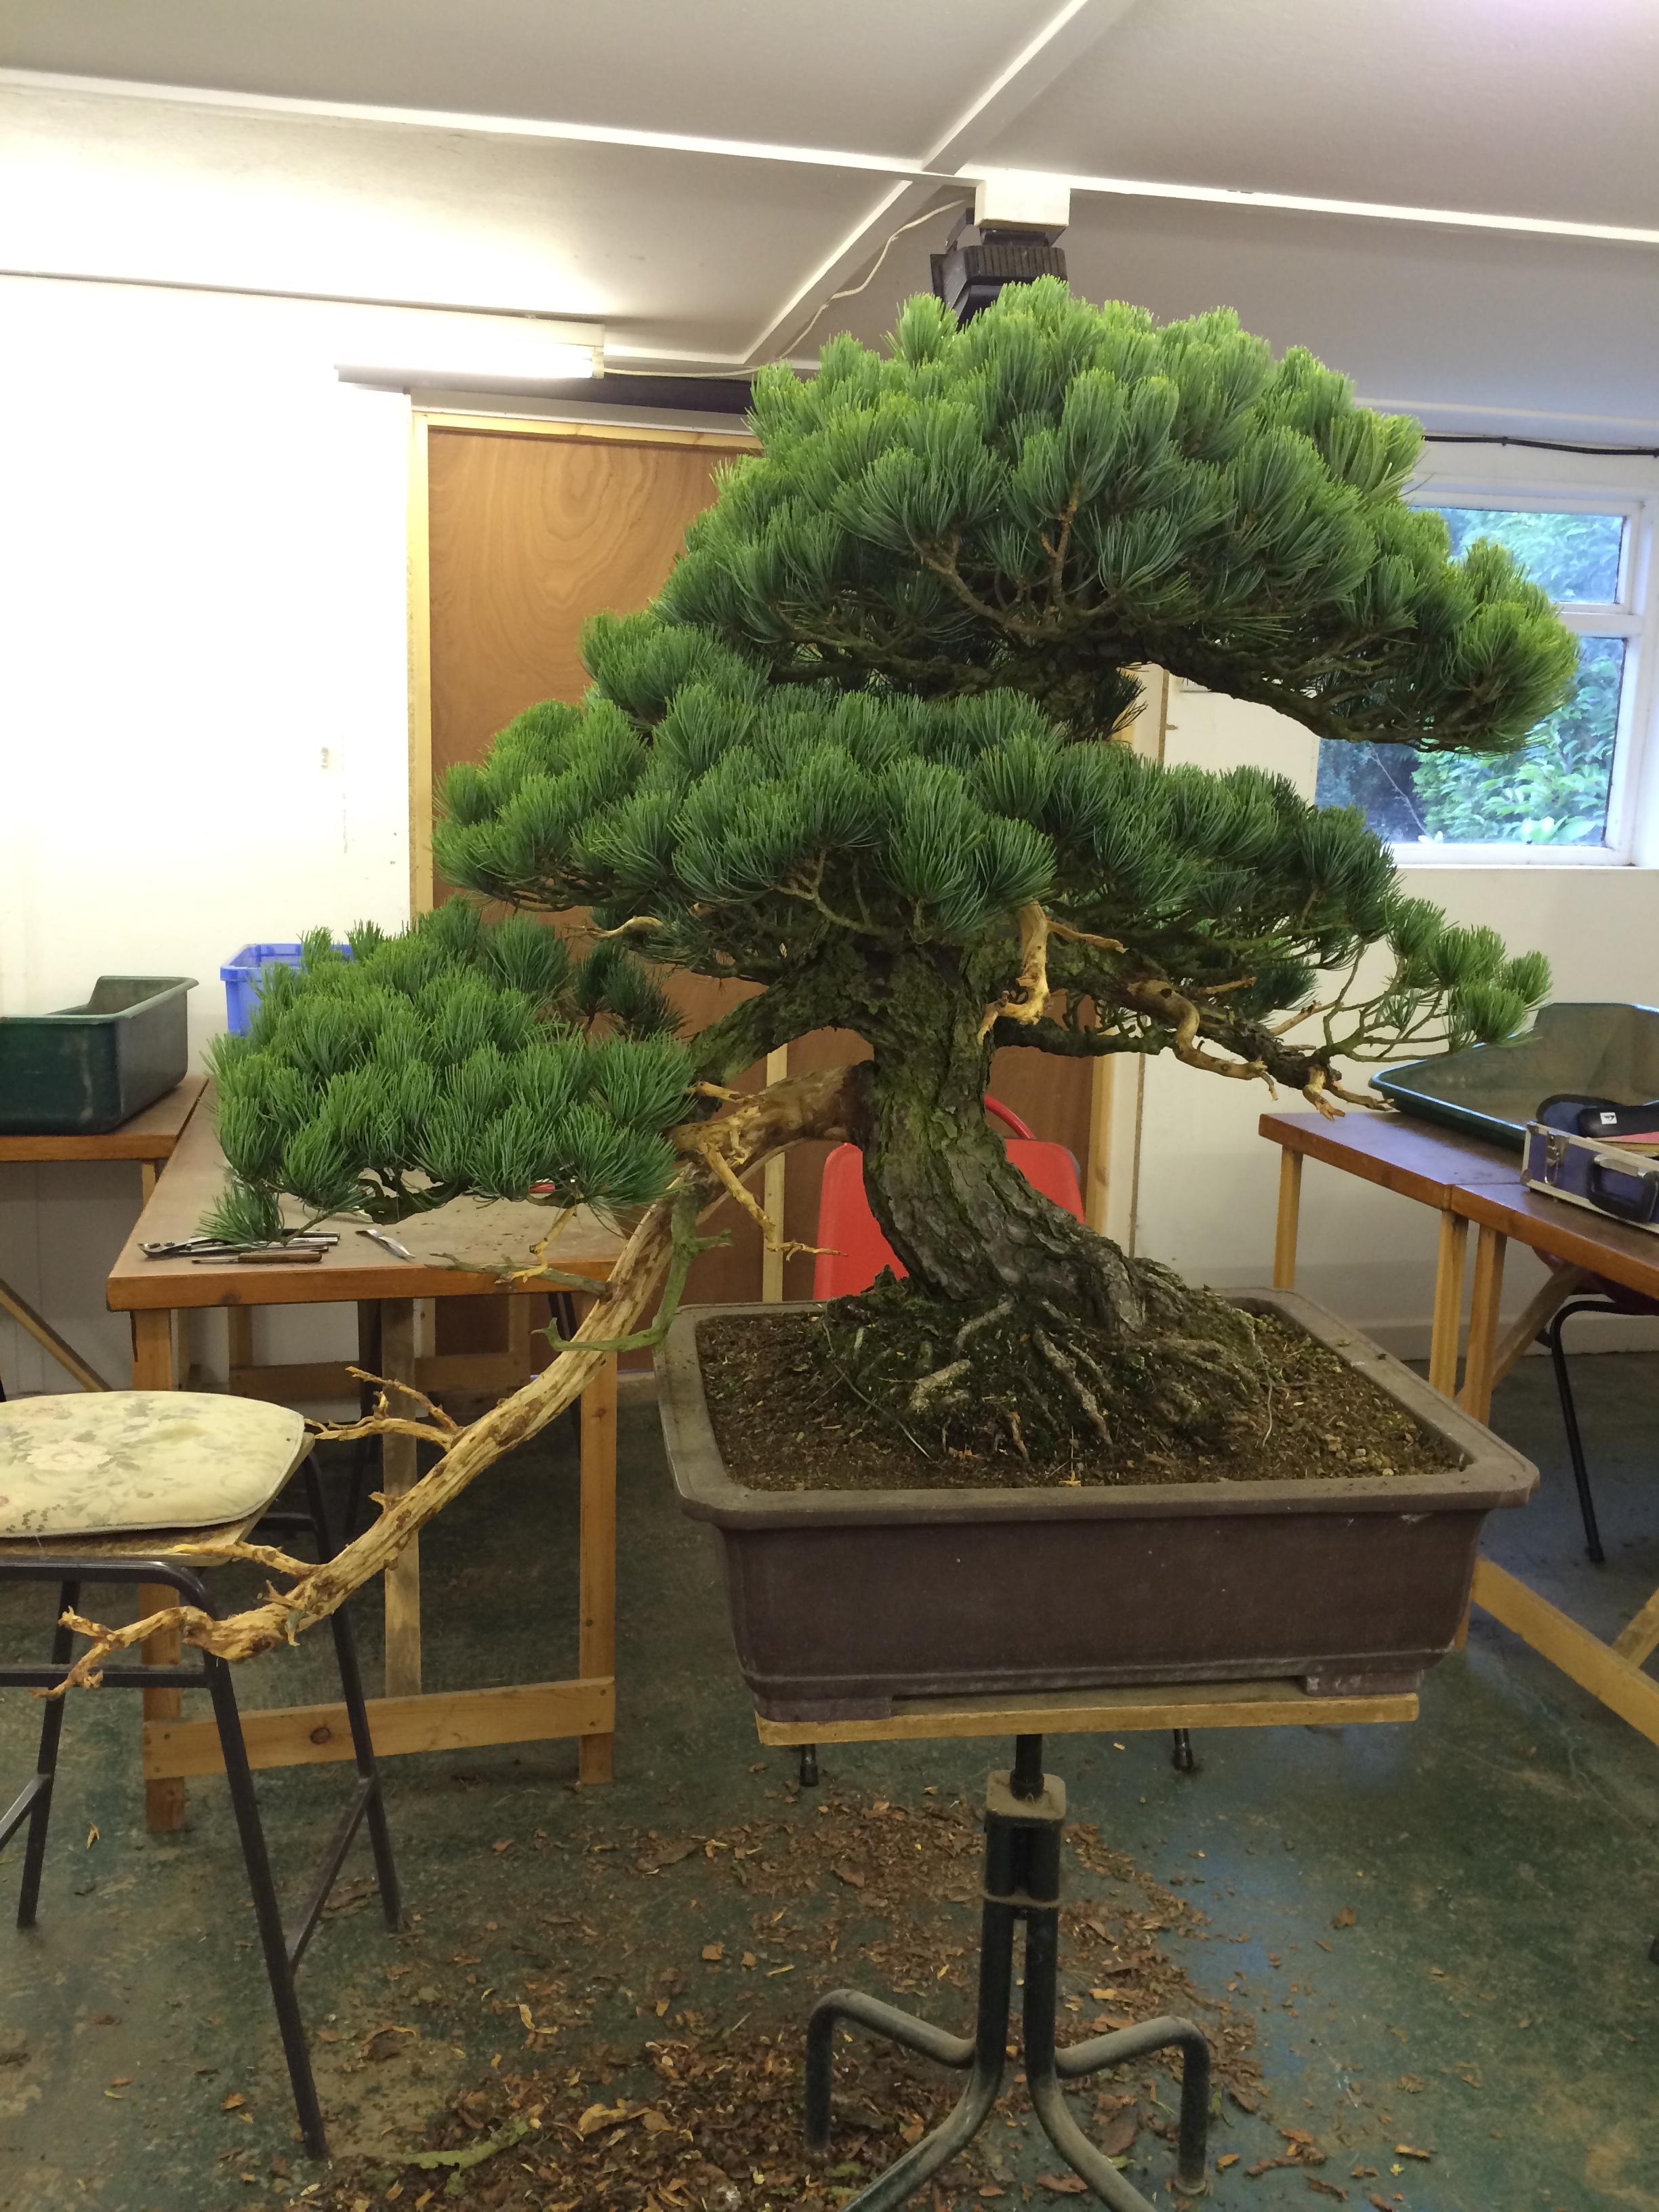
September 2014, the tree is strong again and ready for re-styling. This will be the first time the tree has been wired and worked since he left Japan. Two of my helpers, Len and Chris clean out all the old yellow needles from inside the foliage.


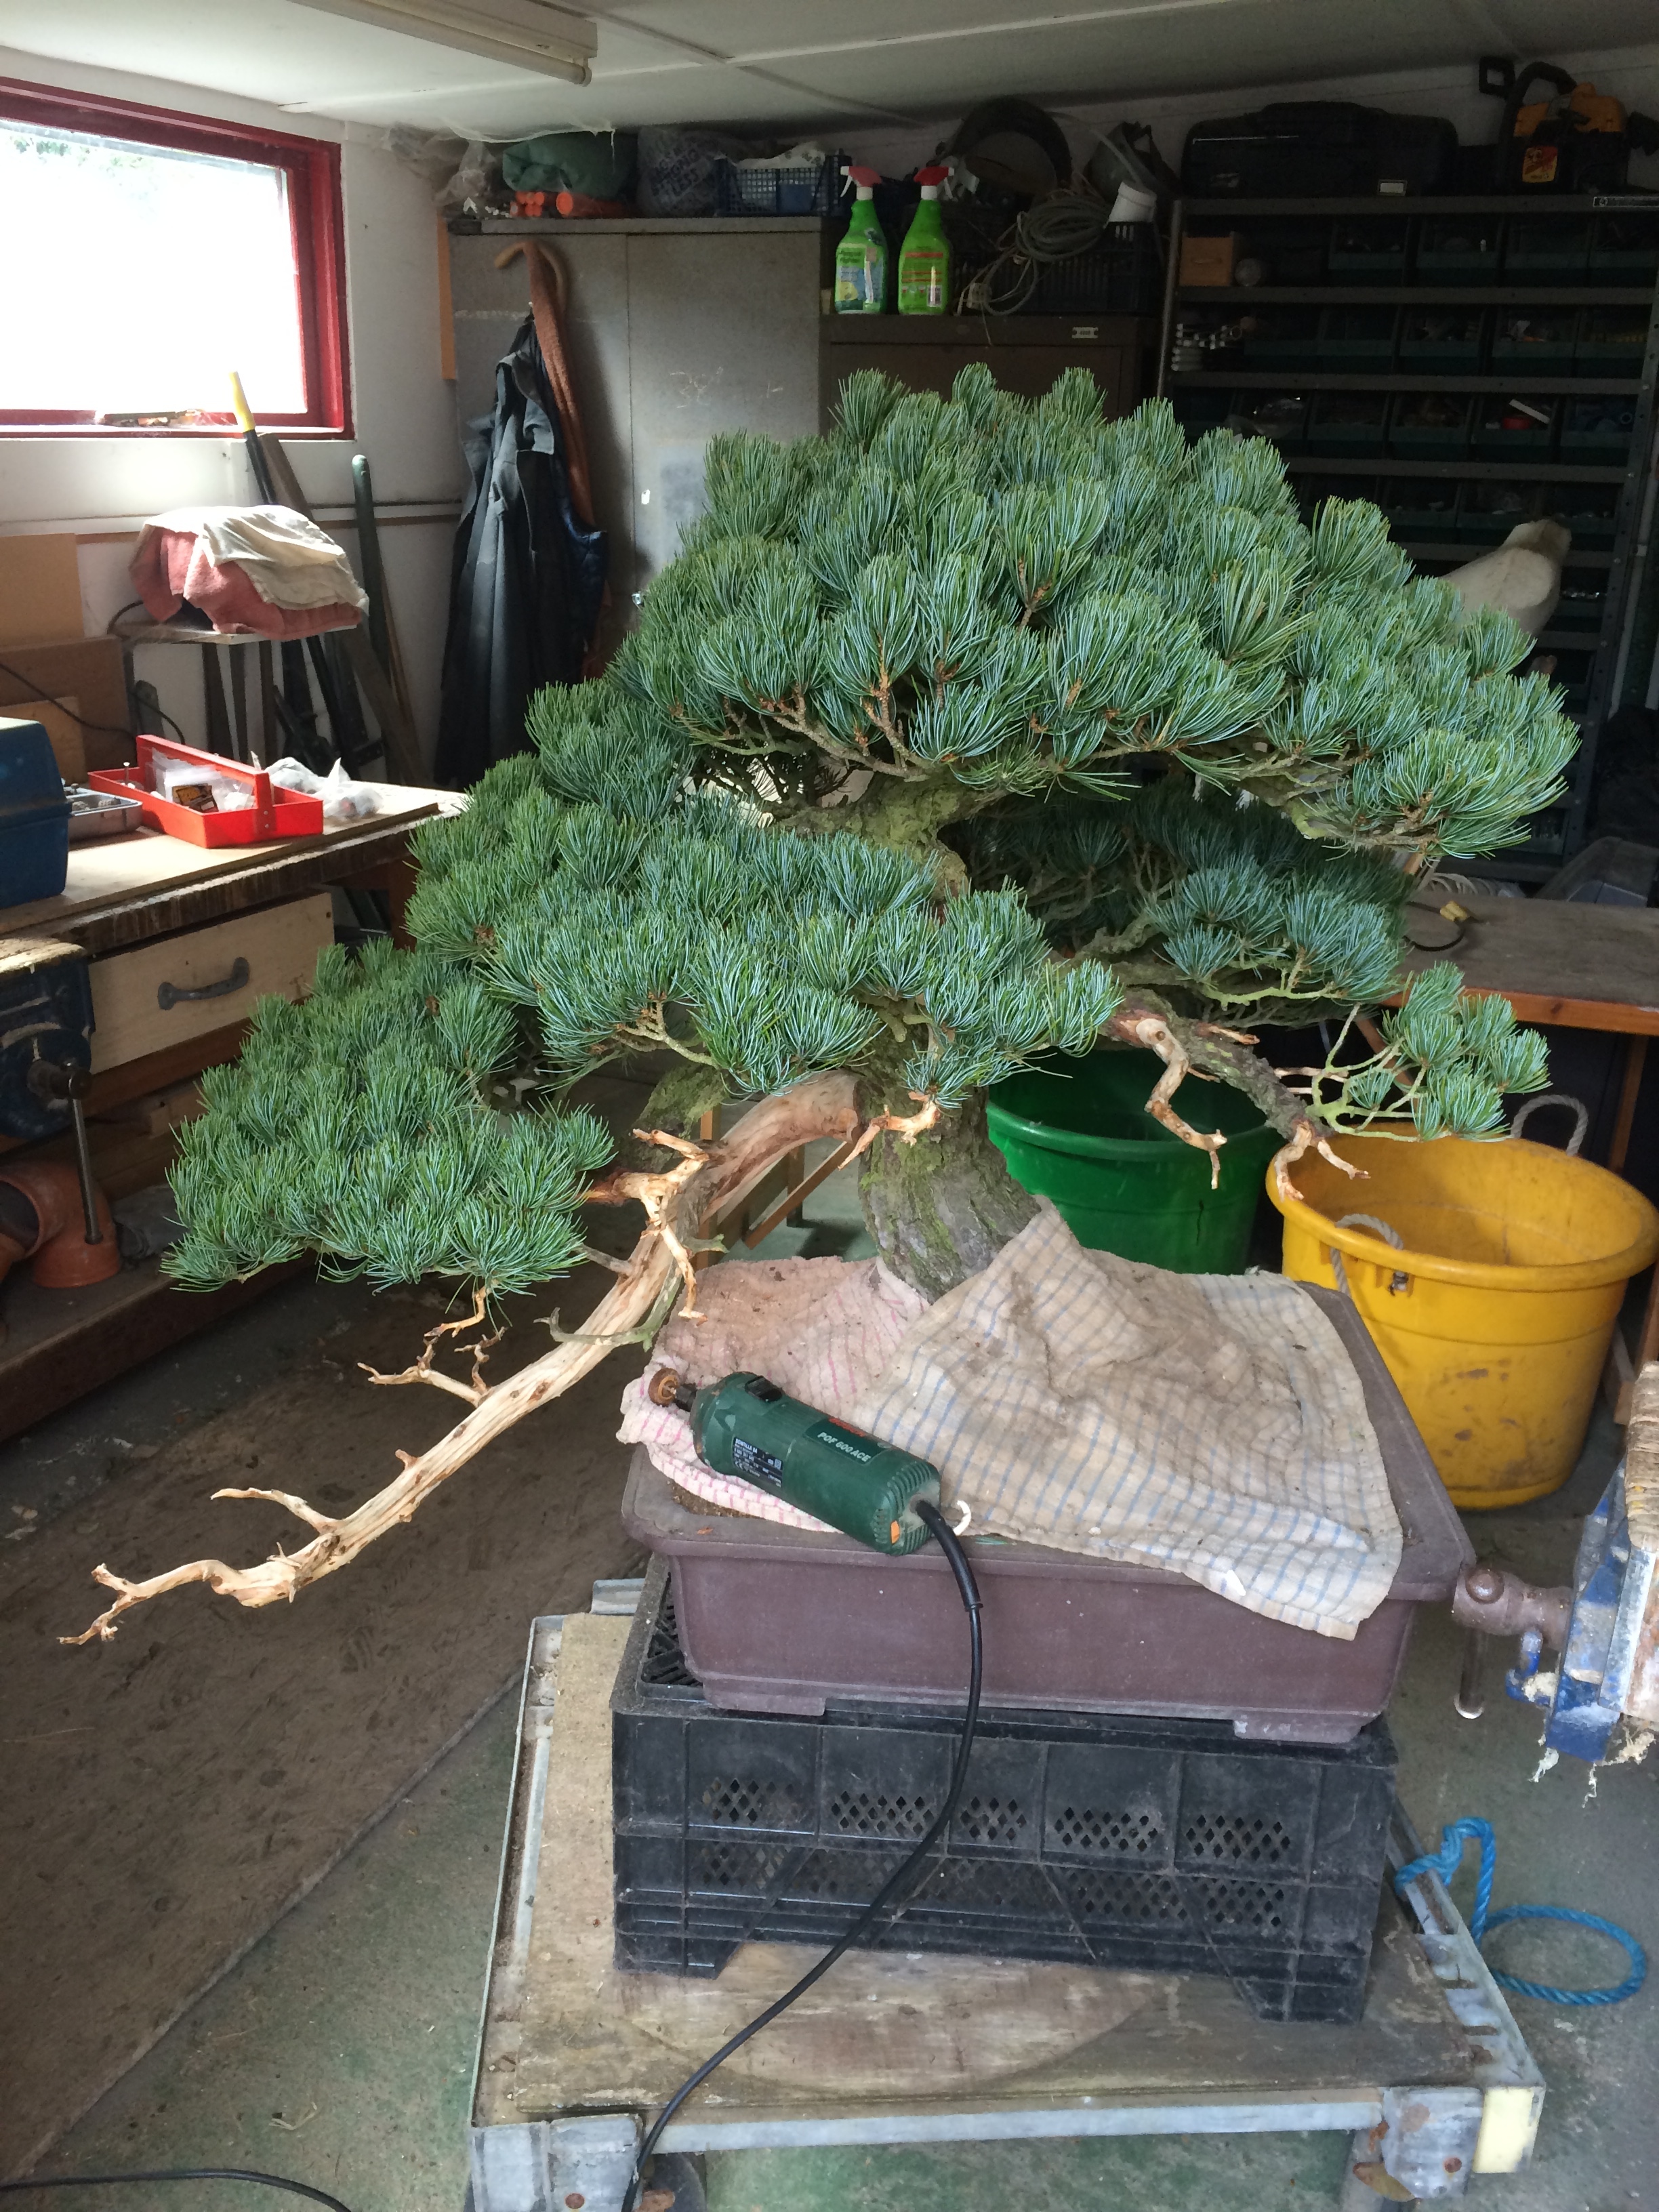
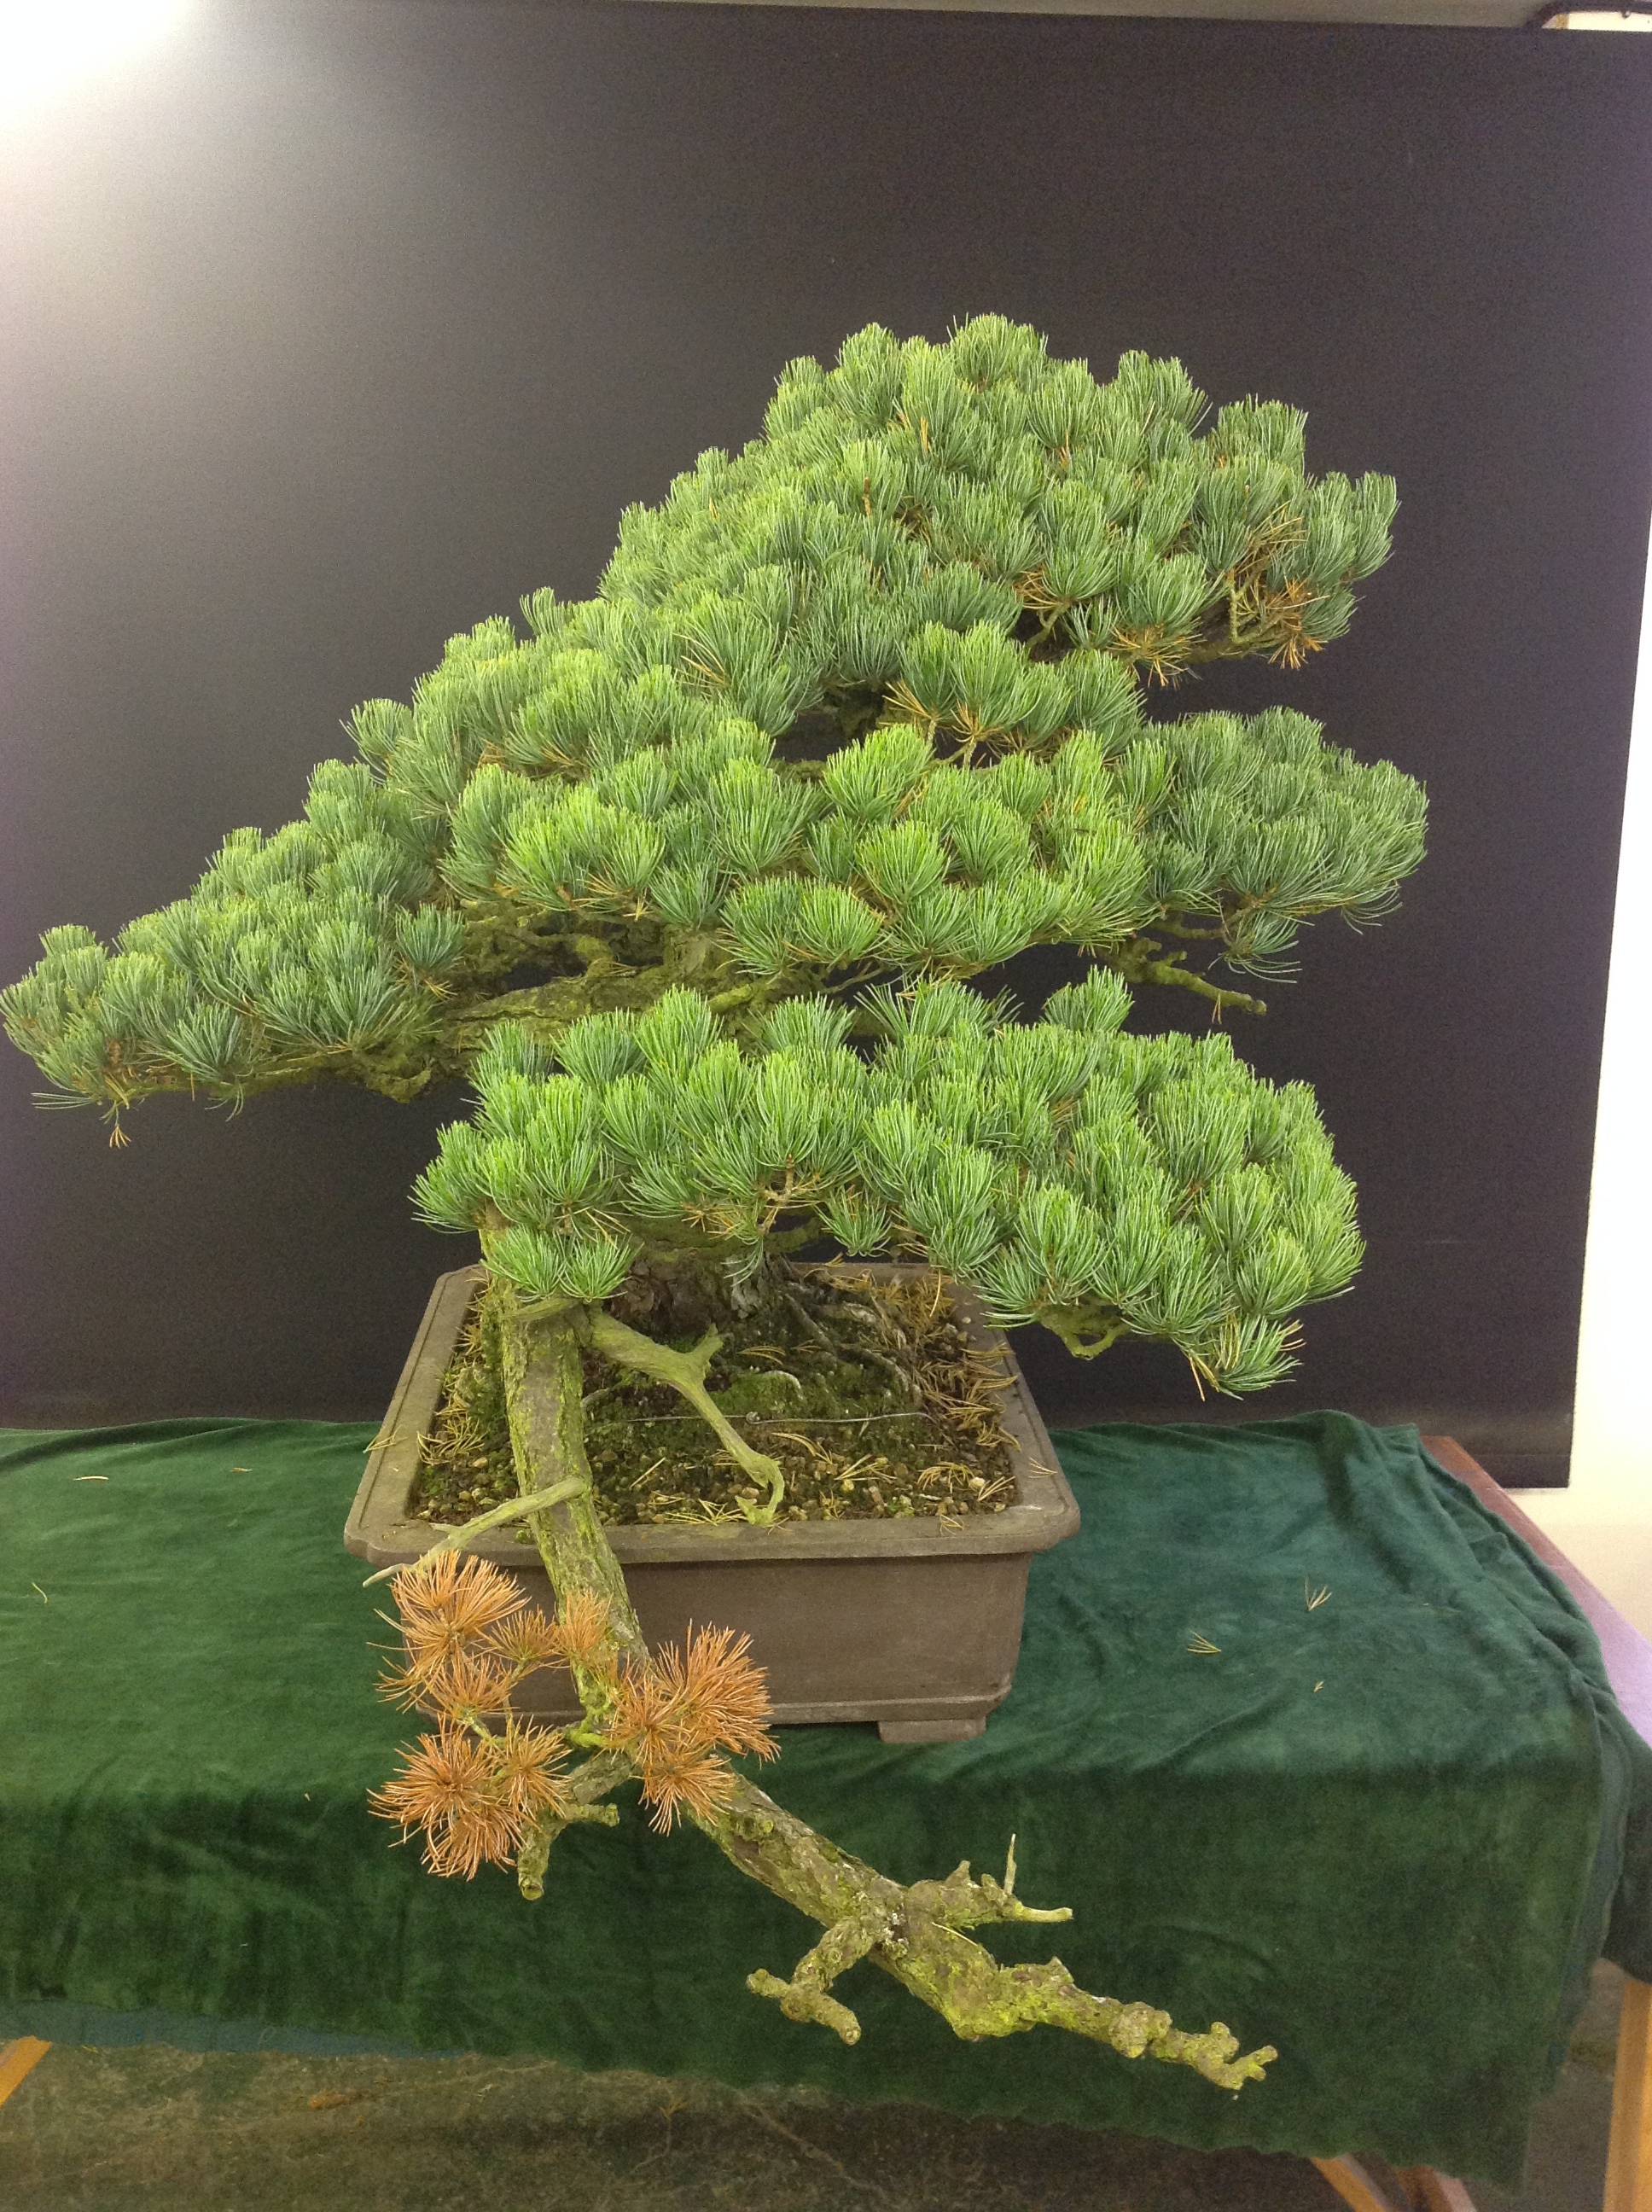
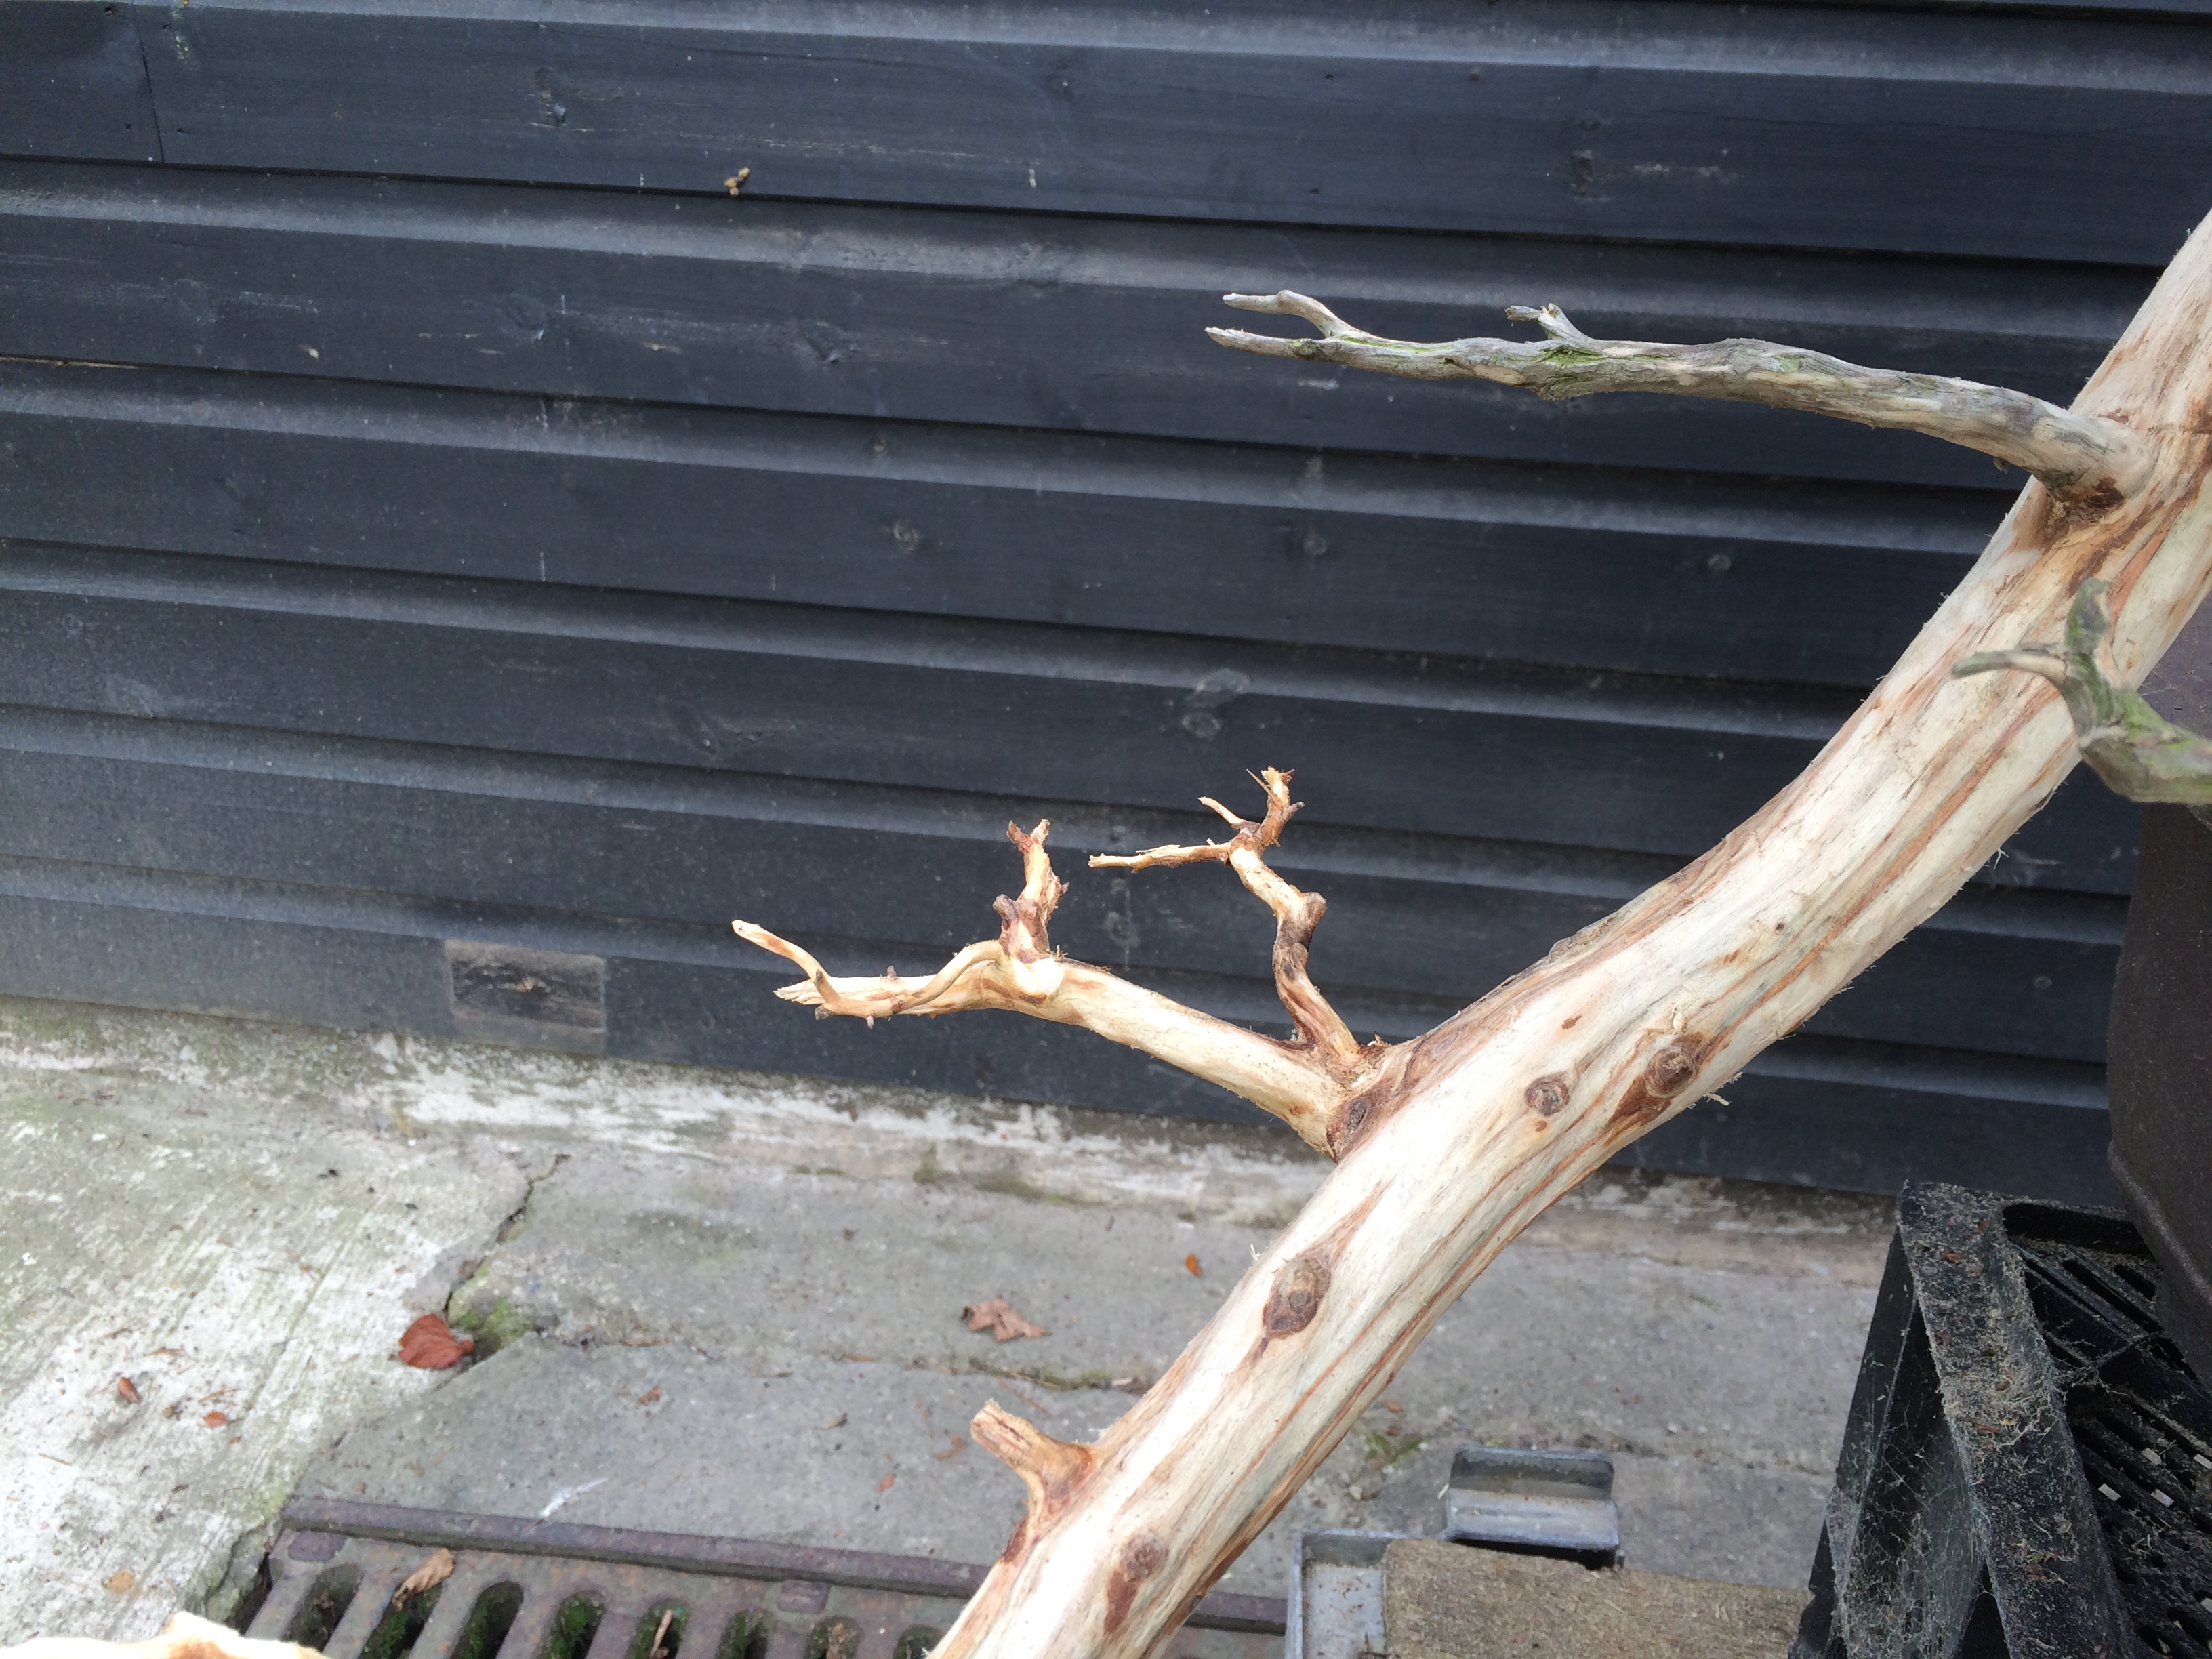
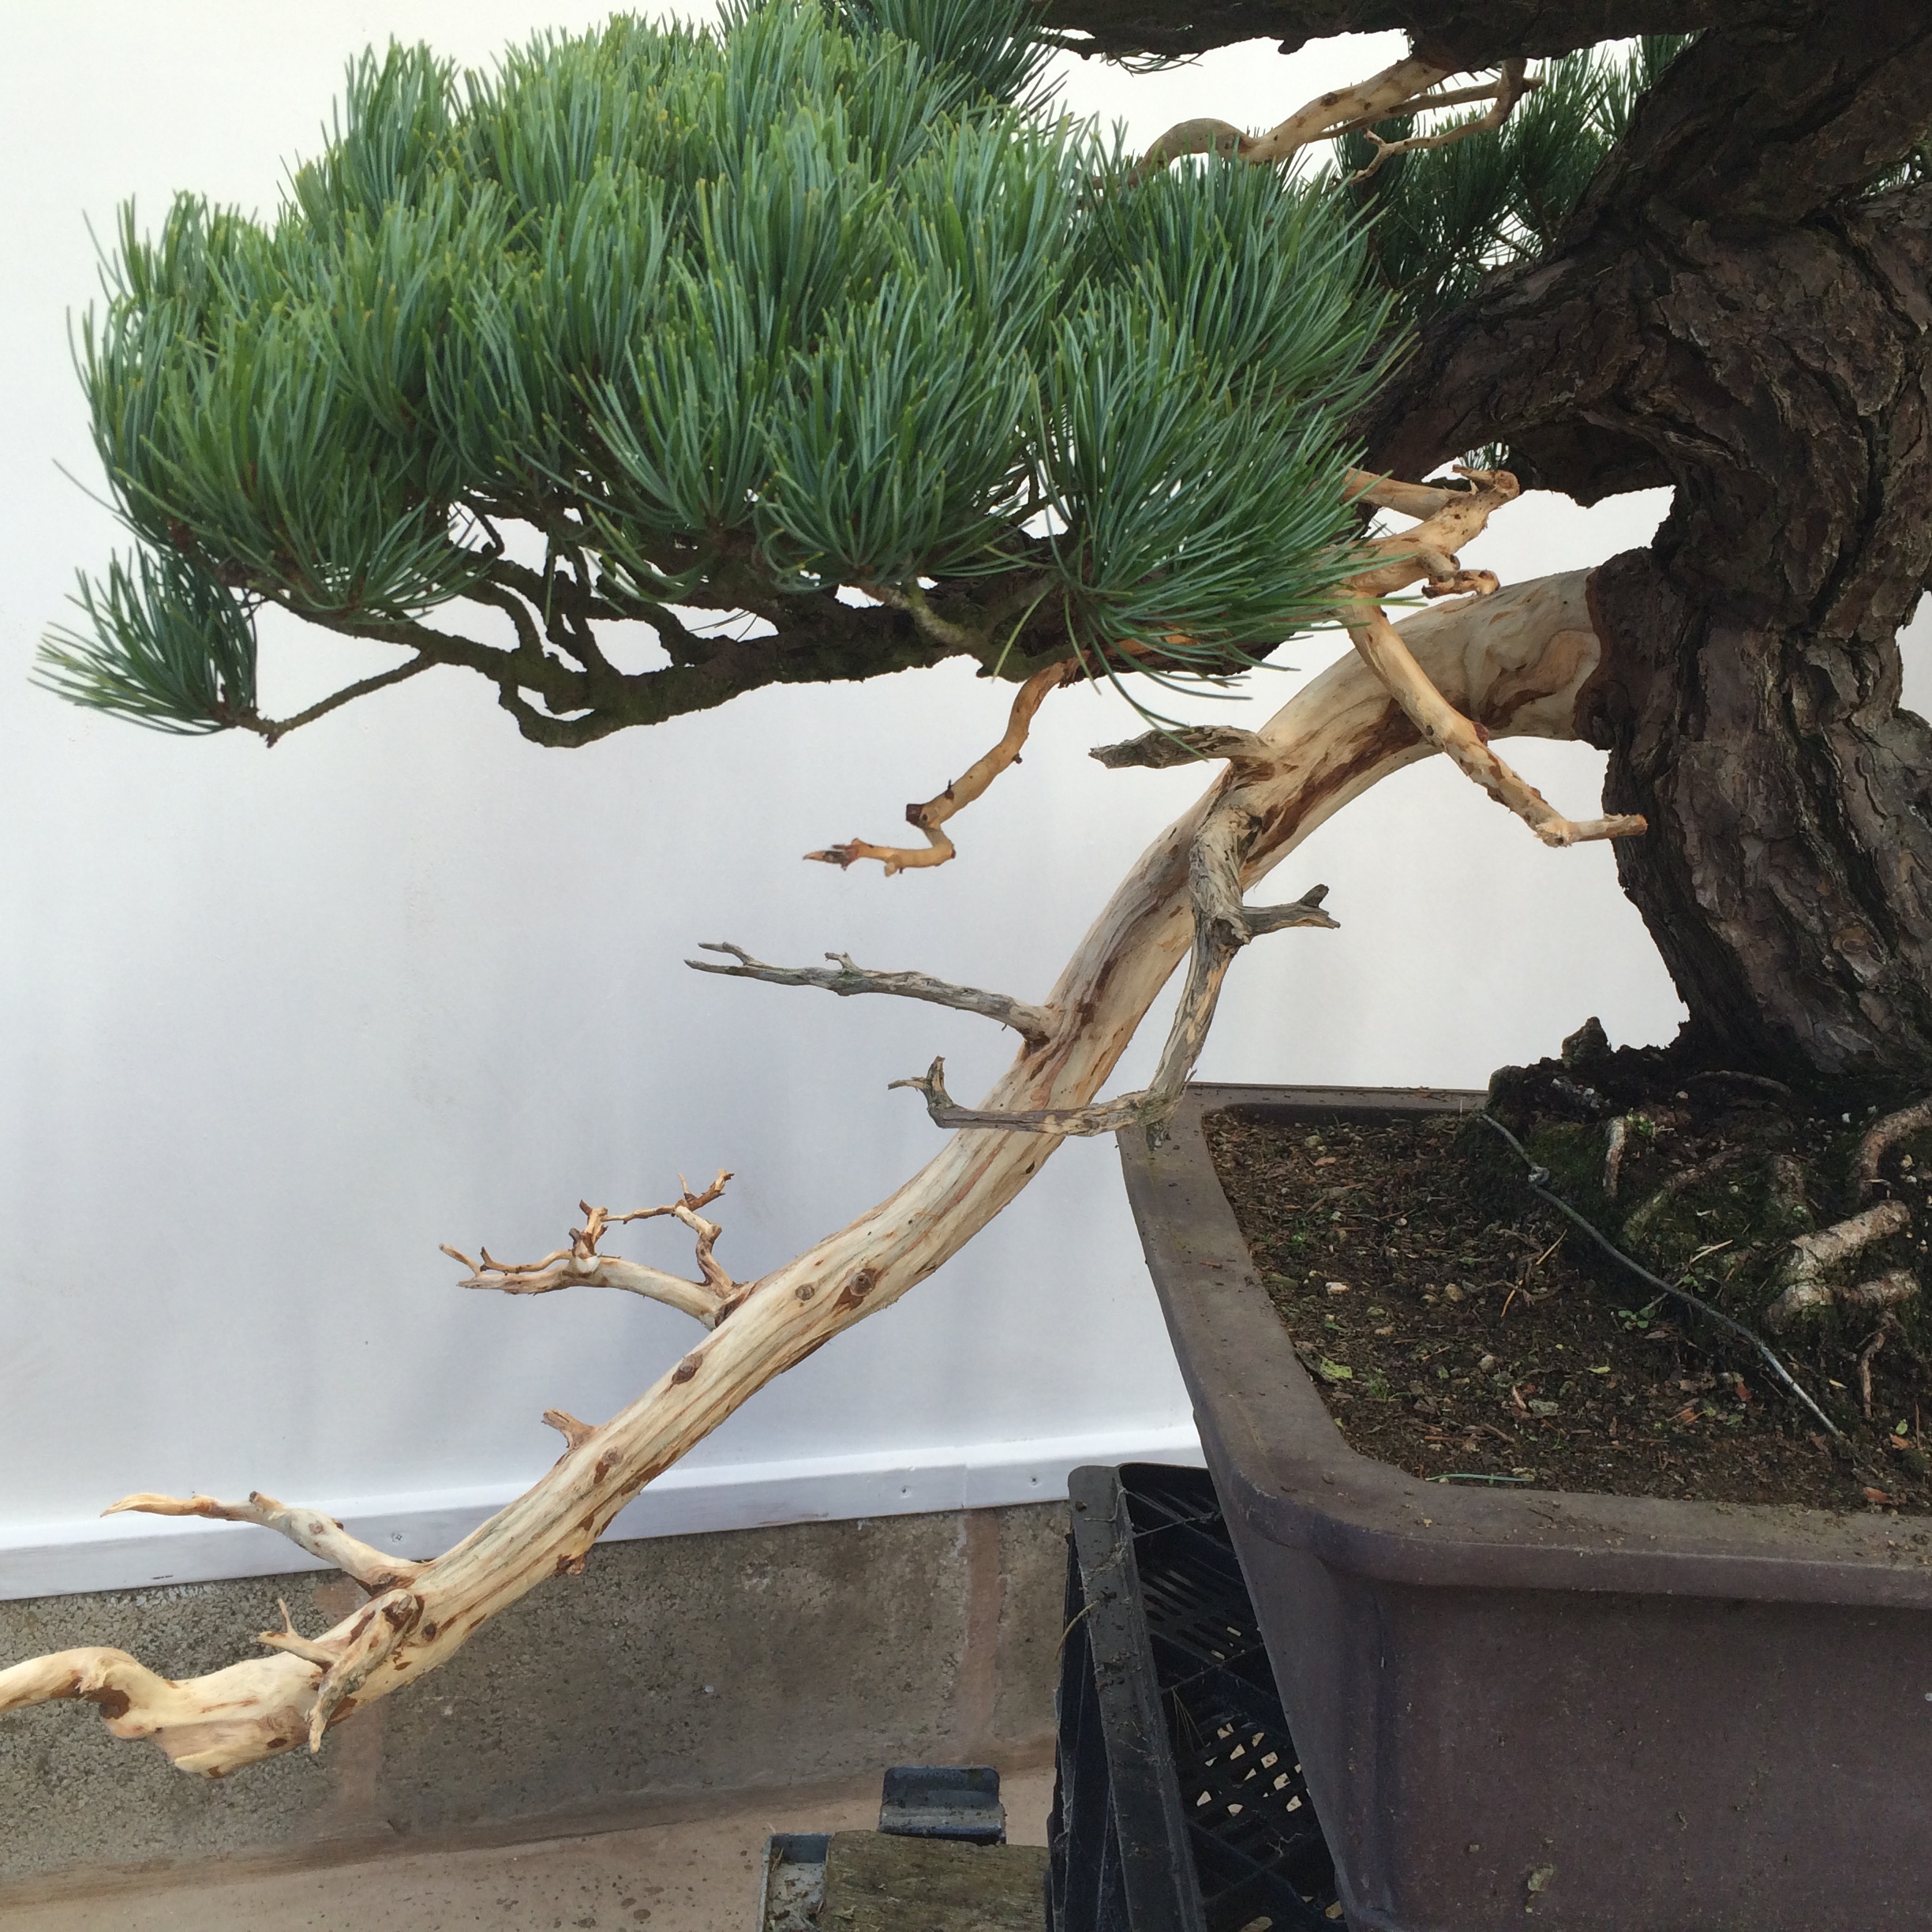
Next we must start on the deadwood by stripping the bark off all the dead branches, including the “Dragon’s Tail”.This is done by hand and turns out to be quite a messy affair. A power tool with a wire brush attachment is used to refine and finish off the deadwood. Some of the jins are bent into correct alignment using a chefs torch and pliers.
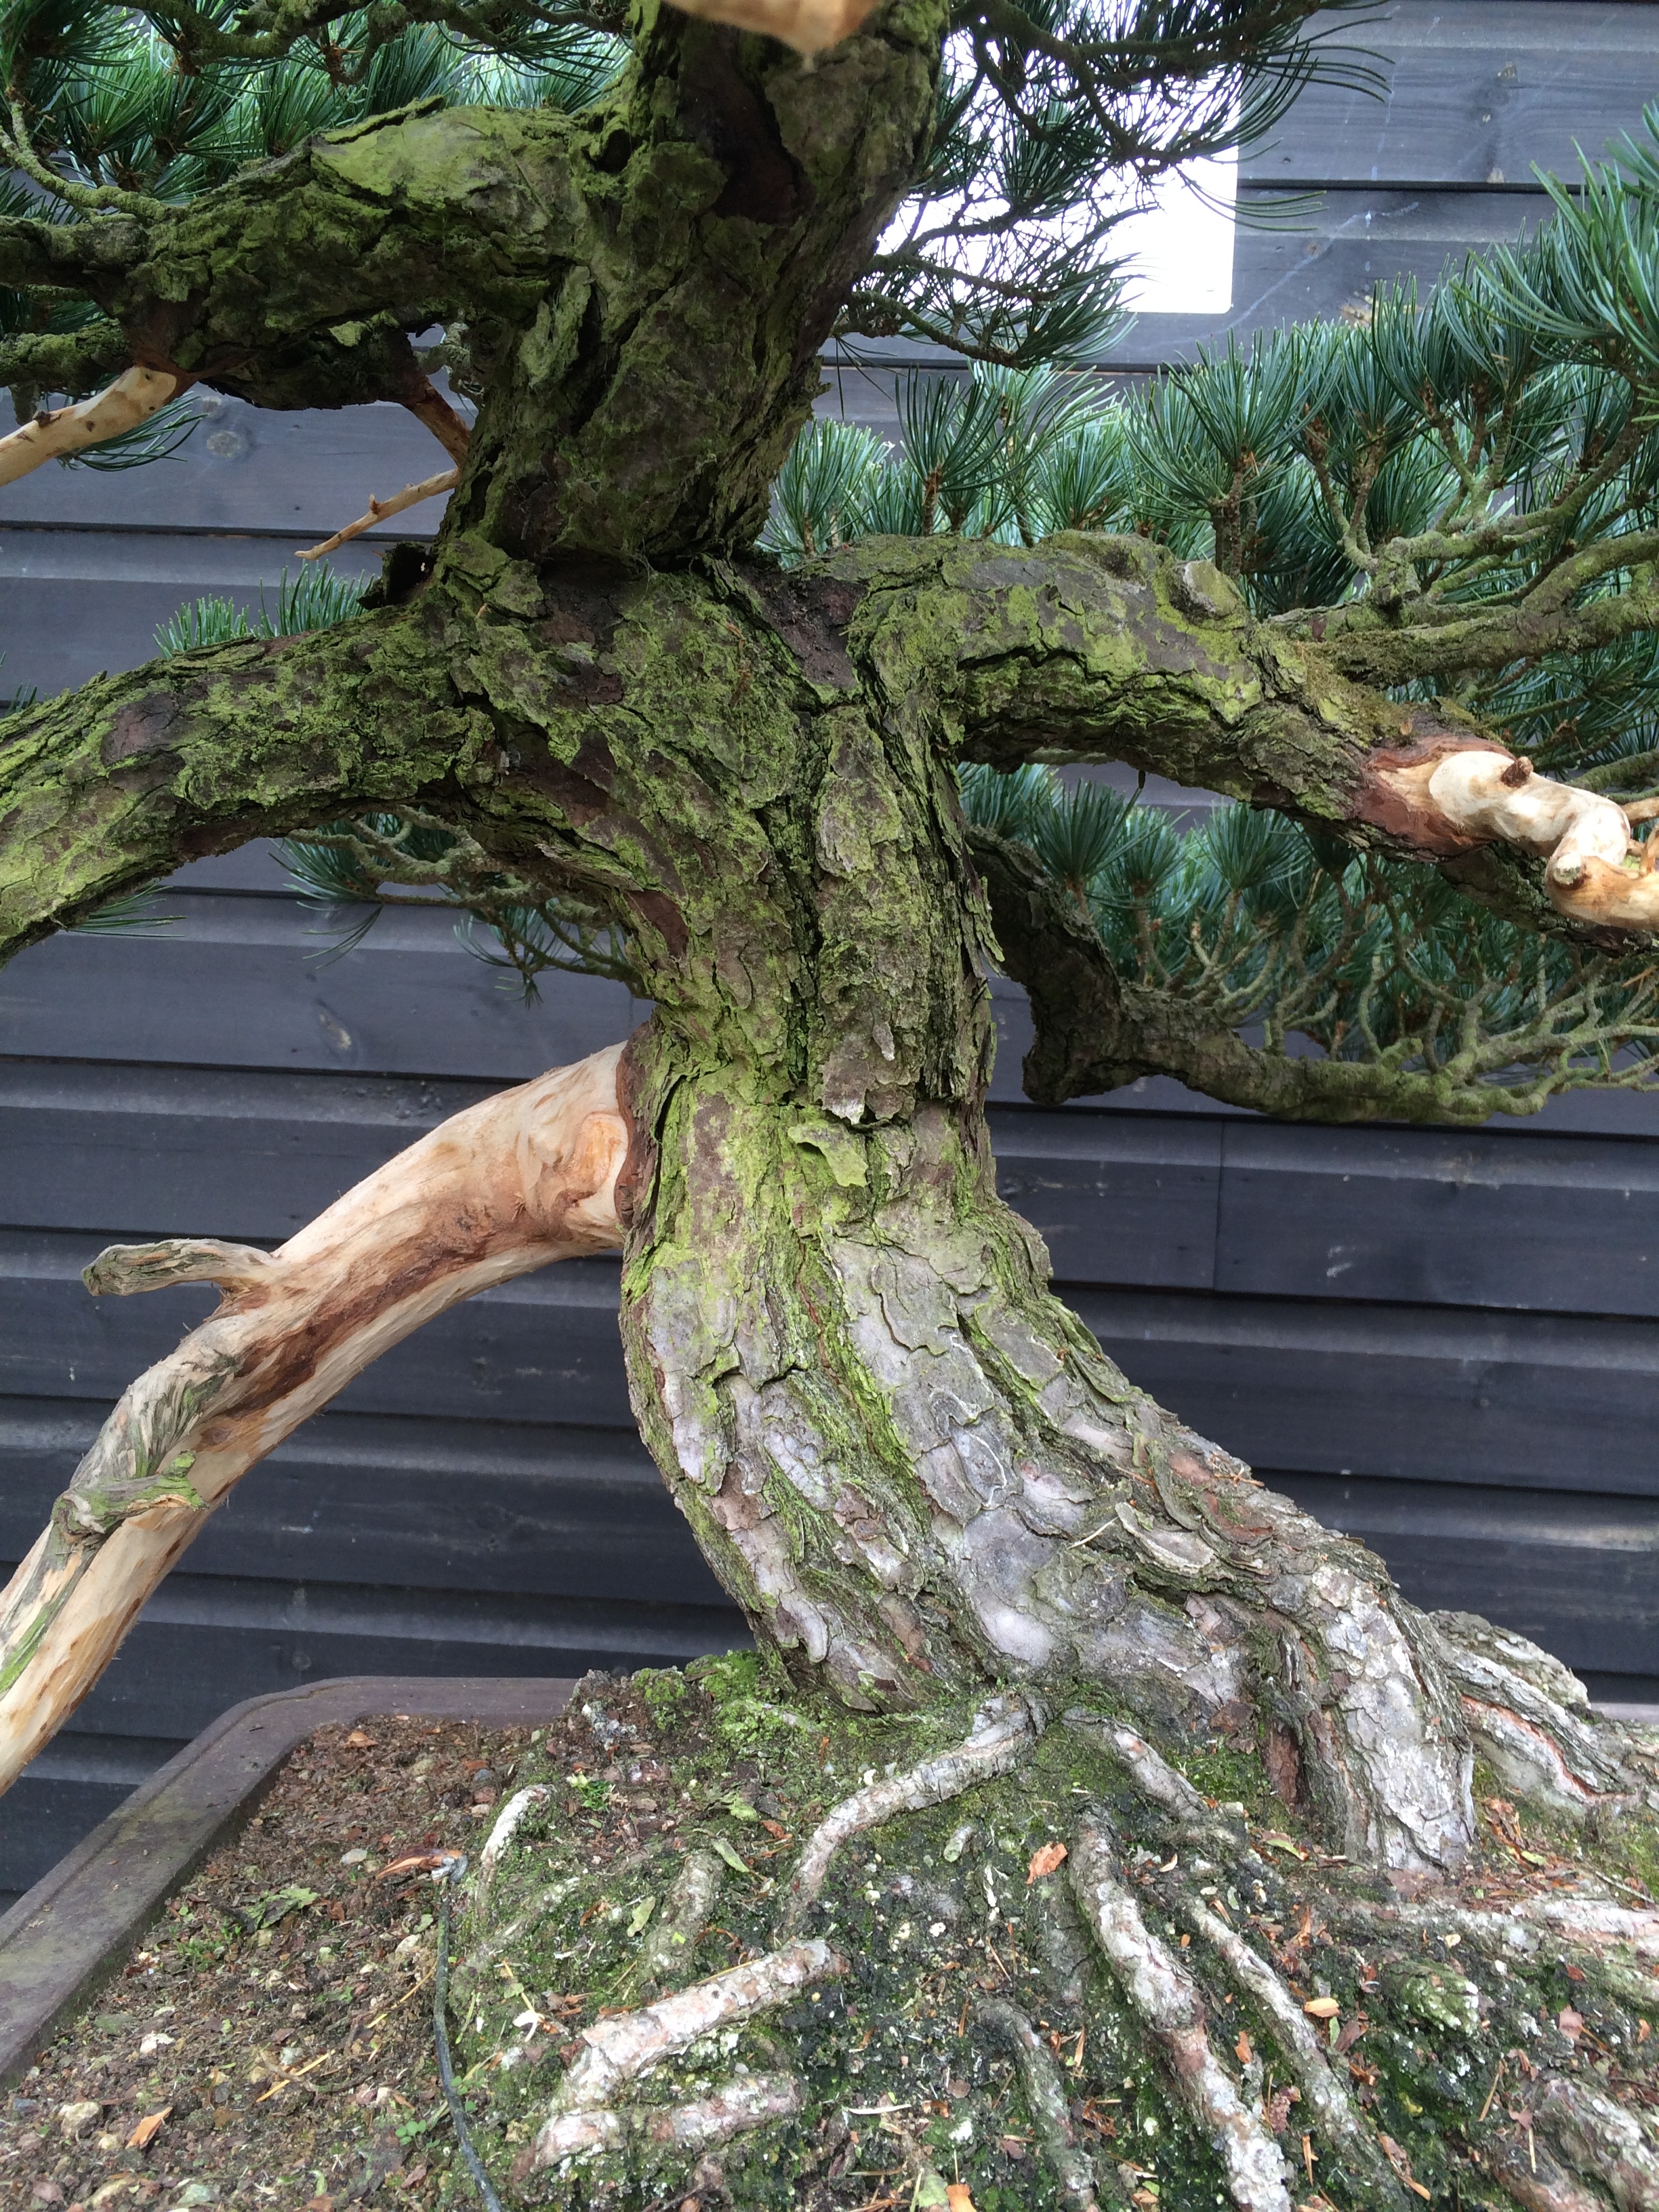
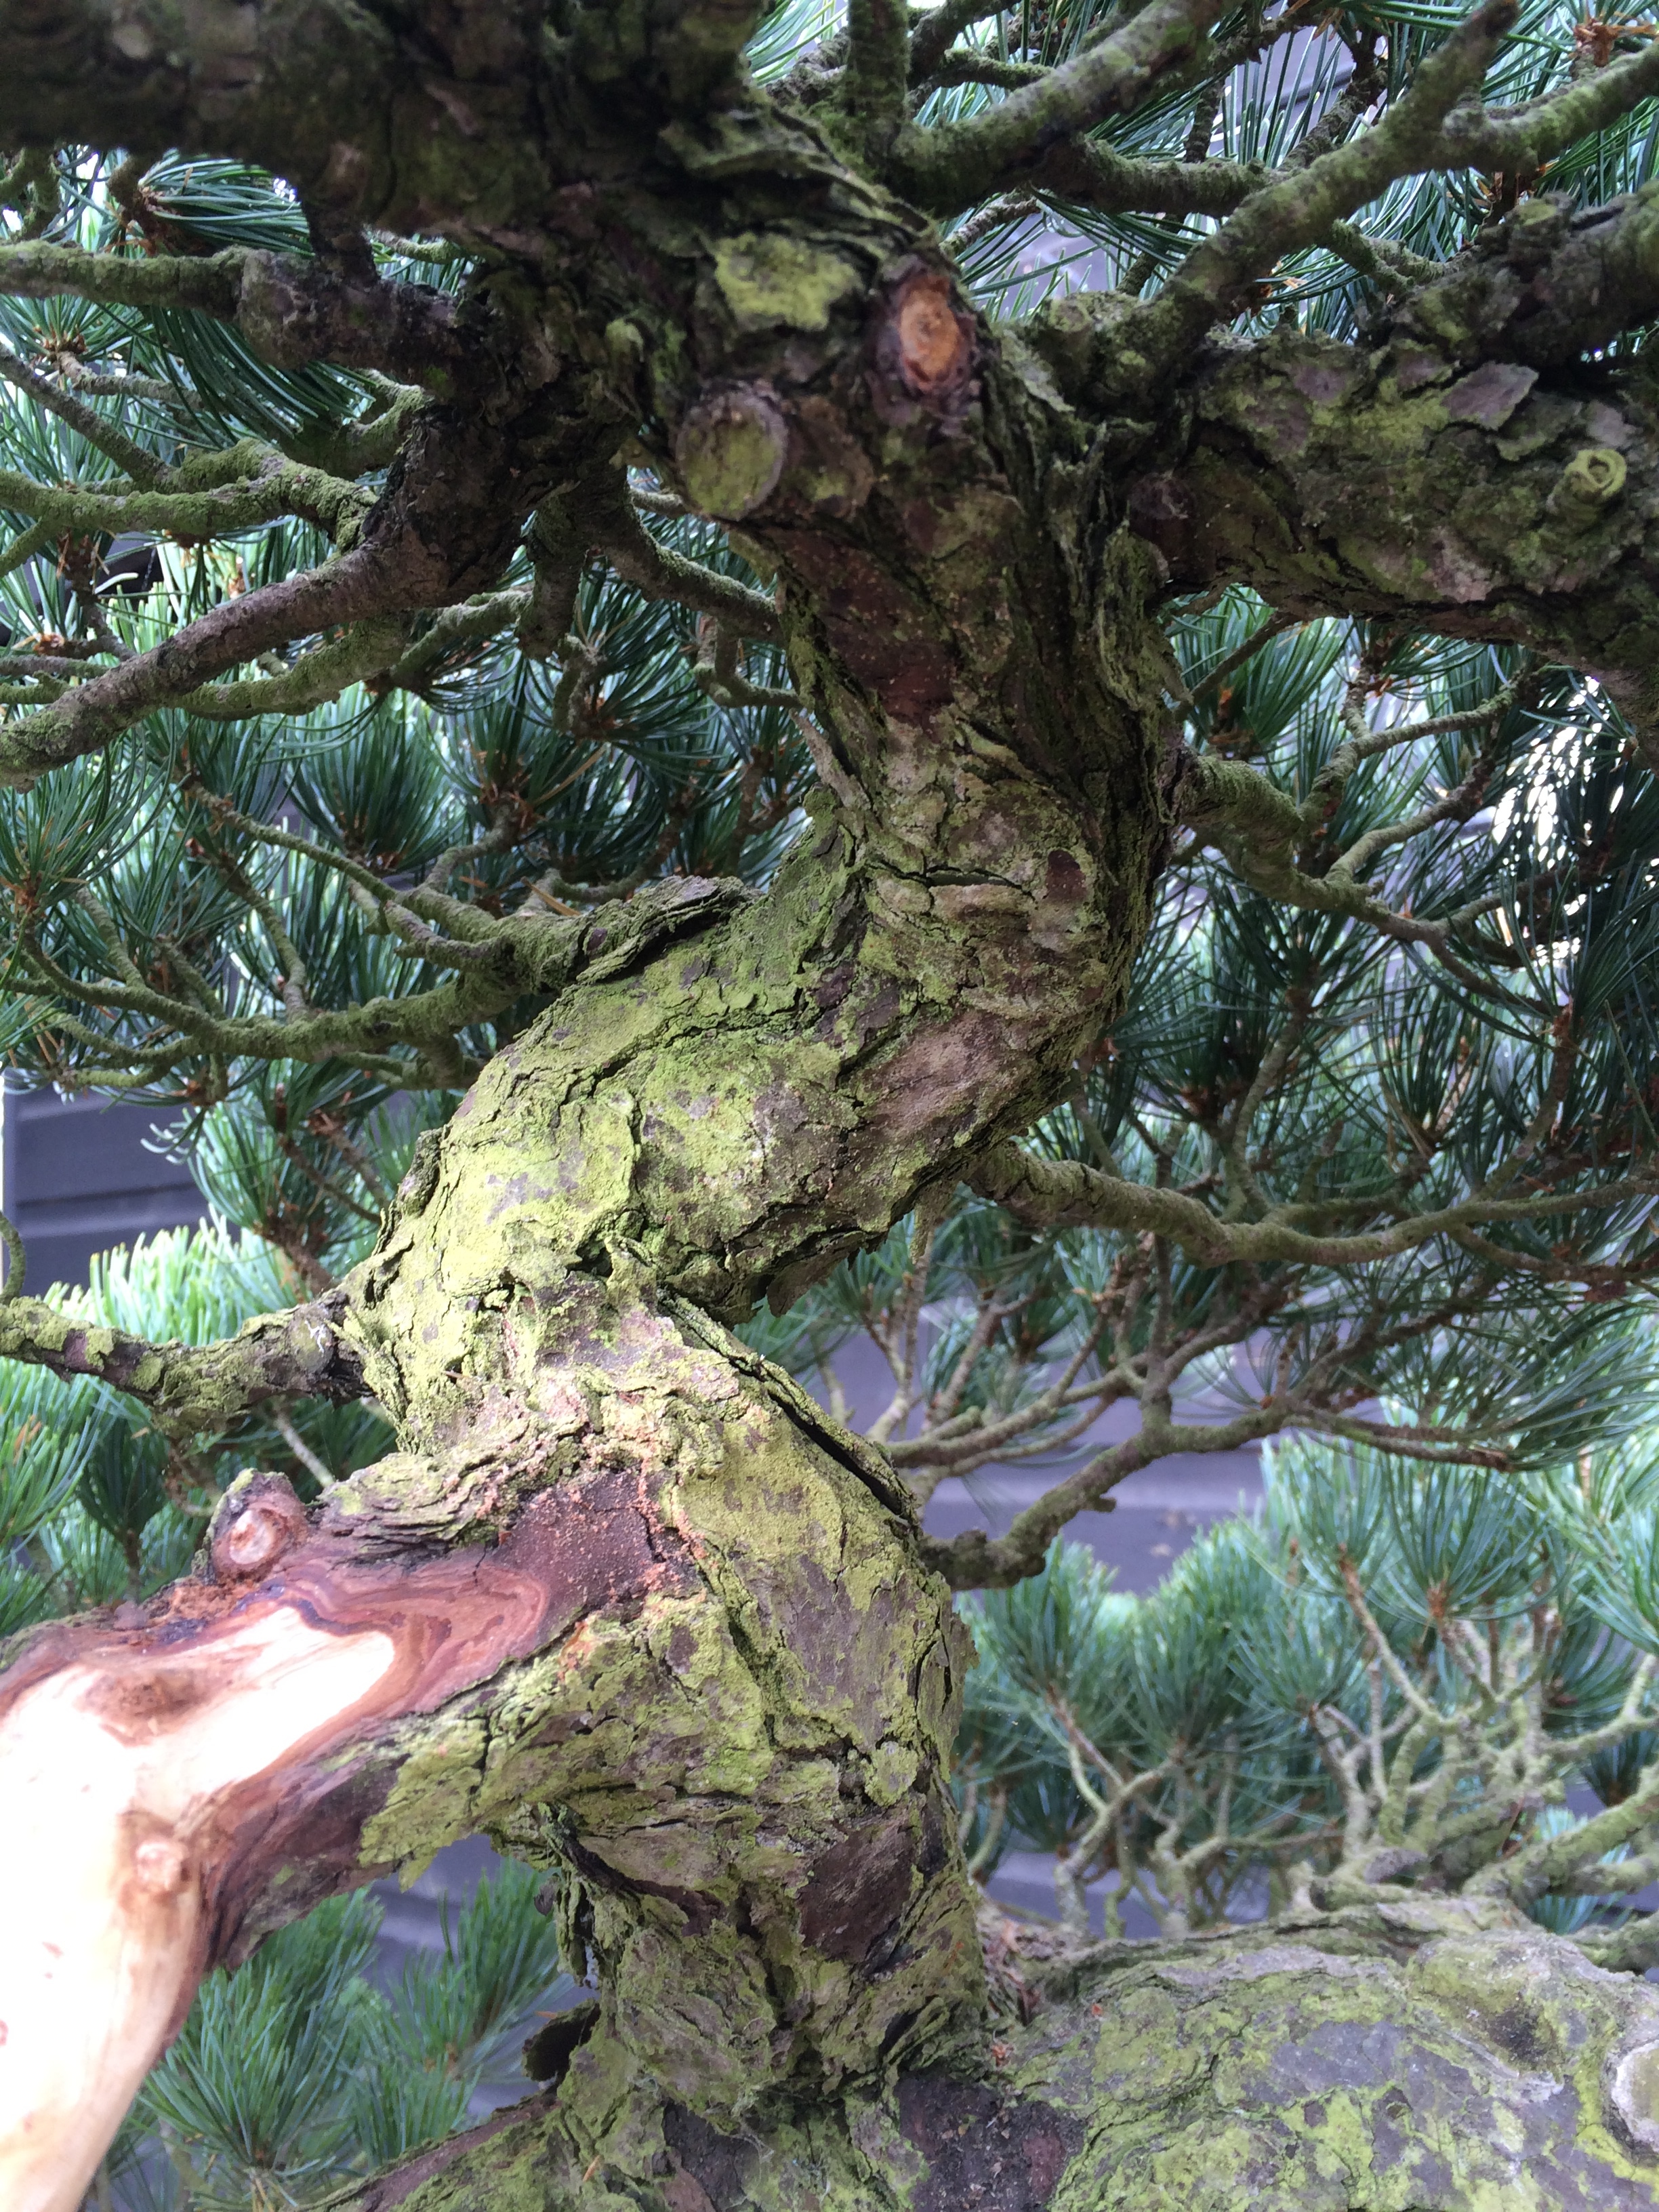
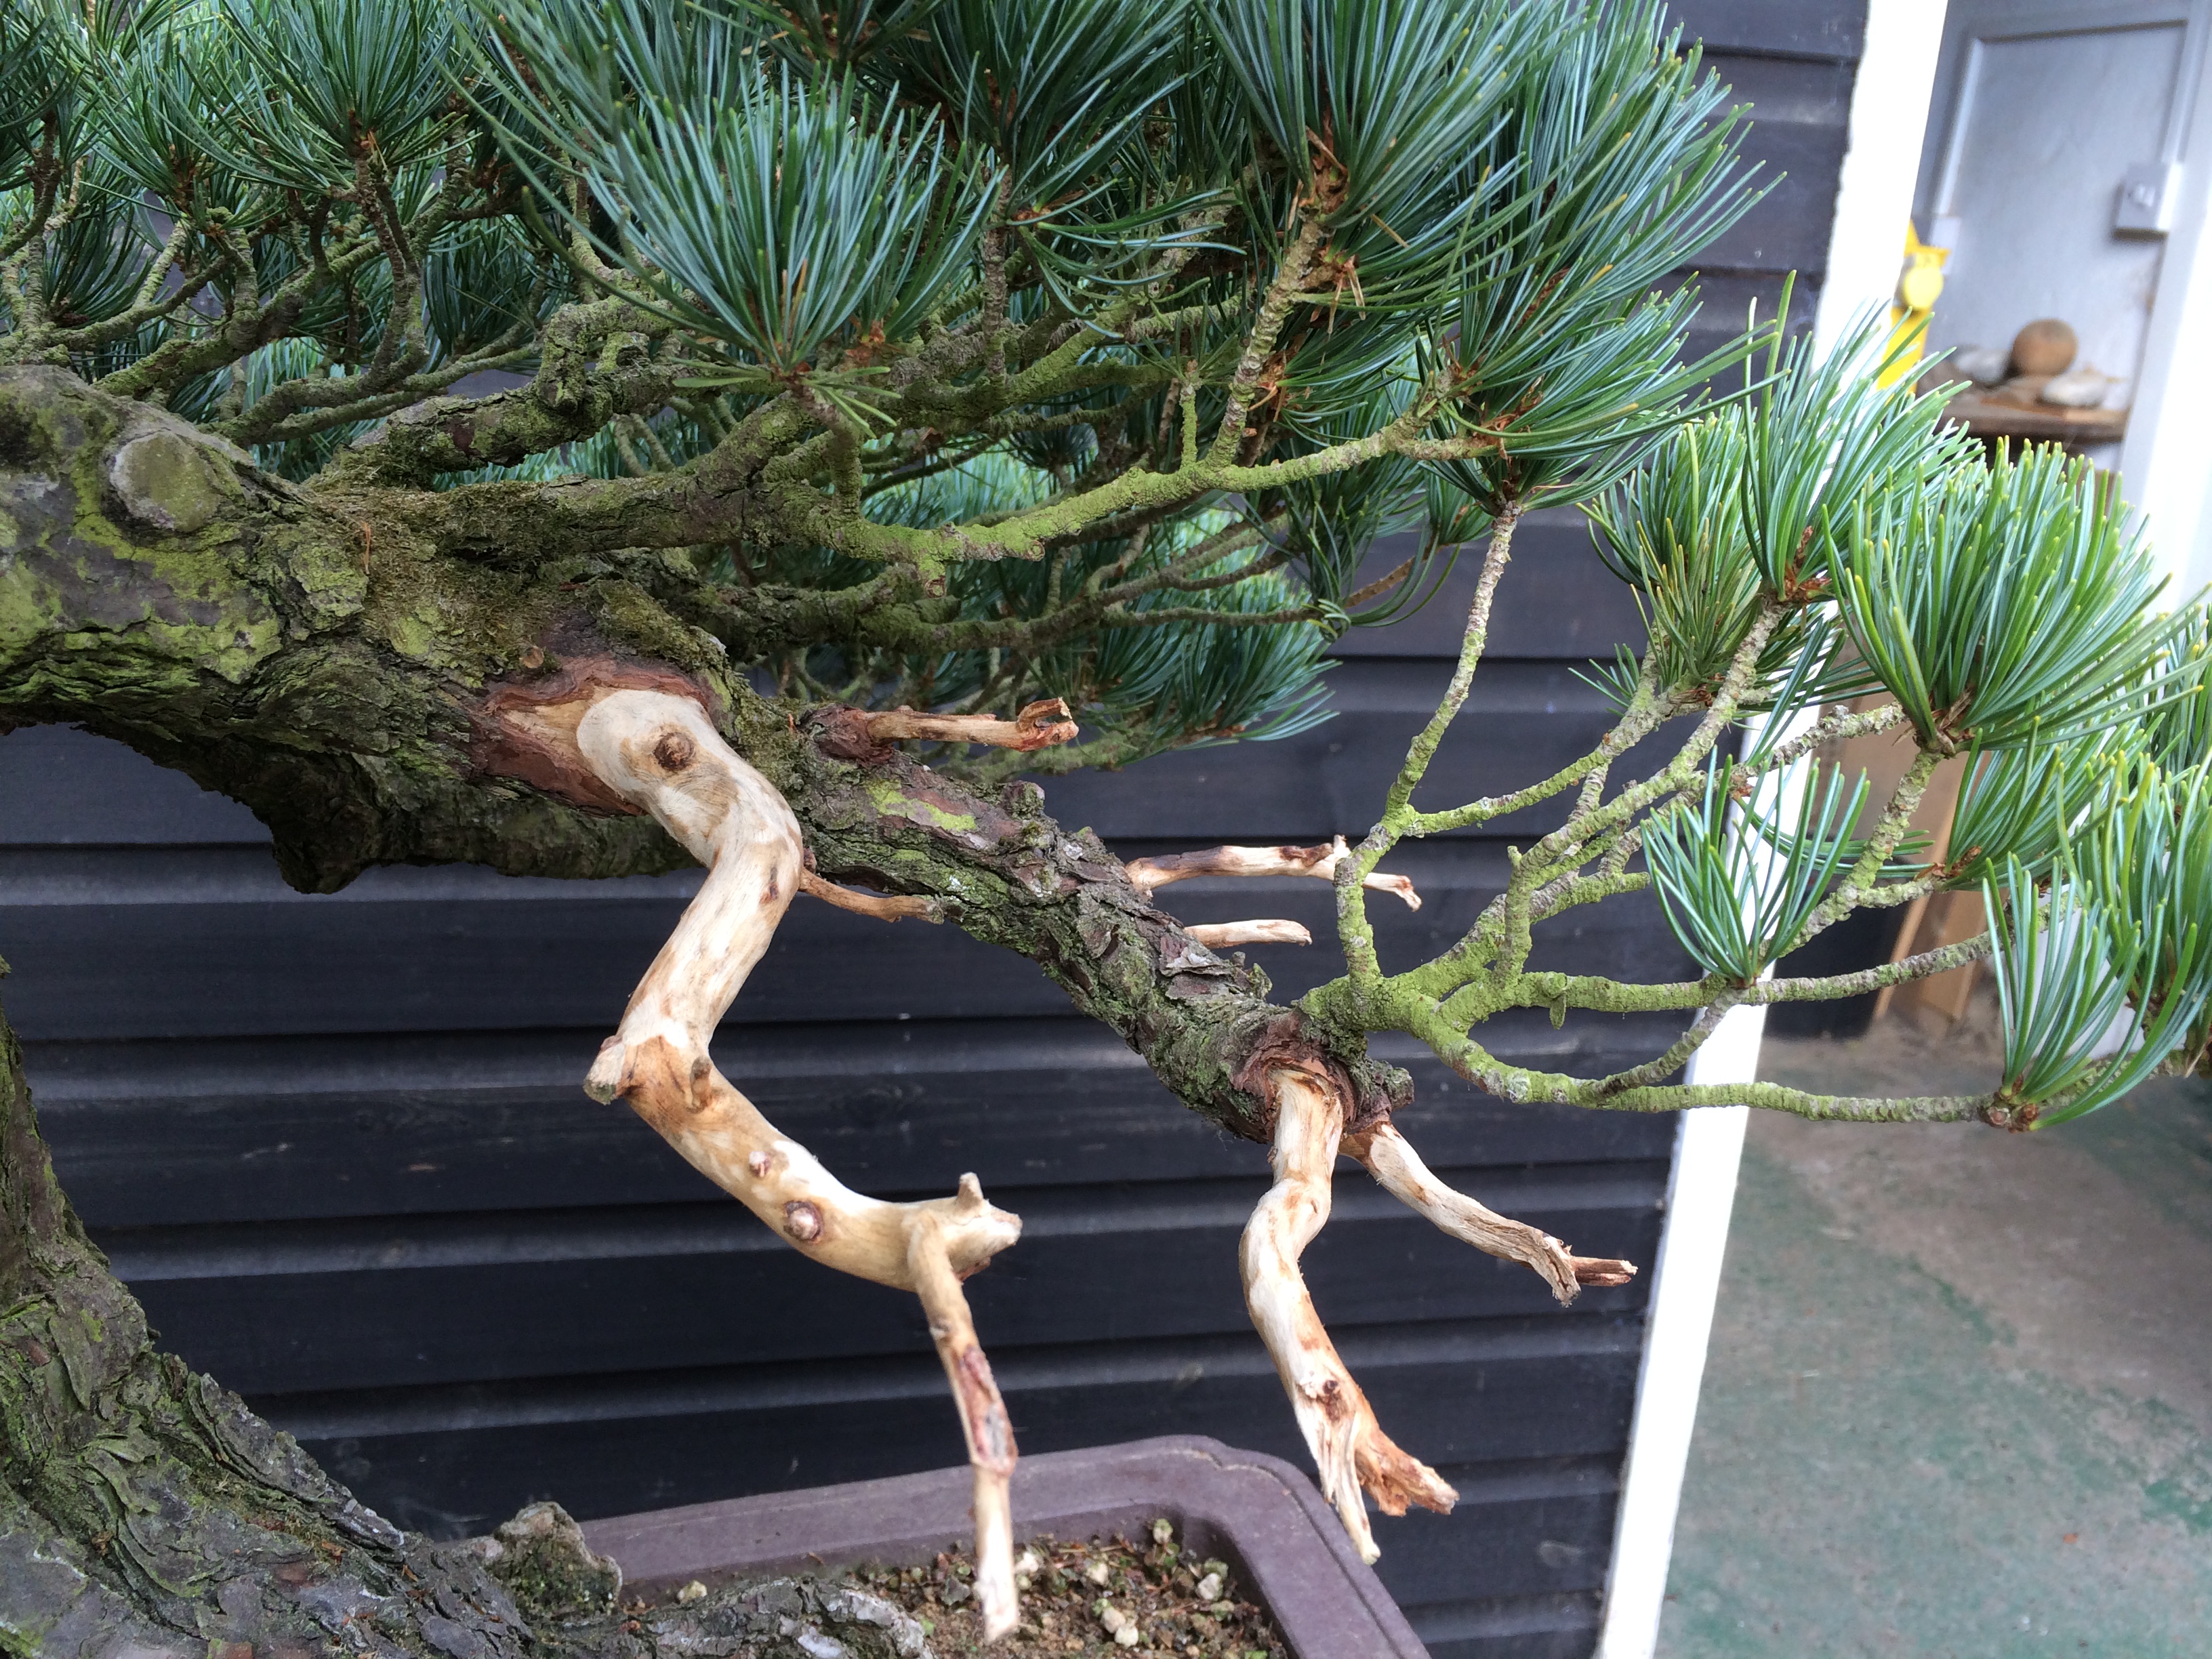
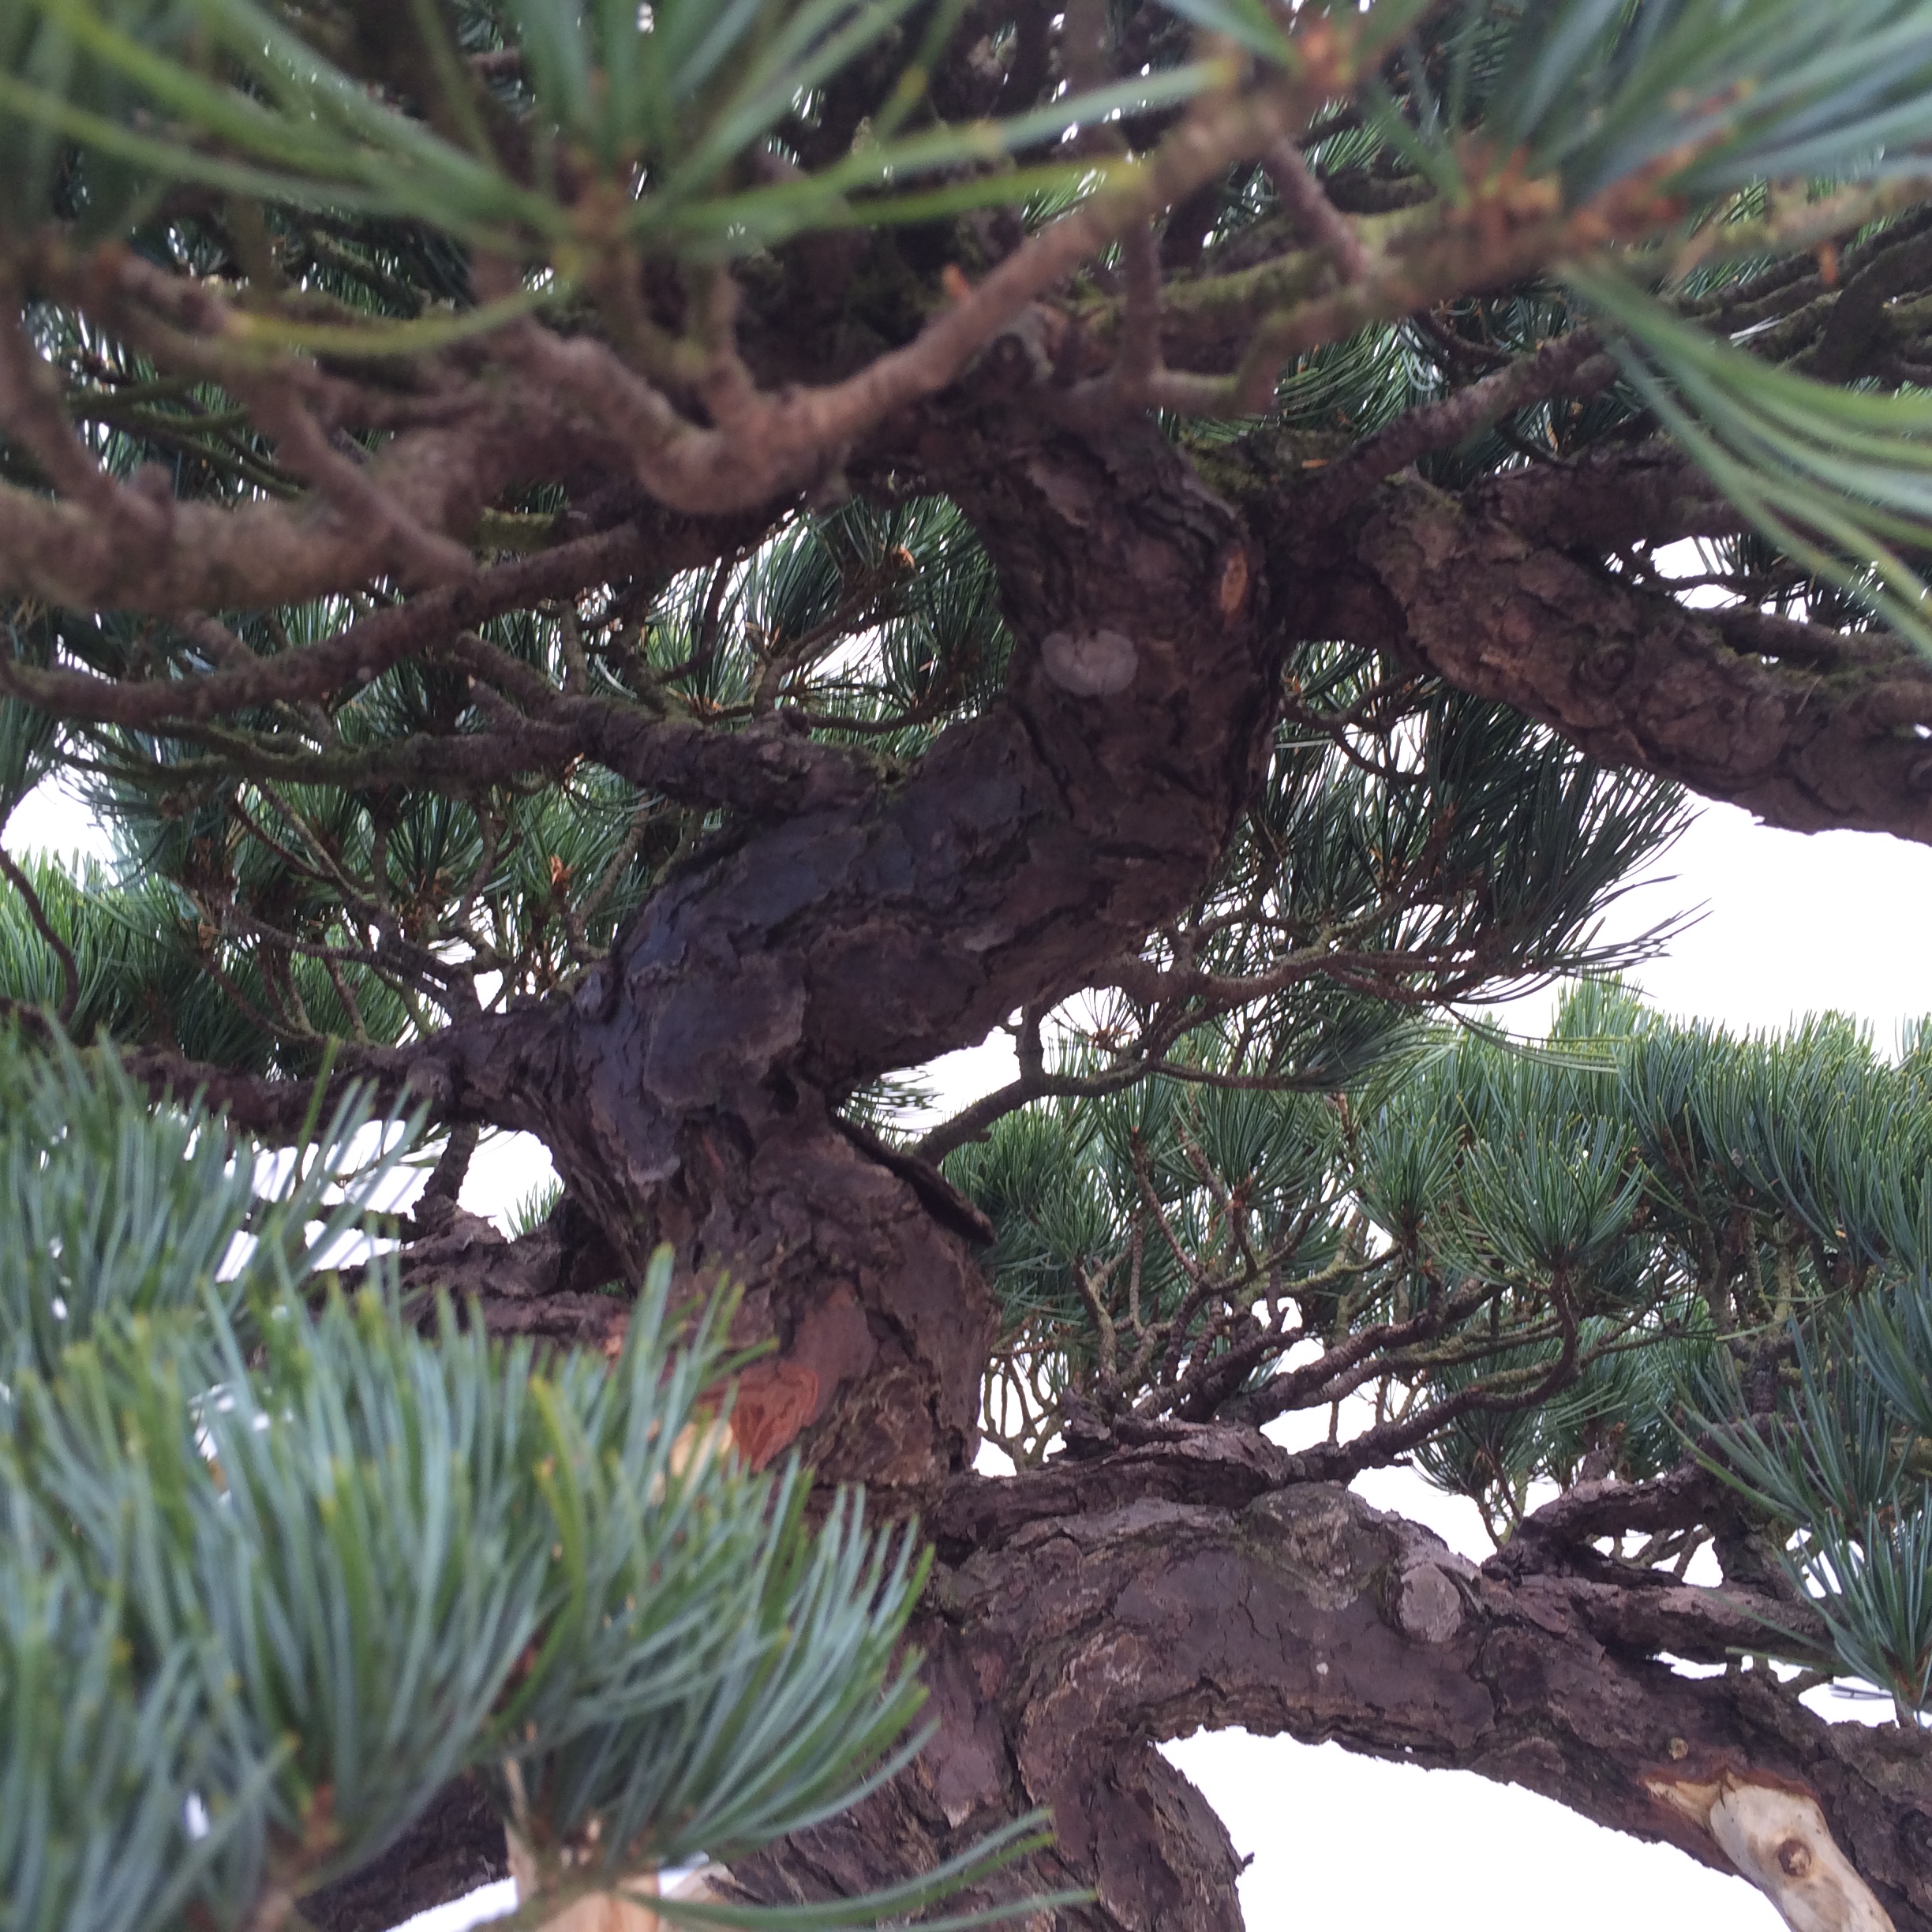
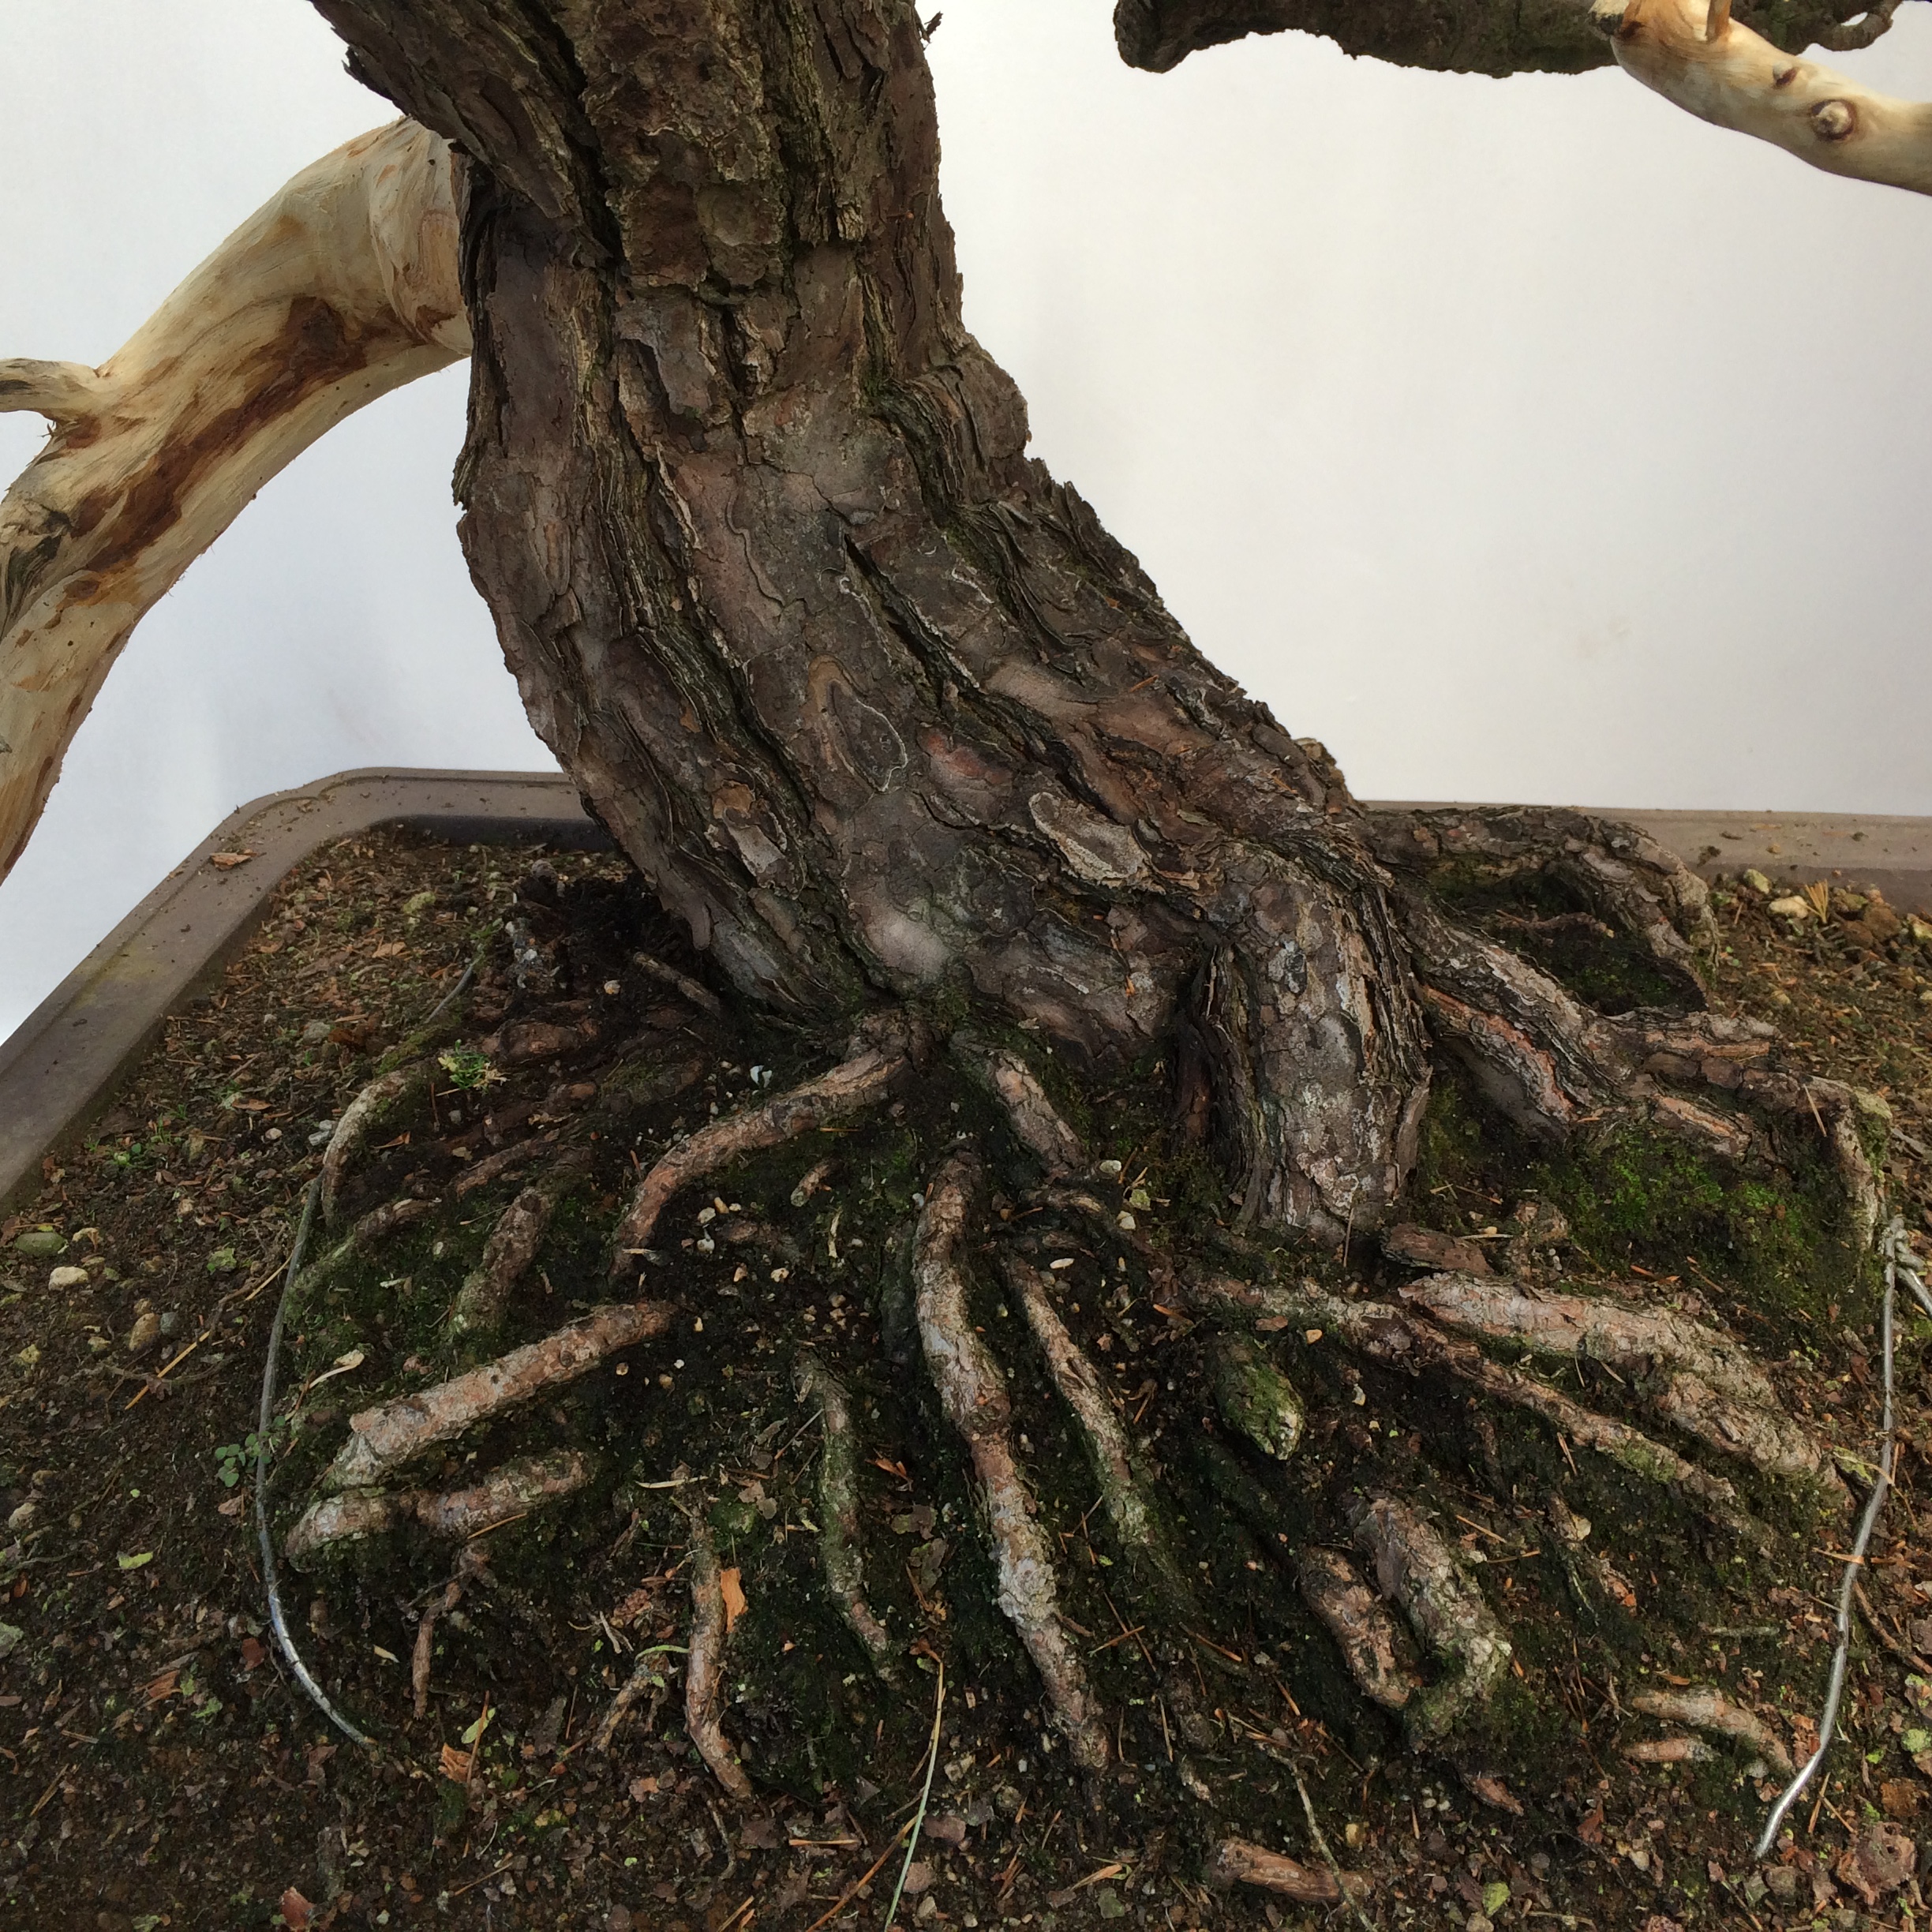
Most of the trunk and branches are now covered with green algae and need to be cleaned. If you use a brush there is a strong possibility that you will remove the beautiful ageing bark as well as the green stains.
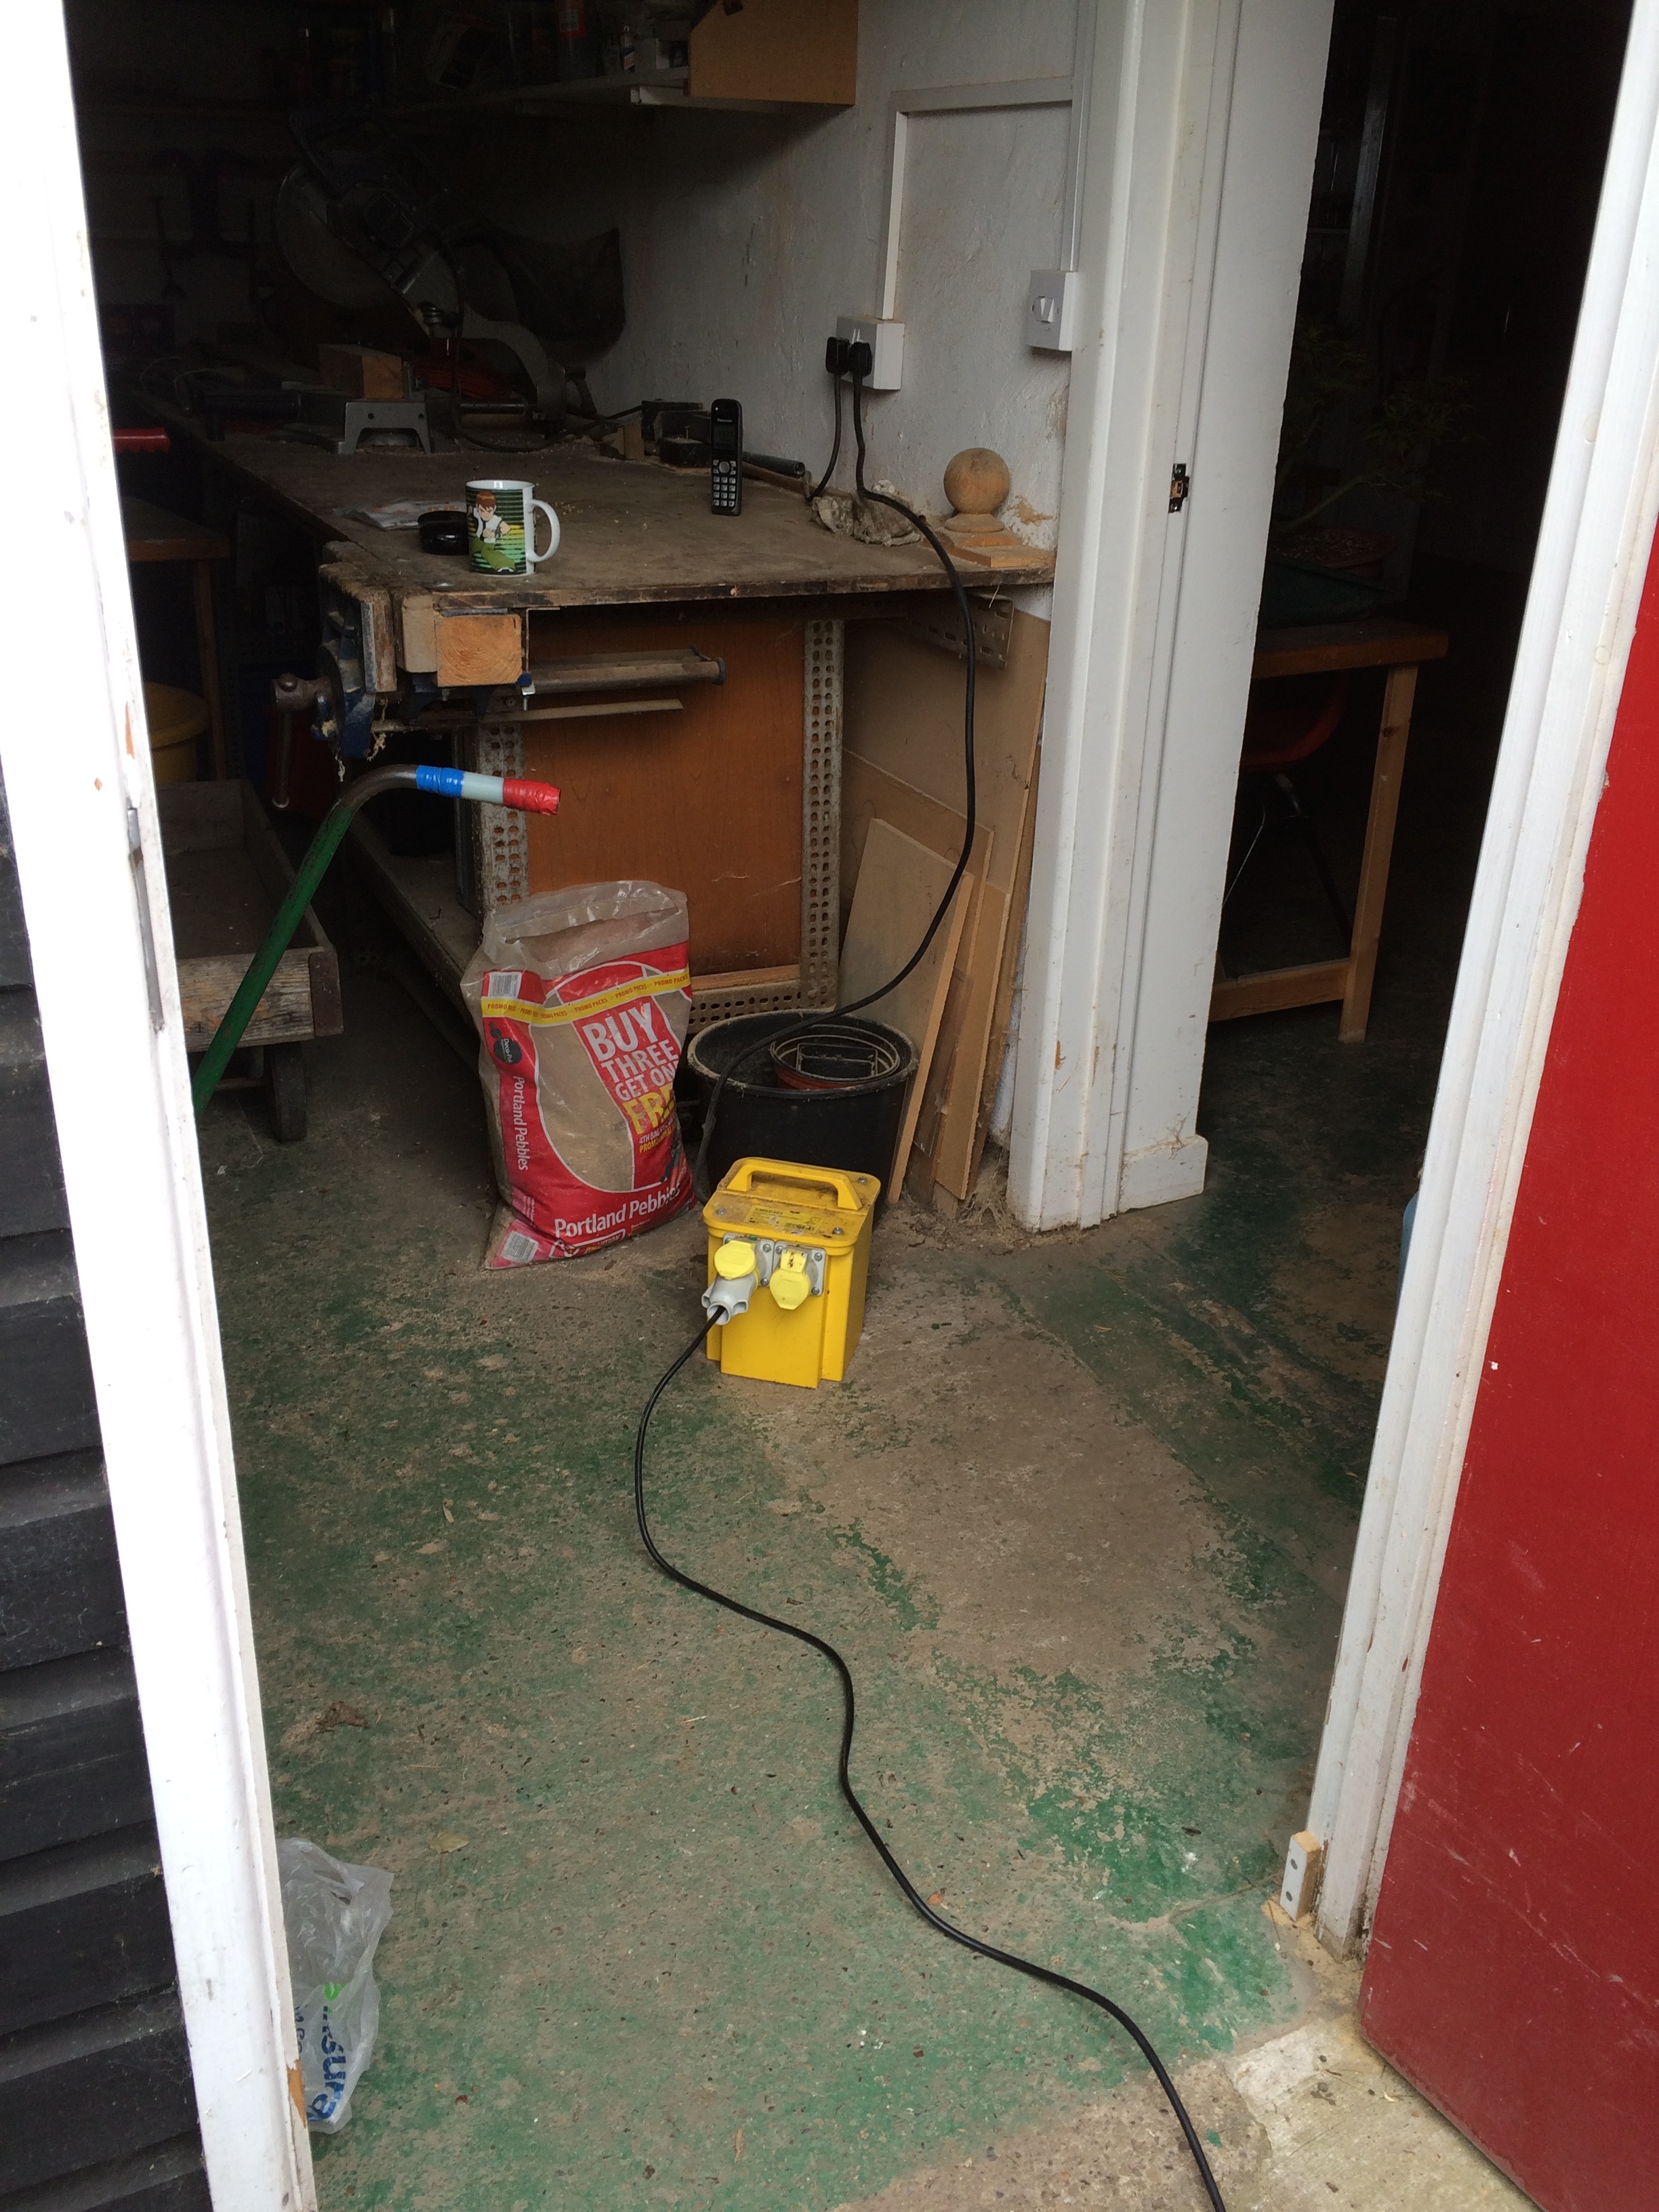

Fortunately we have a small compressor and water jet spray imported from Japan which we use specifically for cleaning up the exhibition trees. Of course when this first arrived the instruction manual was a great help!!!…or it might have been had one of us understood Japanese…in the end it was really just a bit like setting up a DVD player to record!


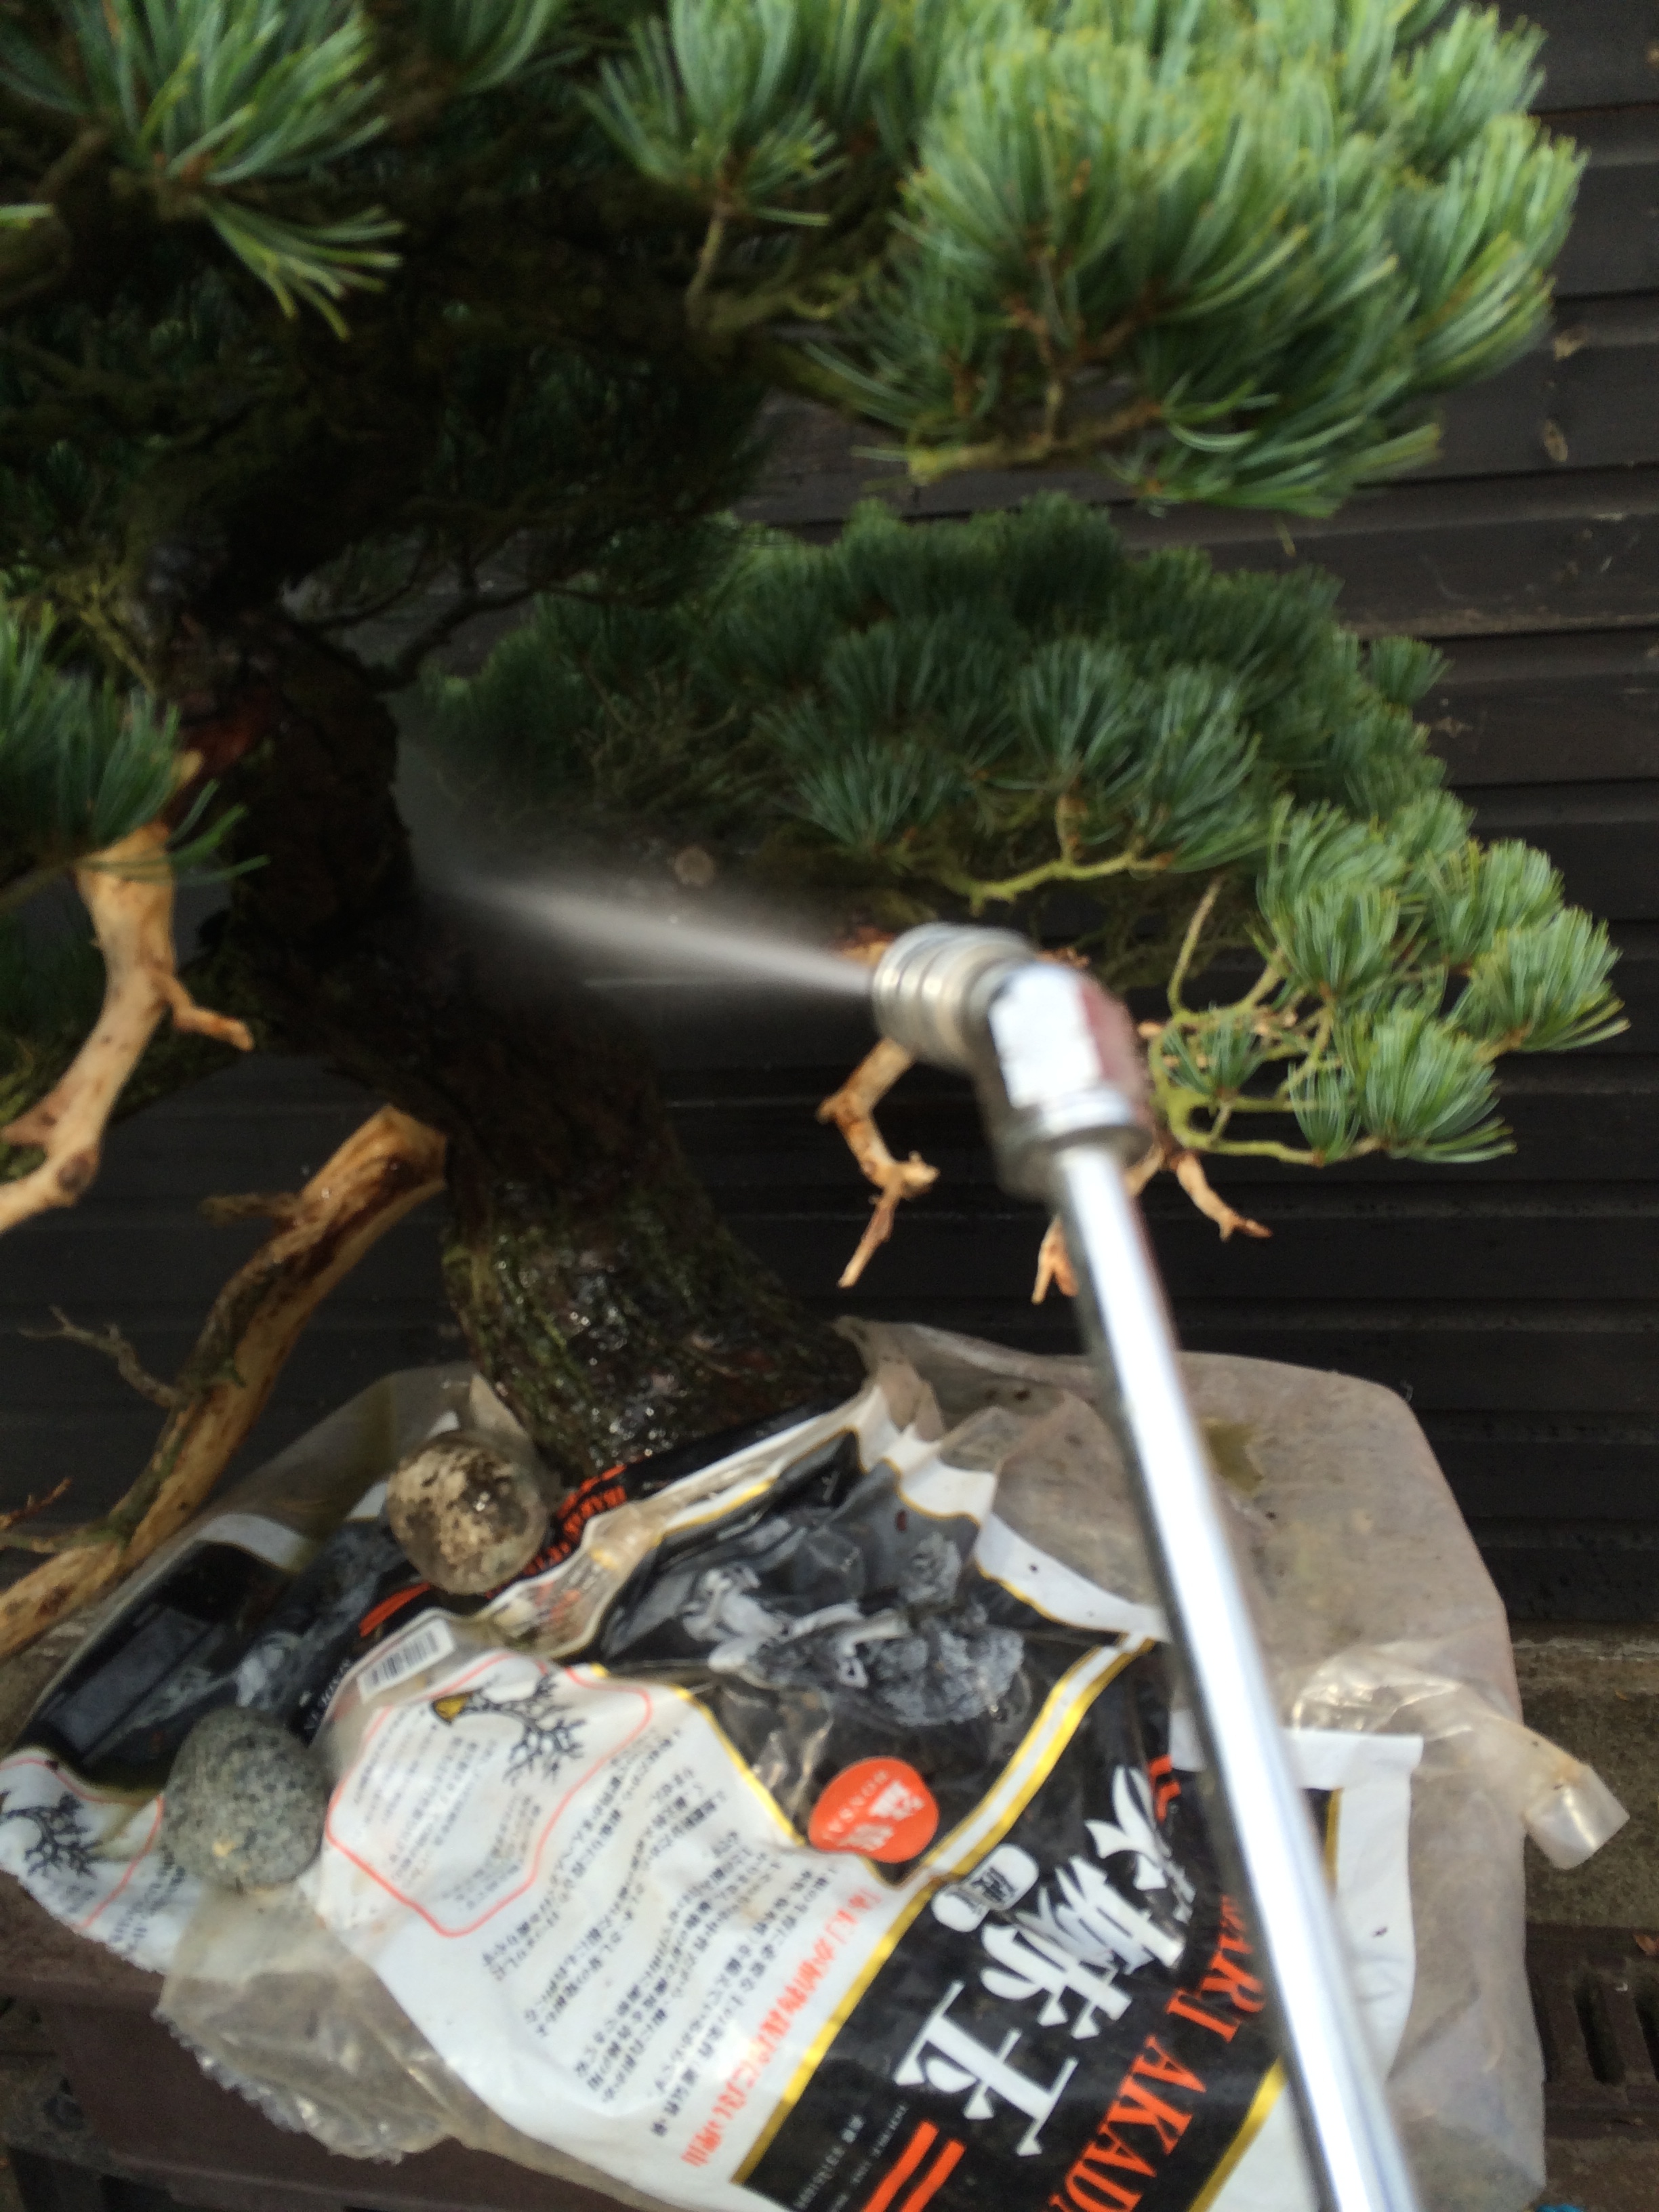

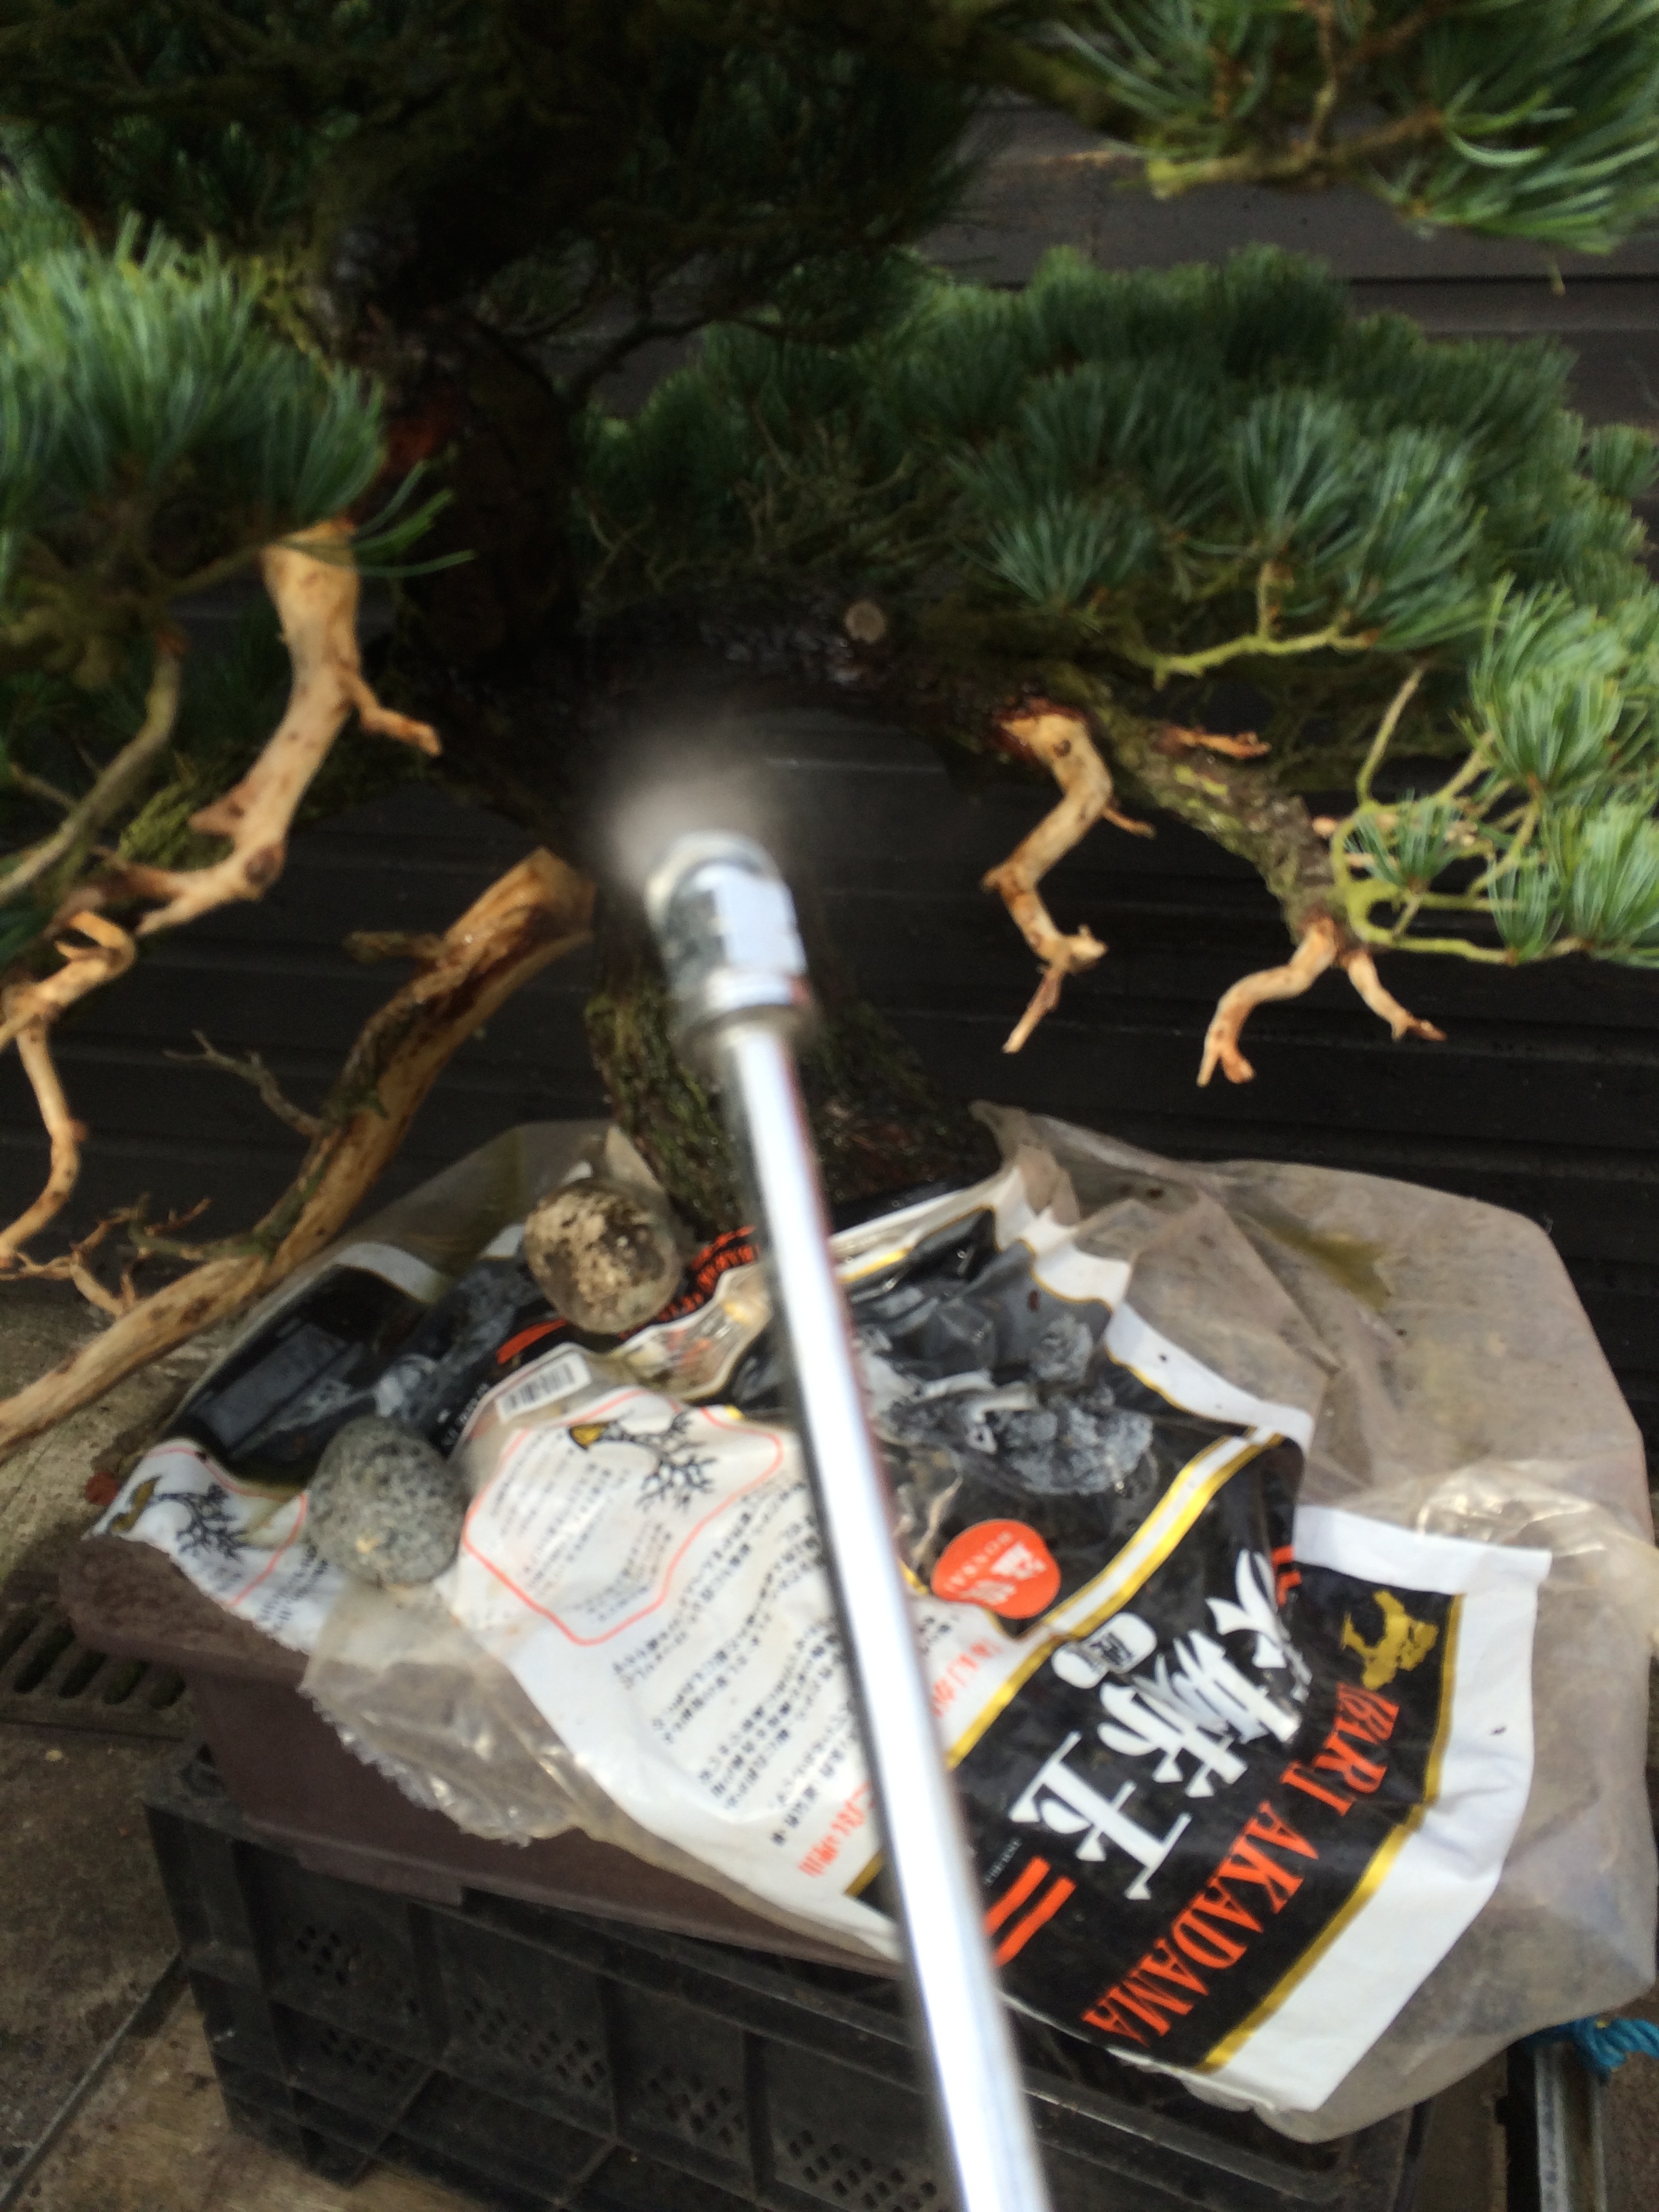
The transformer powers the compressor and feeds the spray with water out of a large tub. The spray produced is powerful but fine and whilst it removes the dirt and grime it leaves the bark in-situ.
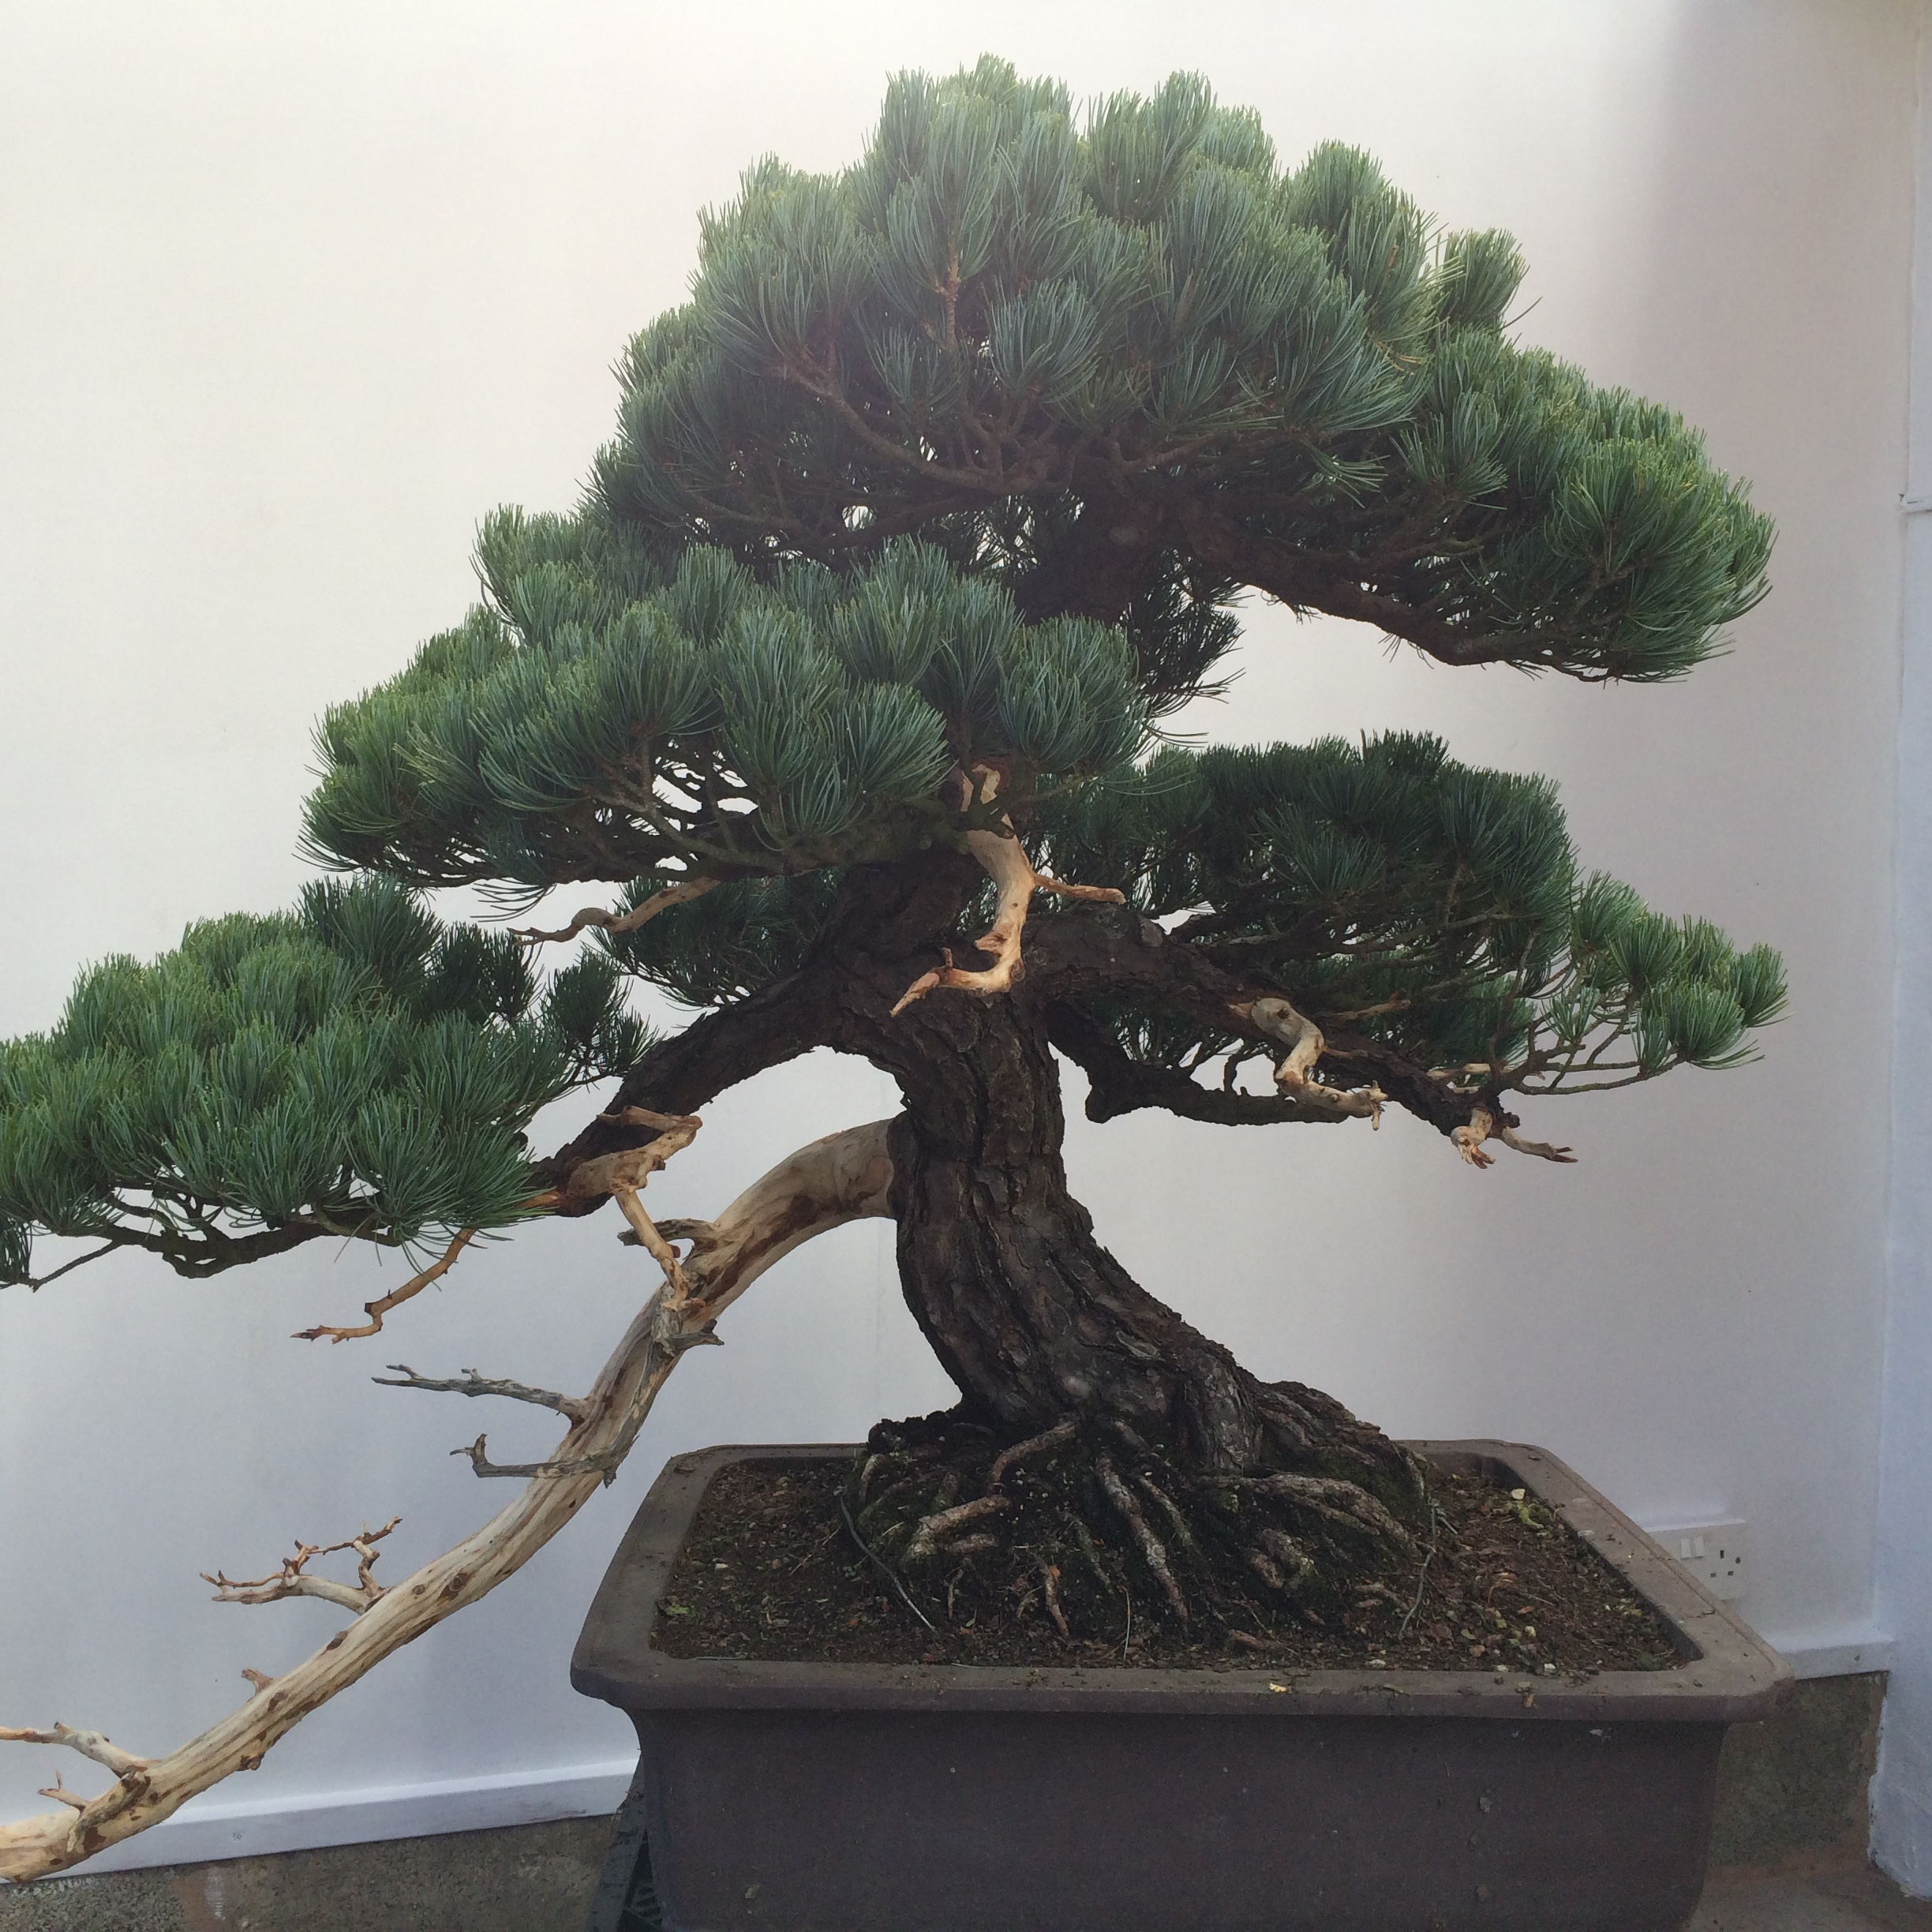

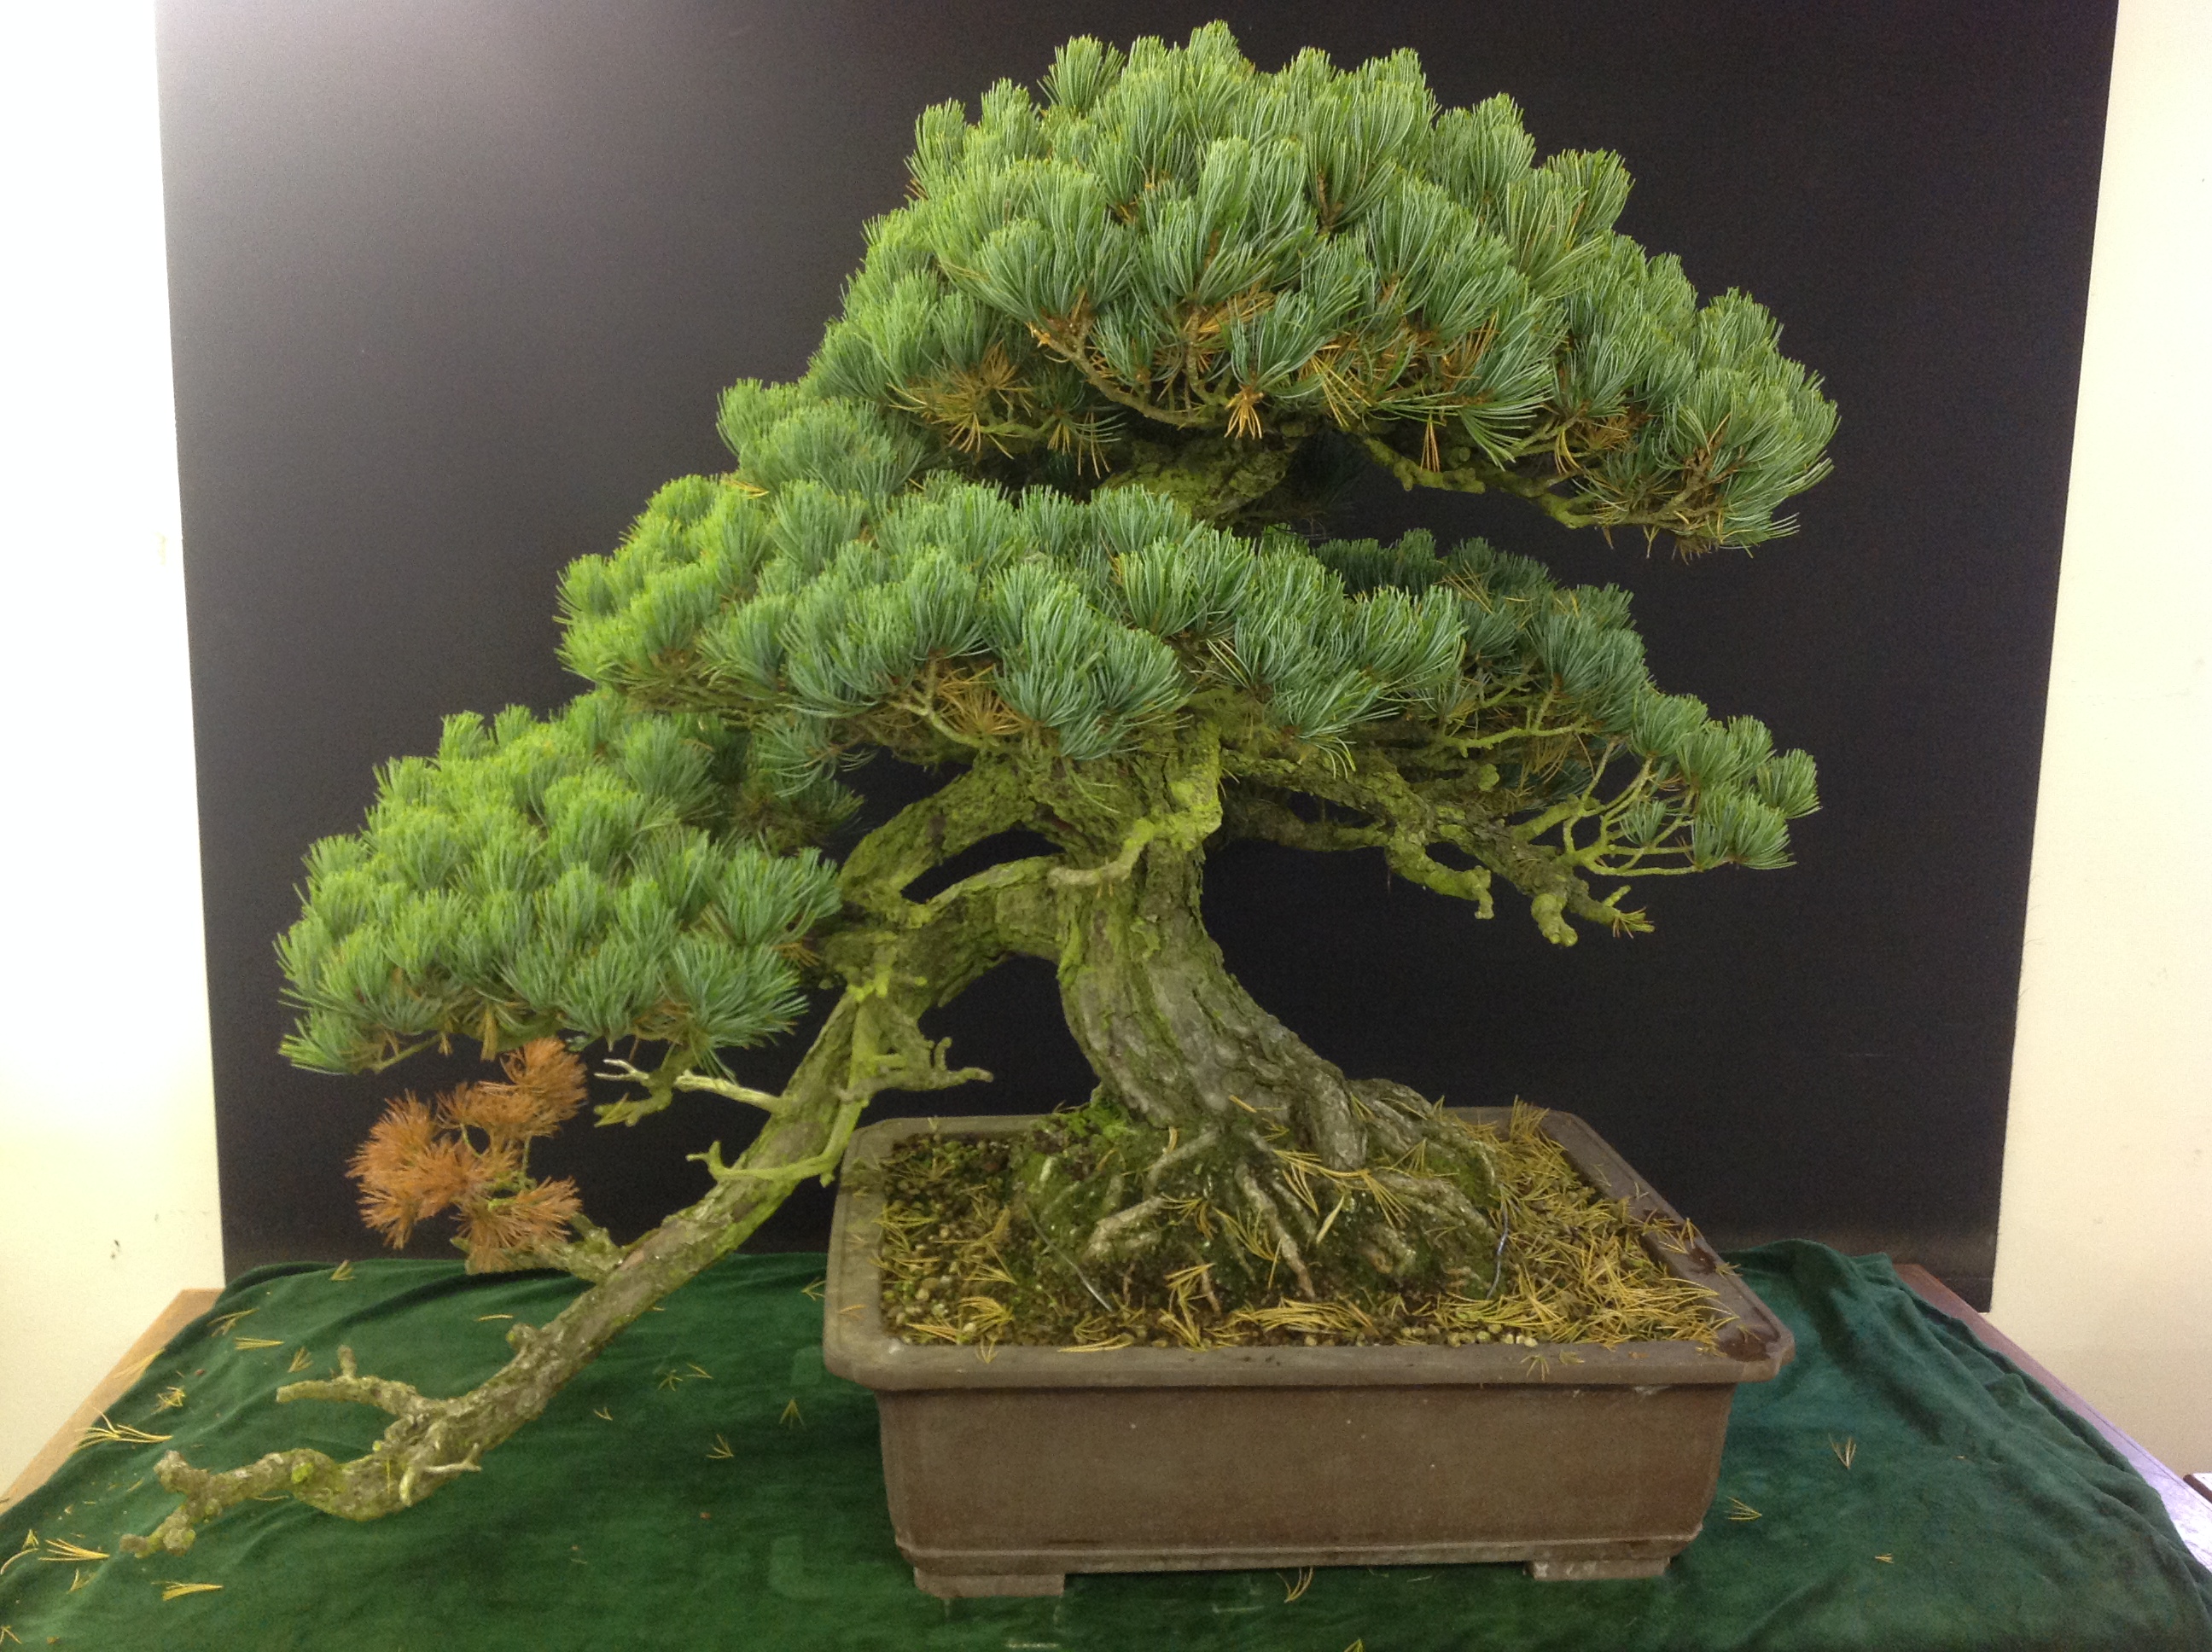
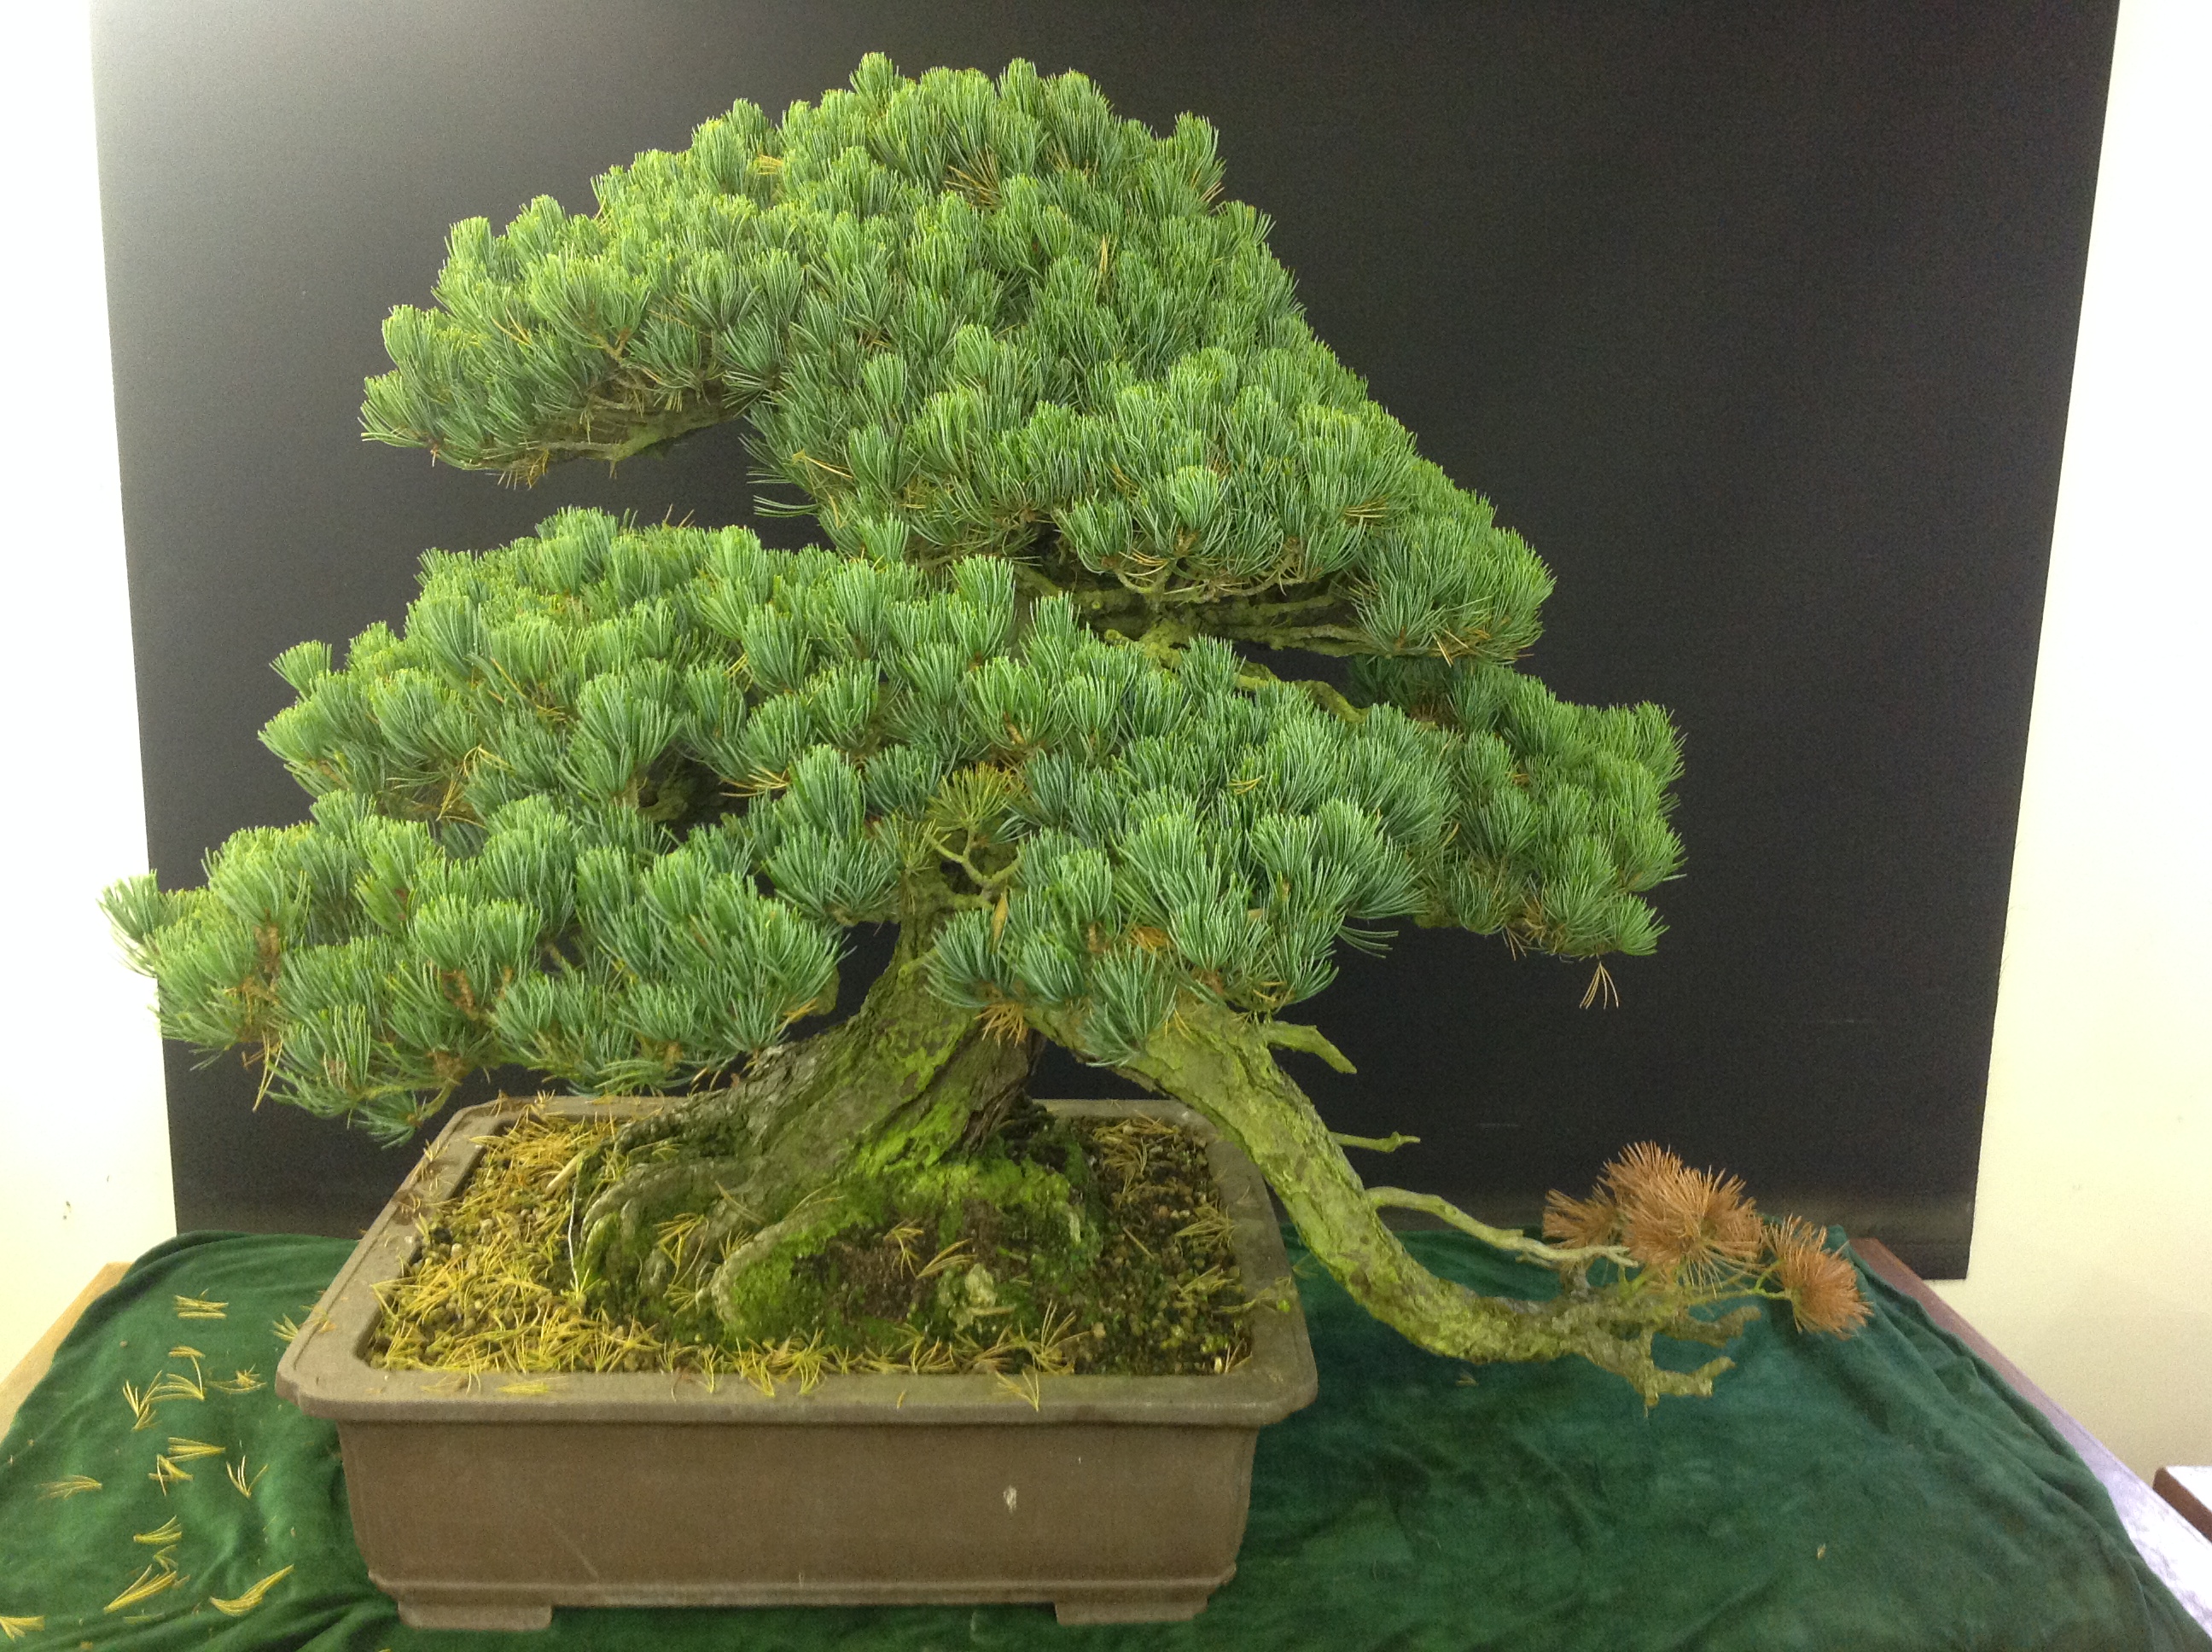
You can see the difference by looking at the before and after pictures. After the cleaning work was completed I had to go through every branch and remove all the older needles. Some of the new needles were also removed to separate the small twigs.
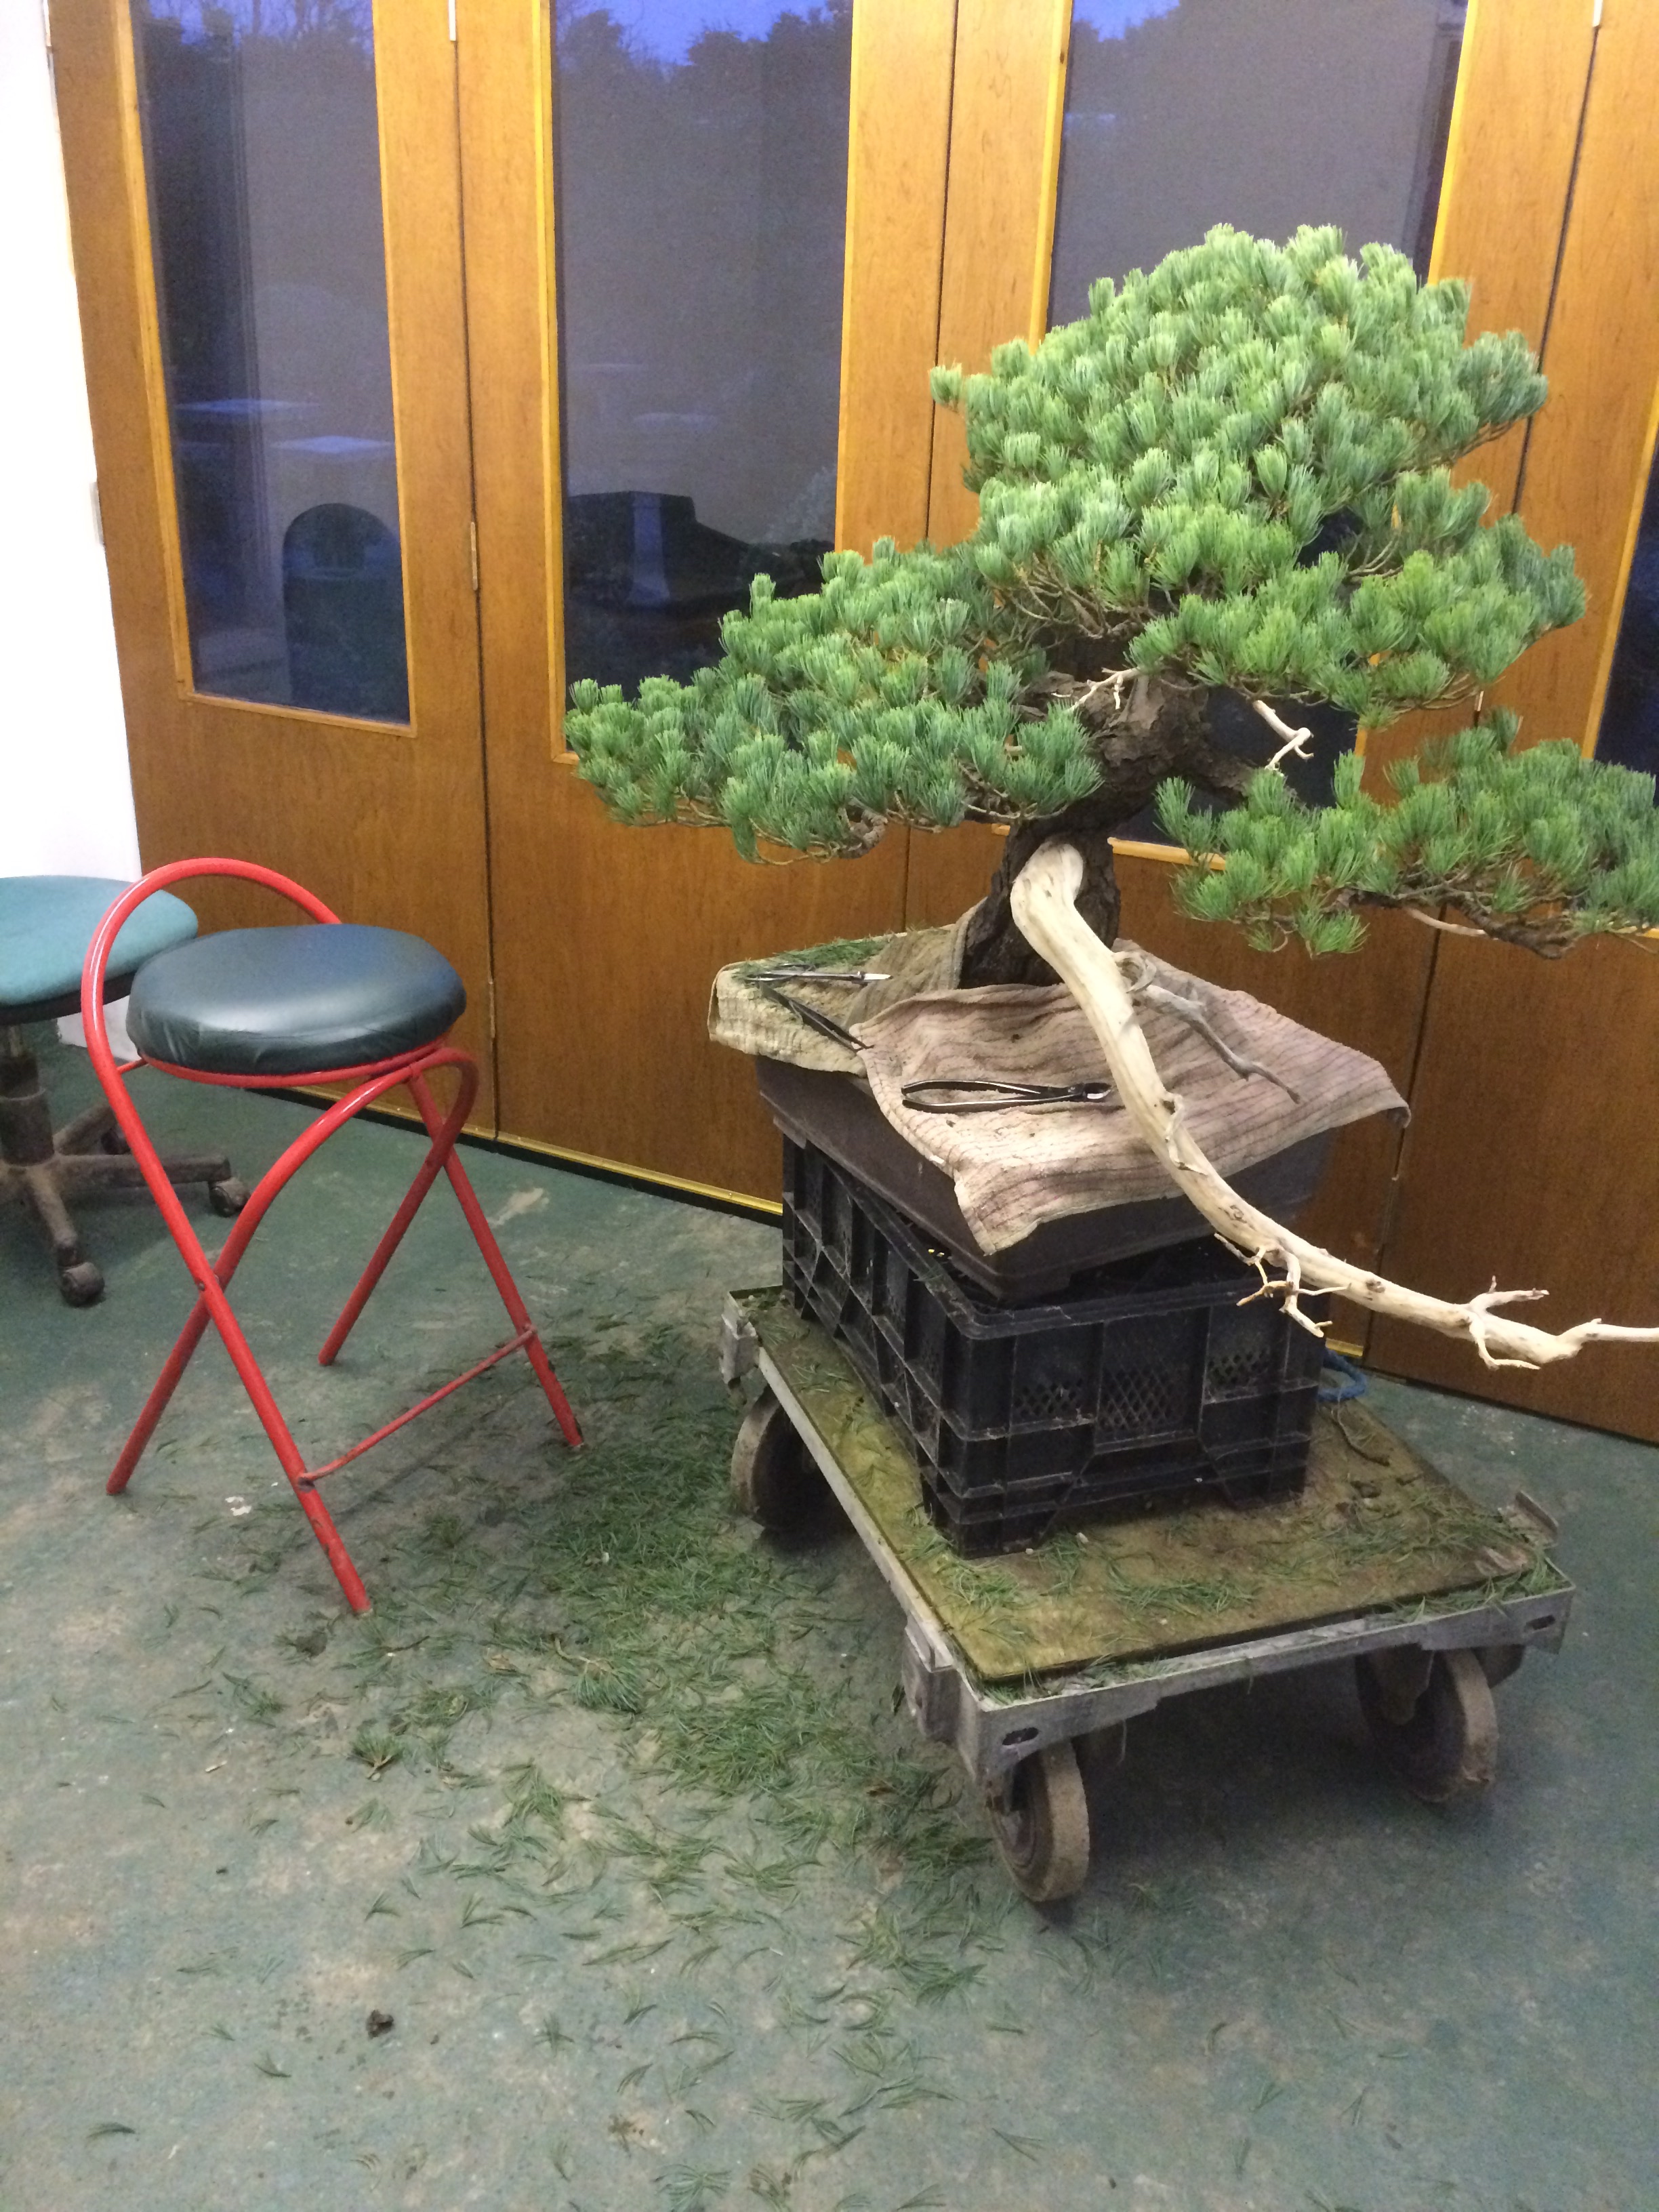
After all this time the tree is now at long last ready for wiring. This last picture was taken yesterday so now you know exactly where I am with this project. I will keep you up to date with my progress and endeavour to complete the task as quickly as I can. However this will have to be fitted in between regular classes, nursery work, private work on clients trees and of course Christmas!….but we will get there…..compliments of the season to you all!…..to be continued……